Asked on Mar 01, 2015
What the photo transfer tutorial didn't tell me.... :(

by
Angela A
+66
I saw a video tutorial on FB recently of transfering your pictures to a piece of wood. I thought, "WOW! That looks SOOO cool! I have to try that!" Let me just say.....total BUST! And I don't really know why....The tutorial wasn't overly informative, however, it gave the steps you are supposed to use....see below...I followed them PRECISELY...even though it about KILLED me to wait during the drying time! I was reallllly looking forward to this working.
Has anyone done this type of photo transfer before and can tell me what I may have done wrong?
Steps taken:
1) Spread Gel Medium on wood, place black/white photo face side down on piece of wood. Smooth out all wrinkles. Let dry overnight.
2) Wet paper with sponge or rag and gently rub off. Make sure to clean off all paper residue.
3) Cover with mod Podge. Let dry.
Seems simple enough right??? EPIC FAIL! Where did I go wrong??
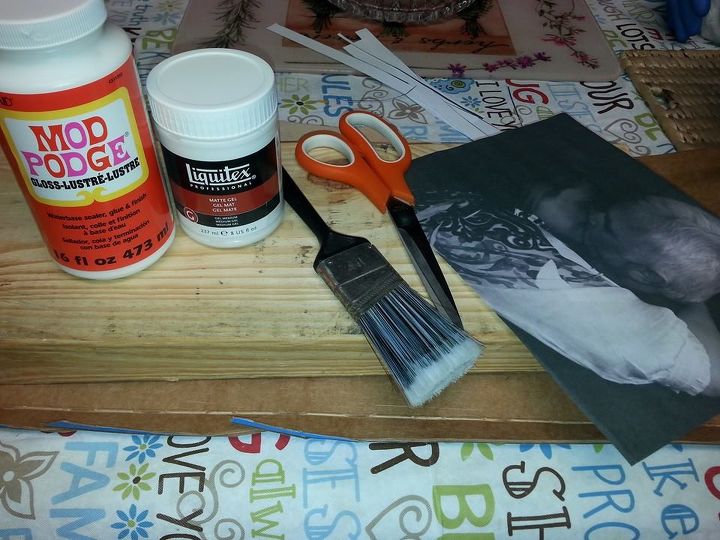
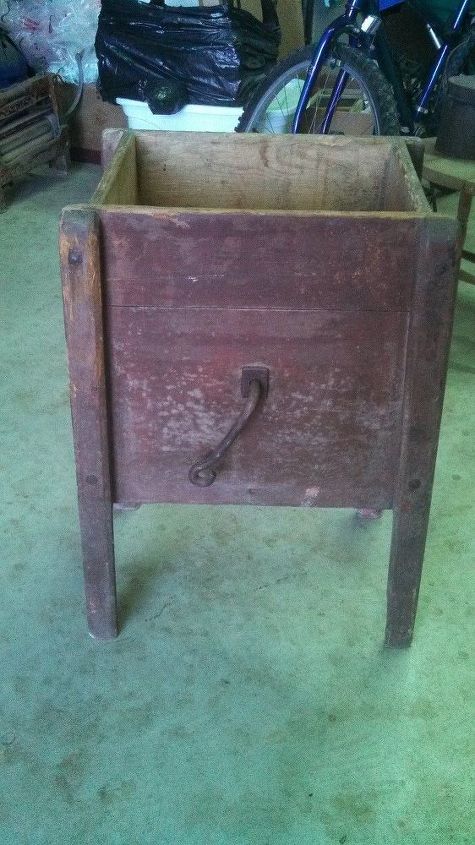
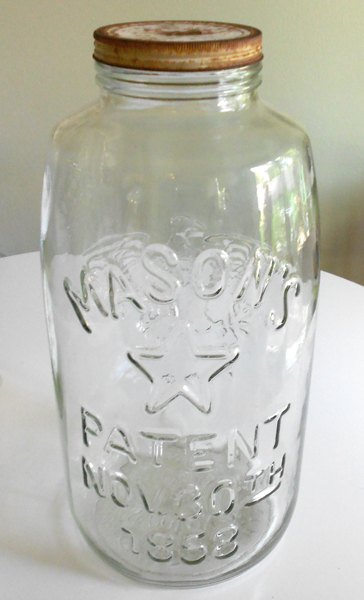
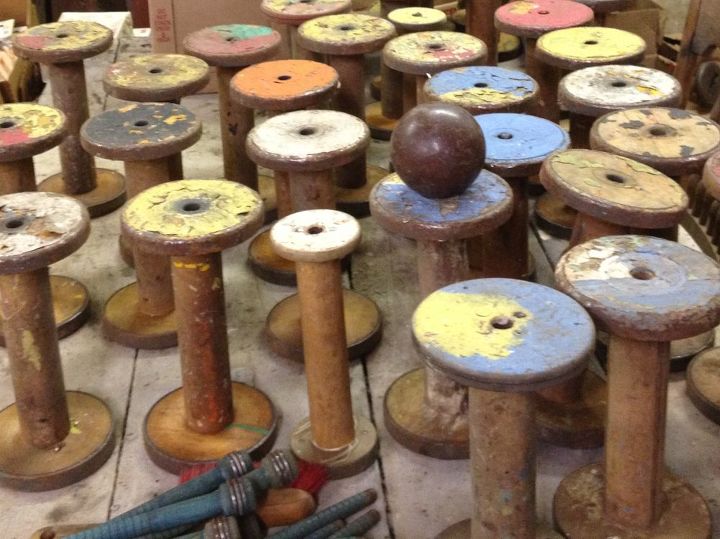
Supplies used in this project.
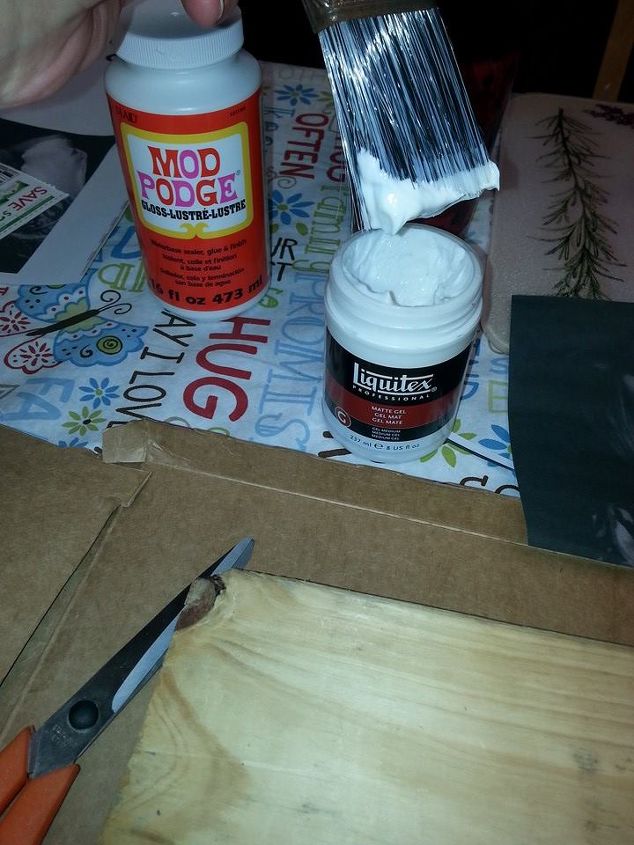
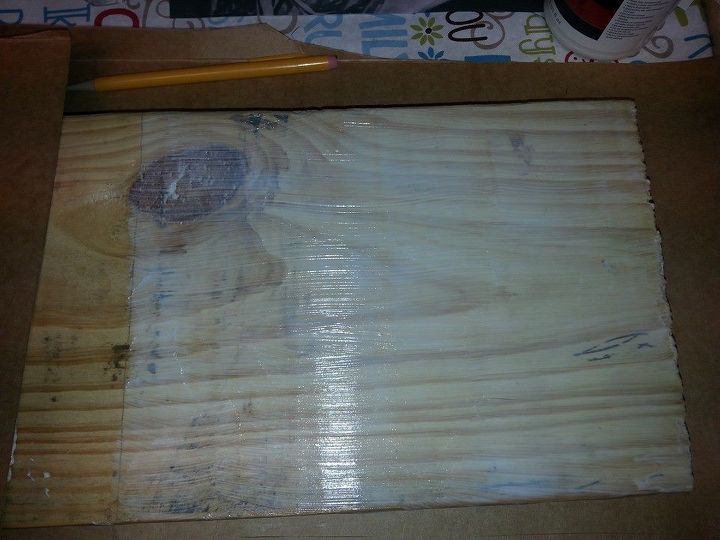
covered board with gel medium as in step 1
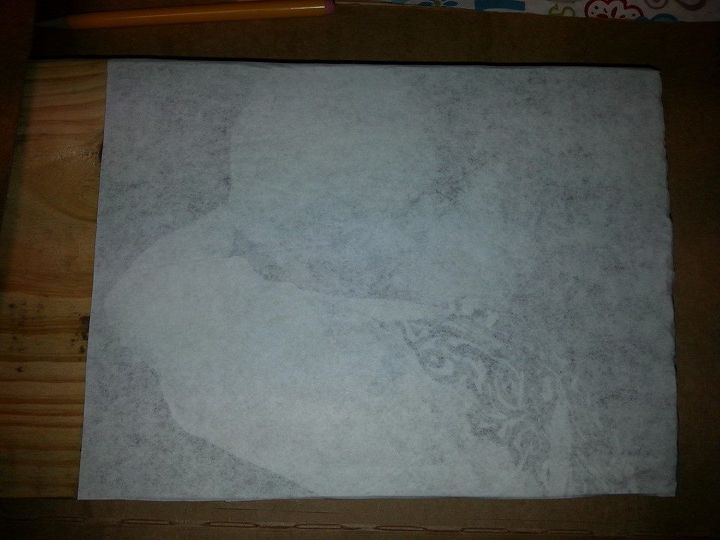
placed picture face side down.
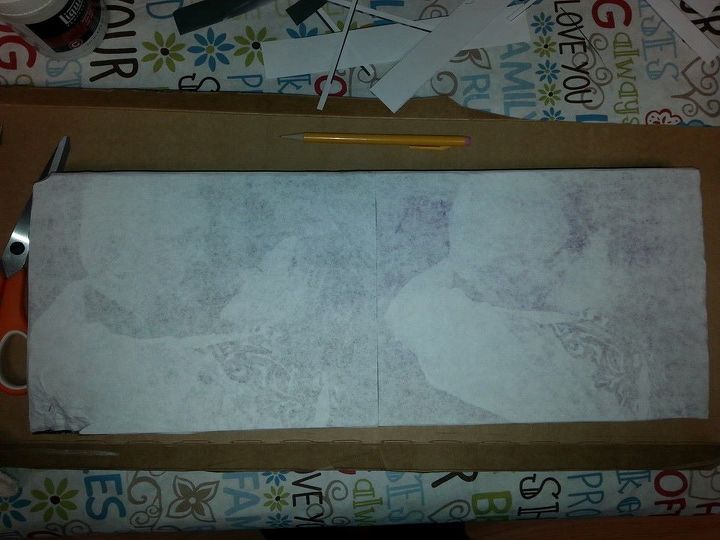
two pics on one board.
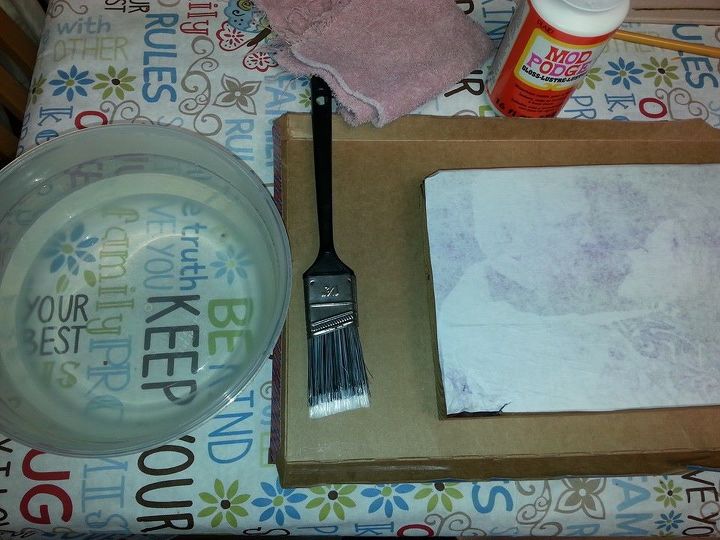
removing the paper the next day.
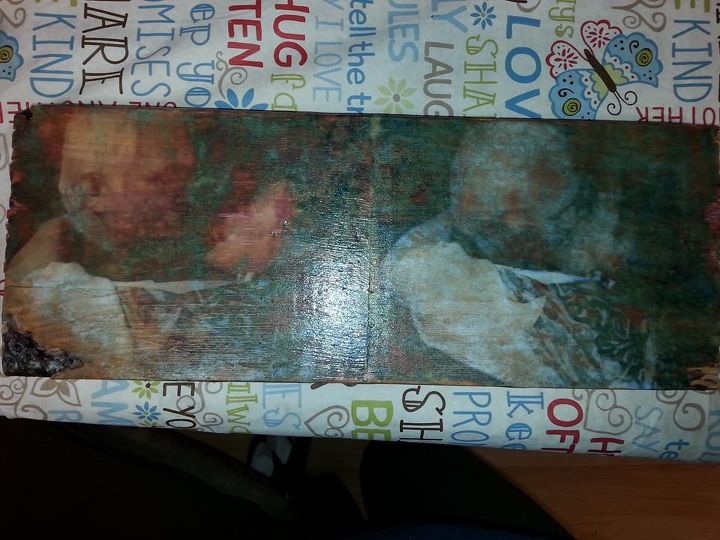
FAIL!!!! what went wrong???


I was looking for something cause mine maybe got fail. I realized I used a different mod podge than all the Pinterest posts use. I used The same one pictured on here that she used. I’m worried mine will fail. Waiting for it to dry.
http://dragonflytreasure.blogspot.com/2014/11/ink-transfer-to-wood-and-old-fix-it-list.html
Scroll mid way down for directions
do you think the wood may be to blame? maybe a better choice would have been to use a 'cleaner' sheet of pine?
This is my first try I used regular copy paper laser jet ink and gel medium to transfer pic to wood. It did leave a light paper residue but I put a couple coats of modge podge super gloss finish and you can't see the paper residue anymore!!!
I like a sponge brush to apply but it doesn't matter as long as it's as thick as you want it. You put the mod podge on the picture it self then place it face down on the wood. Smooth out air bubbles or extra glue as much as you can. Let it dry completely. Then use a cloth dipped in water to take of the paper: I run the wood under water so all the paper get a wet then gently rub it off with my fingers.
You need to have the picture printed out onto THIN computer paper & try putting a little extra gel medium on the wood before placing the picture face down(make sure if there's any words you do a "mirror image" & after you place the picture on the wood use a card to smooth everything out so you don't have bubbles & after you do all that let it sit a full 24hrs then take a soaking wet wash cloth & gently rub the paper off. Hope this helped.
I got to the step of getting the back of the photo wet and the paper wouldn't soak up the water or start to come off. Am I using the wrong kind of paper? It's photo paper from Target
Use the *thinnest* plain white paper that you can print on with a laser printer only. Inkjet printers will not work. Image must be placed face down in the transfer medium. Let it dry for a few days.. I know, it's very hard to wait.. I struggle with this one & will sometimes use the hair dryer trick to speed things up. Be prepared to have several sessions of trying to gently remove all of the paper. I take the first layer off, let it dry to see where the next batch of white will be.. then do it again, super gentle.. I keep doing this until there's no more bits of white paper overy my image.
I've read once that it was with toner ink... It might help you. I have been searching around and I would like to know from somebody that have done it successfully and willing to share all the steps... Good luck!
I know this is an old thread, but I found a super simple way to do photo transfers. If any of you're interested, I can make a how to video.
When I bought my new computer, it was a Dell. I heard that there are good and highly functional monitors in this industry that will last for many years. I decided to believe the reviews and bought one. Along with the computer I received several installed applications. From this list, I only used a few of them: Adobe, Paint, softorbits, Excel, Word. There were also some ad blockers and antiviruses but I did not see any useful features for my computer.
I don't use a printer. I draw mine out on tracing paper put some mod poge on the wood, put my drawing ink side down, more mod poge, work out any bubbles or wrinkles and let it dry for 24 hrs. I'll look for the picture of the one I did for my husband and take one of the one I'm working on now
I've always seen them put the Mod Podge on the printed side of the picture. Then place that of course facedown on the wood and they say let it dry for at least 24 hours, that would be the hardest part for me the waiting. Then take a damp cloth or sponge and wet the backing on the photo and gently rub the paper off if not careful the picture comes off completely if you rub to much. It's normal for some to come off or rather lighten or so they say. Then after that you put a layer of Mod Podge over it to seal it. I am going to try to do my step son and his wife's wooden cake stand with their photo like this fingers crossed I hope it works.