


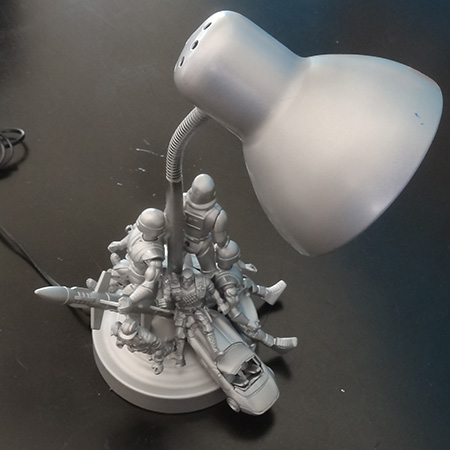
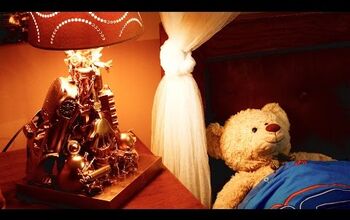
Action Figurine Table Lamp for Boy's Bedroom
Inspired by a project that I saw on instructables, here's how to take all those action figures and turn them into a quirky table lamp for a boy's bedroom.
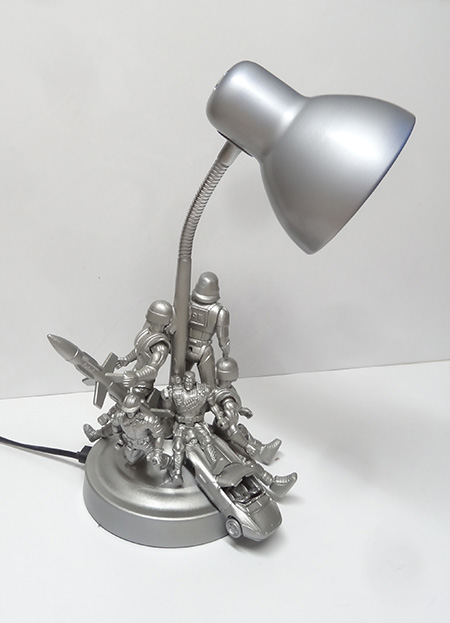
The original project is just so great I had to see if I could replicate the idea with some of my son's old action figures and small toys. He doesn't have a lot of them left - just enough to fill up the base of the lamp.
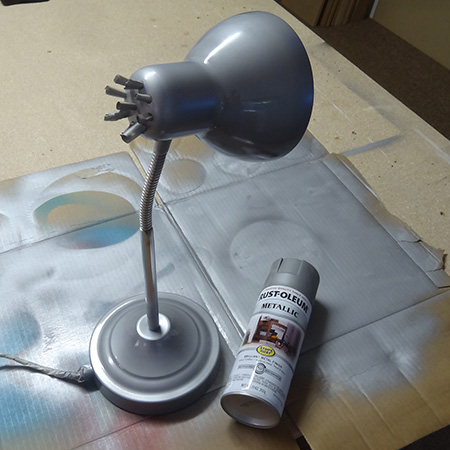
The lamp is a cheapie and I used Rust-Oleum Metallic Satin Nickel spray. You can use any Rust-Oleum 2X Ultra Cover or Metallic spray for this project.
YOU WILL NEED:
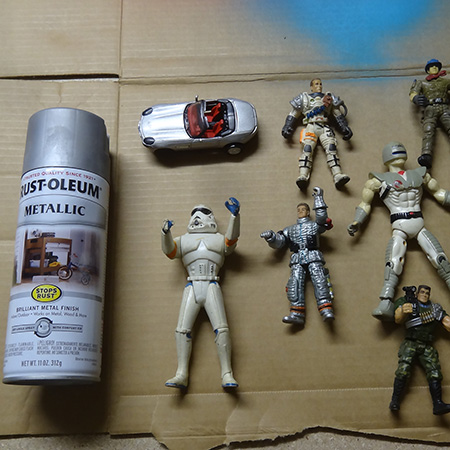
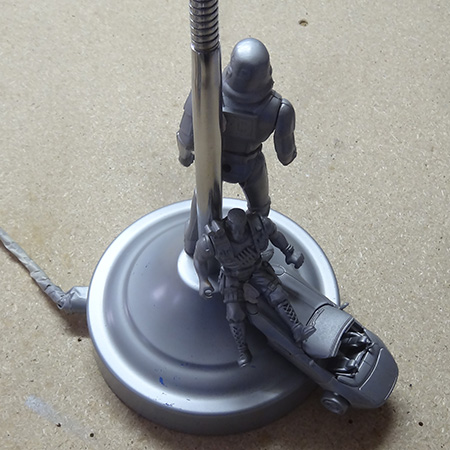
1. Clean and dry the action figures or toys you will be using for the project.
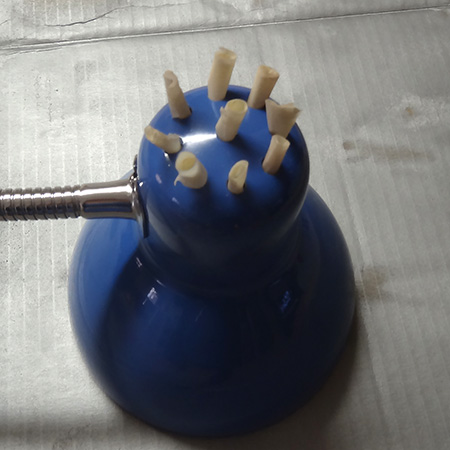
3. Before wrapping the cord with masking tape I gave the entire lamp base and top a light sanding with 240-grit sandpaper. You can skip this and use Rust-Oleum Primer spray if you prefer.
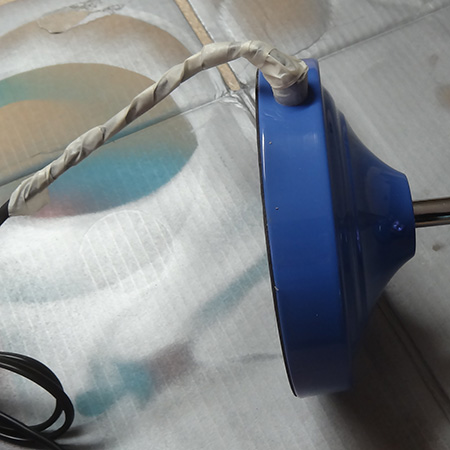
4. You also need to cover any ventilation holes at the back of a lamp, in this case the table lamp had holes and these were plugged with rolled up masking tape.
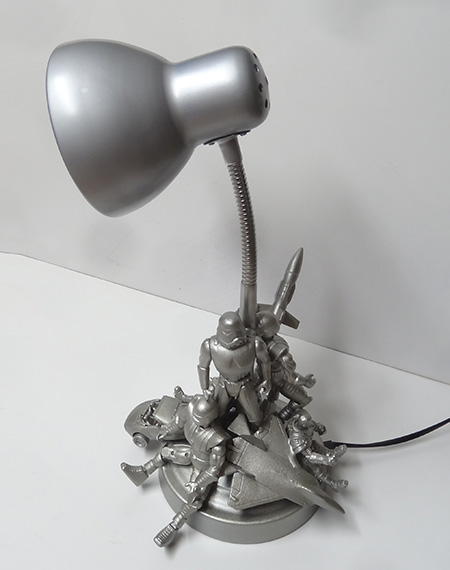
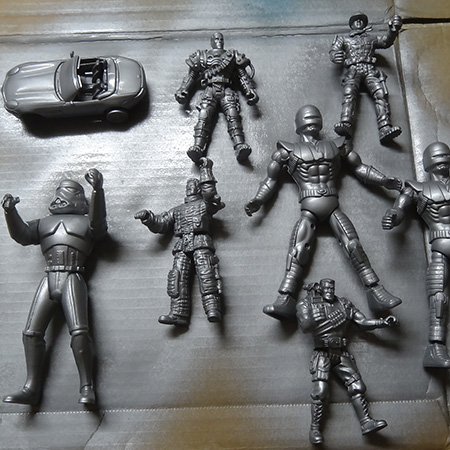
5. Now you are ready to spray on a couple of light, even coats. Don't spray closer than 30 centimetres away from the surface or you may end up with runs. I placed the top of the lamp face down on the cardboard to prevent spraying inside the lamp shade.
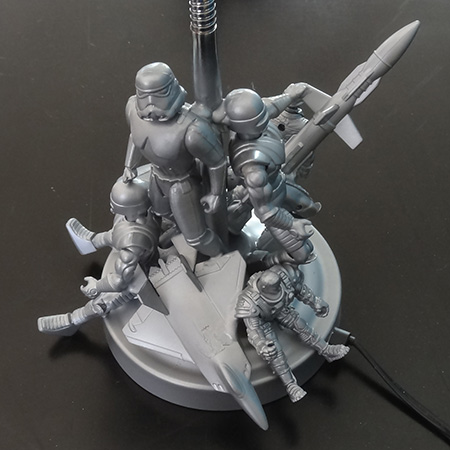
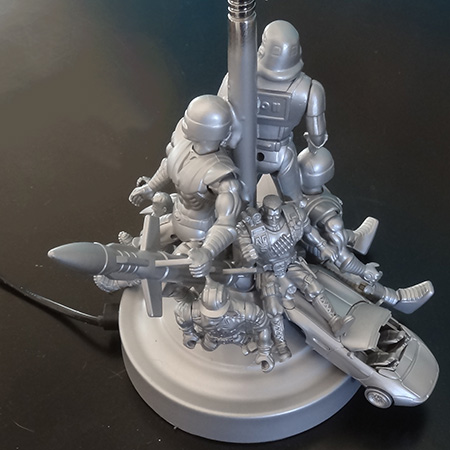
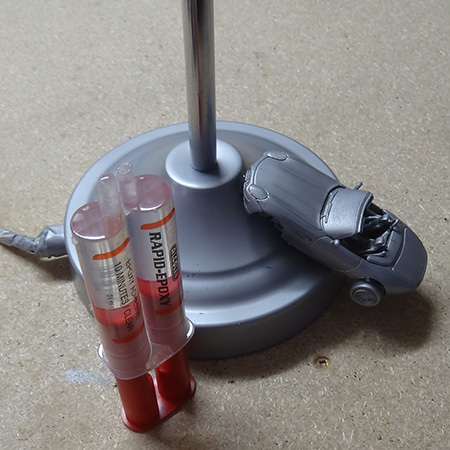
6. Let the paint dry completely before attaching the action figures around the base with 10-minute epoxy. Before you start have an idea in mind of how you want the arrangement to look and use Prestik to temporarily place the figures. Remember to remove any Prestik before you spray!
GOOD TO KNOW
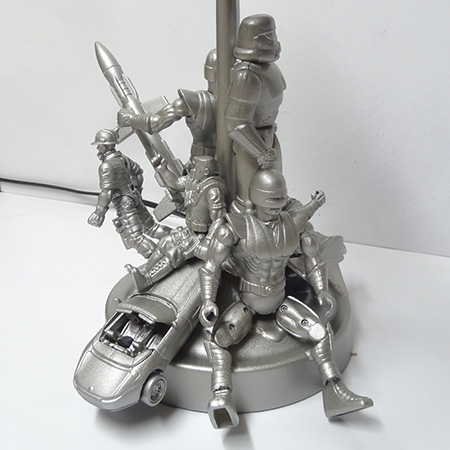
BELOW: As you can see, I needed a few extra pieces to fill in some gaps!
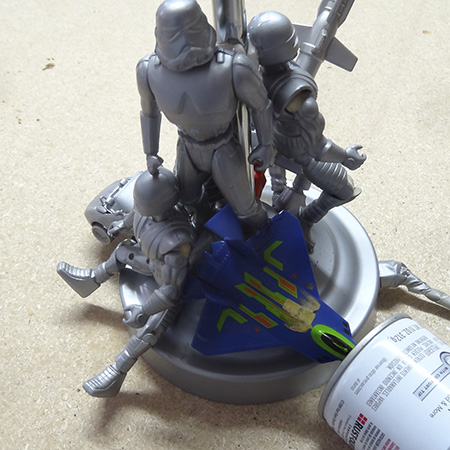
Once done, give the figurines a light spray to cover up any epoxy glue and touch up any scratches.

Want more details about this and other DIY projects? Check out my blog post!
Comments
Join the conversation
2 of 28 comments
-
How cute love this idea
-
I've made something similar to it


Frequently asked questions
Have a question about this project?