


How to Refinish a Kitchen Table Re-Do
8 Materials
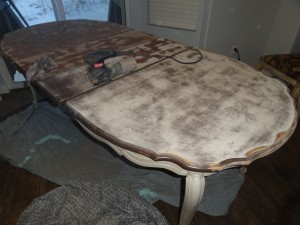
This table has since been moved 4 times, and not once have I painted it although it has had a fair share of new scrapes and dings.
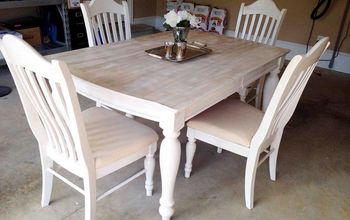
But I am ready to tackle this project and was looking for some inspiration. Unfortunately when I sanded everything down I came to realize that what lay underneath was not actually real wood, but more of a composite wood. Which I was confused because this was a basset table with sturdy wood chairs…but oh well.
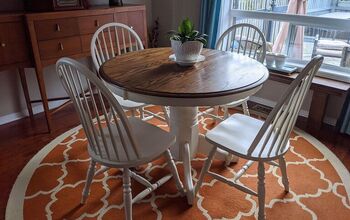
My style these days is lighter, more beachy/light (wishing I lived by the ocean.) I like the brown how it was but wanted to change things up a little to make it look a little more like “driftwood."
But I am ready to tackle this project and was looking for some inspiration. Unfortunately when I sanded everything down I came to realize that what lay underneath was not actually real wood, but more of a composite wood. Which I was confused because this was a basset table with sturdy wood chairs…but oh well.
My style these days is lighter, more beachy/light (wishing I lived by the ocean.) I like the brown how it was but wanted to change things up a little to make it look a little more like “driftwood."

If you are crazy like me and decide to do this indoors in the middle of winter, because it is in the single digits outside, remember to vacuum as you go. Get a little helper involved with the promise of a treat or something like that. After just a little more sanding this baby is ready to go! We went to home depot and scored a gallon of grey paint/primer for only $7 in their “woops” section. I am planning to do a base of grey and then a “dry brush” technique.
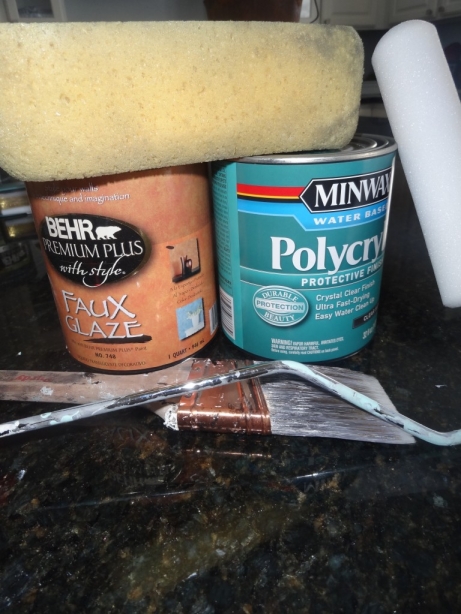
For step one you will need:
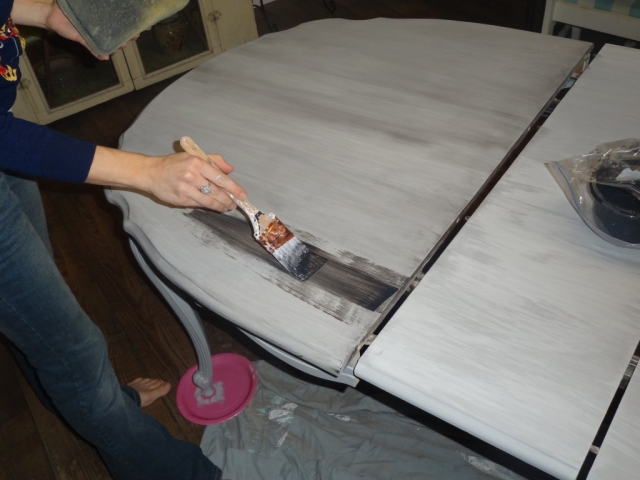
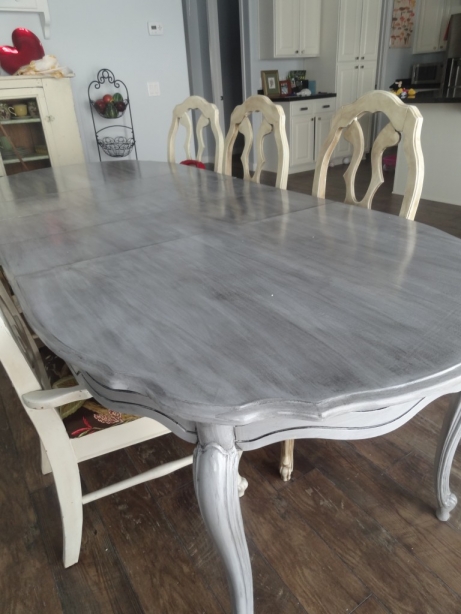
I started by painting the table grey. Initially I thought I would paint just the table top. But once the top was done I realized the rest of the table really needed a face lift so I painted the whole thing grey. I found this grey paint in the “whoops” section of the Home Depot paint department. The whole gallon was only $7! If you can try to find a paint that is a paint/primer combo to save you time. I simply rolled this on and was able to do a couple of coats pretty quickly. Make sure to let it dry between two applications.
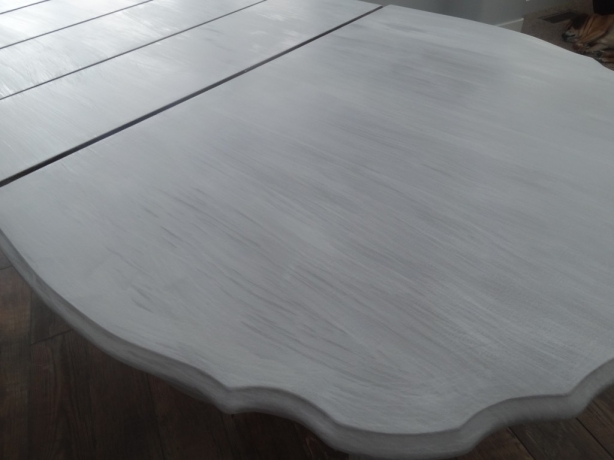
The trick of dry brushing is to get a small amount of paint on the brush and keep the strokes light and long. Try not to pick up the brush as you are making your strokes and work on sections at a time to try to match the same amount of texture. This gave me the wood look I was going for.
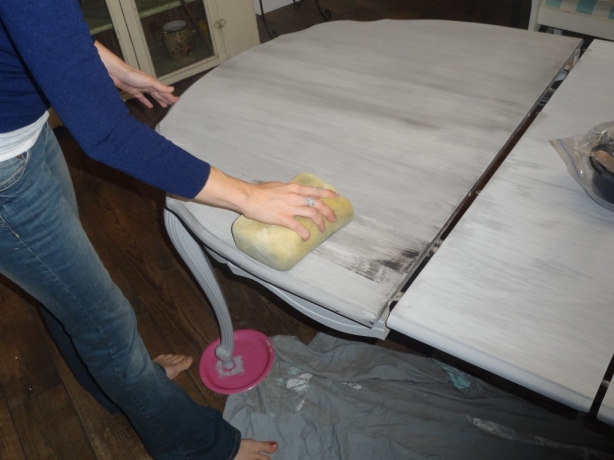
My next step was glazing. Glaze can be bought clear and have any color added to it to a add a little interest to the glaze. Black paint was added to mine because I wanted to be able to highlight the design of the furniture with a darker color. This part could be done with a roller, and that would probably be easier, but my roller wasn’t available and the brush look was what I was going for anyway. Let the glaze sit for a couple of minutes and then wipe off with a damp sponge. The longer you let it sit the darker it will be. This was one of the trickiest parts for me because I wanted the streaks, but I wanted it to have a smooth finish all over the table. There times I had to let it dry and then go back to lighter parts and re-glaze them to match the darker places on the table. It wasn’t perfect, but I was okay with that too.
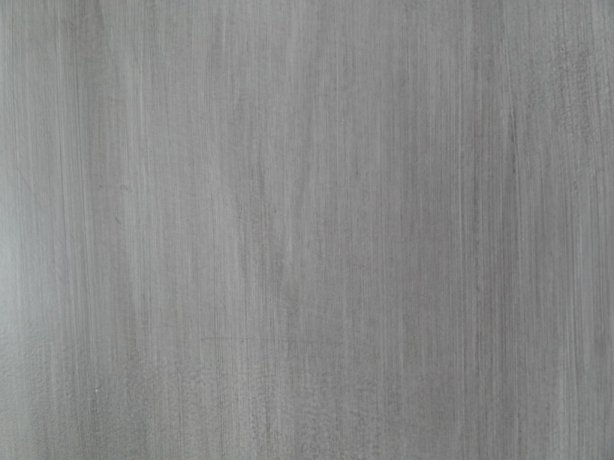
This gives you an idea of what it looks like up close.
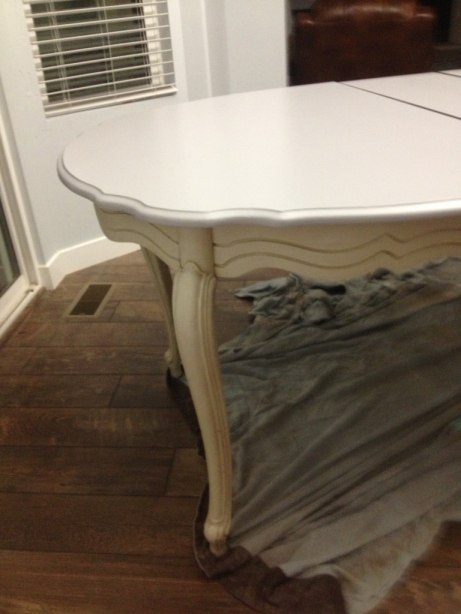
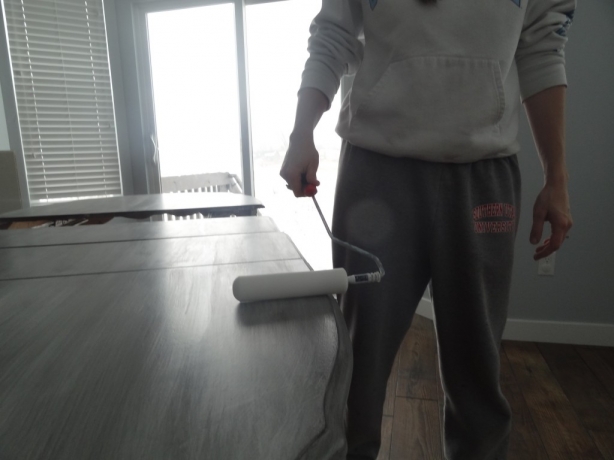
The last step was three coats of polycrylic. I simply rolled this on and made sure to let it dry really well between each coat (I waited until the next day.
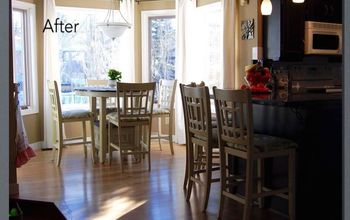
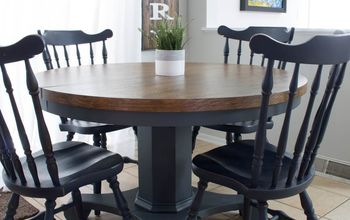
Tada! I am really excited with how it turned out! Now I just need to refinish the chairs and pick a new fabric for the cushions. Trying to decide if I should do the whole covering the seats with plastic thing. I don’t love the look, but it makes so much sense with little ones running around. Let me know if you have any questions! I want to see your projects too!
You can now see what my chairs look like now that they are redone as well!

Want more details about this and other DIY projects? Check out my blog post!
Comments
Join the conversation
2 of 71 comments
-
I wanted to see the new fabric you chose for your' chairs!
-
You put time and effort into this and I love the result! I've been thinking of re-doing mine, too, and will try to follow your lead.


Frequently asked questions
Have a question about this project?
Did your table before have a glossy look? If so how did you get it off? I've sanded for over an hour and it's still not coming off?
There's some interesting "carving" on the legs, etc. How would it look with gold or silver highlights painted into the grooves?
I did a project very similar and I use polyurethane and eight yellowed did the poly Cryloc yellow on you