


DIY Restoration Hardware Lamp Hack

by
Holly Prim
$50.00
1 Hour
Easy
I'll show you how easy it is to turn a glass jar into an atrium lamp that rival those sold at Restoration Hardware, Pottery Barn and the like!
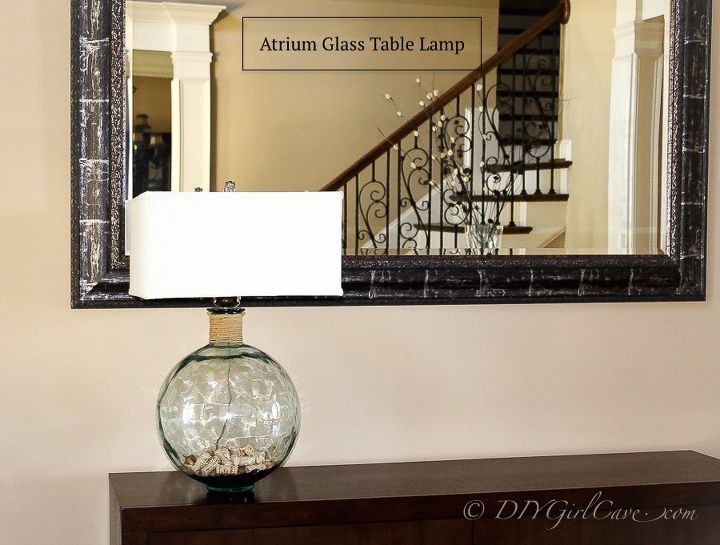
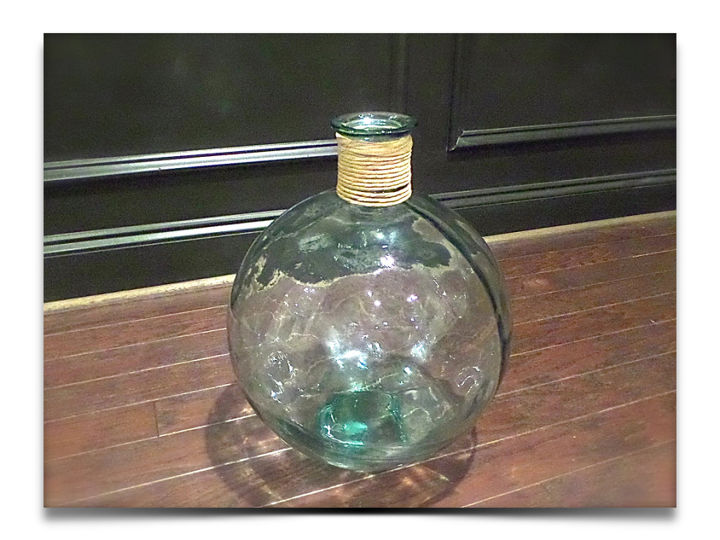
Last summer I was shopping for decor for our basement, It was just slightly premature since we still had bare concrete floors and I'd already begun ripping down the suspended ceiling. Nonetheless, I found this amazing glass vessel at Southeastern Salvage for $29.99, I thought it would make the perfect atrium style lamp. It's about 17" tall and 42" around. Perfect size for a lamp base.
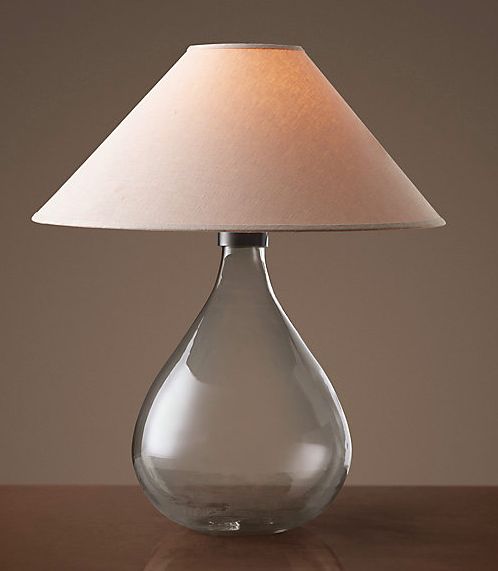
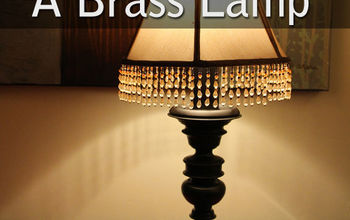
Restoration Hardware Lamp was on sale $375.00
Here's the look I was going for without spending $400.00 on a lamp. Mind you most of these lamps are sold without a shade which is even more money depending on the shade.
Fast forward six months and said vessel is still sitting on the floor in my kitchen collecting dust and wine bottle corks... Since the evidence is mounting that we have consumed a lot of wine since last summer, I decided it's time to stop making deposits and finally turn it into a lamp.
The mouth of my jar was too large to just place a socket in it and build the lamp from there, I racked my brain looking for something to fill that gaping hole. I thought a cork stopper might be cute, but I couldn't find one the correct size. One of the Home Depot associates graciously asked if she could help, but without seeing the jar her only suggestion was stuffing circular styrofoam in the hole, evidently I wasn't very clear about trying to make my $30.00 jar look like a $300.00 lamp. Naturally, I cruise the aisles looking for something I can fashion into a plug. I end up in the plumbing section, an unlikely place to find lamp accessories but I'm getting creative and desperate. Funny thing, I found what I thought could be a solution. A "Qwik Cap" which is a flexible PVC cap and looked just the right size to insert into the hole of the jar. Since it was flexible I knew it would be easy to drill through to insert the threaded rod. I wasn't a fan of it being black but I hoped Jennifer would have a way to mask or disguise it.
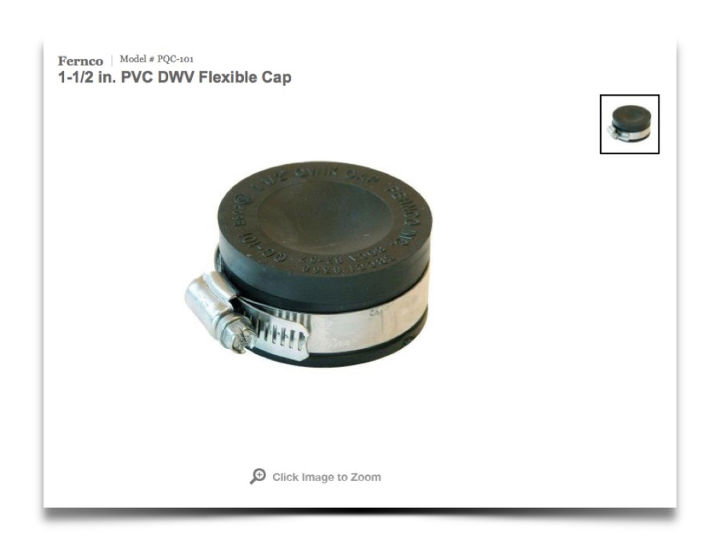
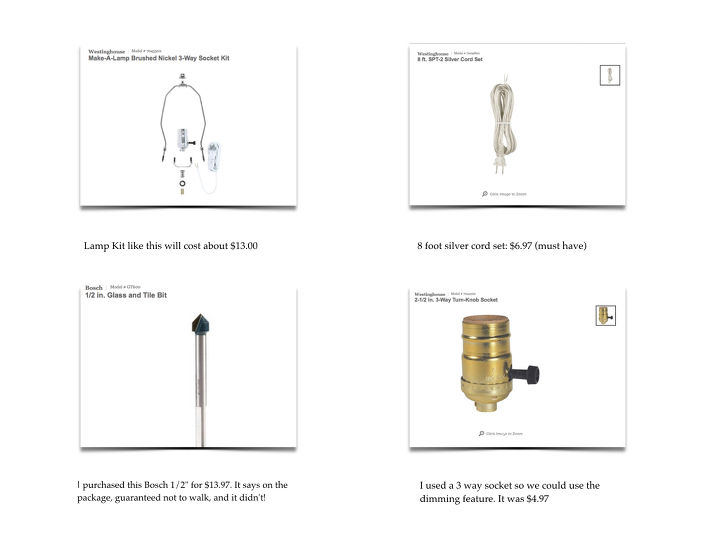
With a Qwik Cap, light socket, cord, drill bit and glass jar, it's time to head to Jennifer's house to assemble this thing! We go through her spare parts and find finials, harps, shades and even something to cover up my PVC plug.
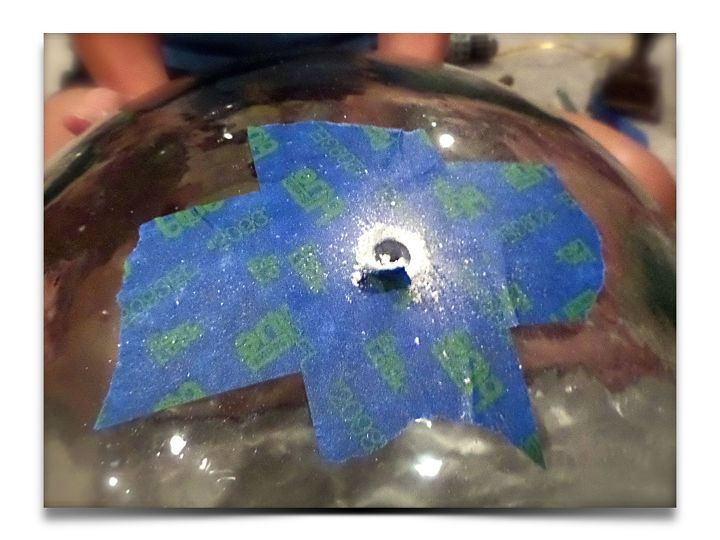
Half way through
So we taped off the drilling area to keep on point with the hole and hopefully not scratch the glass if the drill bit decided to "walk".
I have many more pictures and tips for this project, too many to share here so please click the link below and find all of the details on my blog!
Want more details about this and other DIY projects? Check out my blog post!
Comments
Join the conversation
5 of 7 comments
-
Once again, here is an example of the diy project looking better than the inspiration piece!
- See 1 previous
-
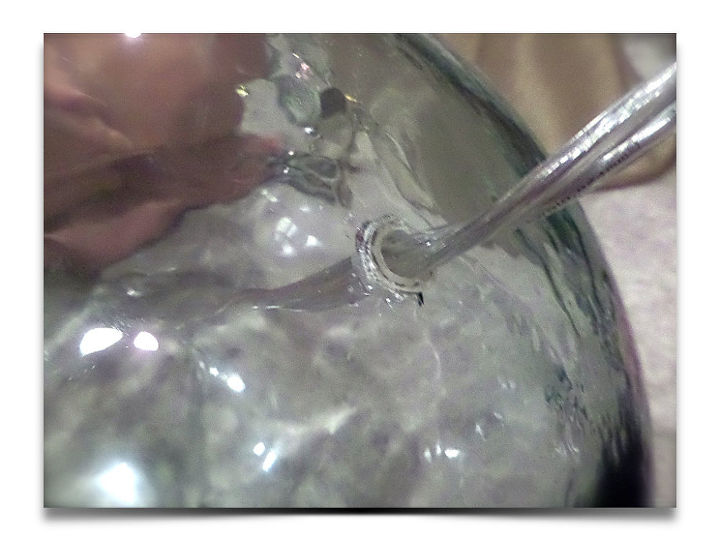
If you're going to drill a hole in glass, buy a diamond bit, which costs about $20 for a half inch. When you start, angle the bit so it won't jump around. Also, you MUST keep it cool. I drill mine in the kitchen sink so I have water running over it at all times. Otherwise, you may crack your glass. It doesn't take much water, just a trickle but will save your piece. Good luck!


Frequently asked questions
Have a question about this project?