


Don't Give Up Hope On Old Junk

by
Jessica
A while back my grandparents gave me this hunk of junk. They know better than to throw things away when they have me around to fix them and refurbish them...or just create something entirely new with them like I do in my shop.
Anyway, this side table has been my Grandfathers night stand for as long as I can remember. It has been chewed up and spit out and was in horrible condition. The edges were all chipped and the particle board was showing and looked like cotton coming out in places. I am guessing it got wet from my Grandfathers breathing machine.
But I gladly took it back to my shop. Then I let it sit there for a while just pondering what I was going to do to it. I really don't like fake wood, but it was still salvageable so I stopped putting it off and got to work.
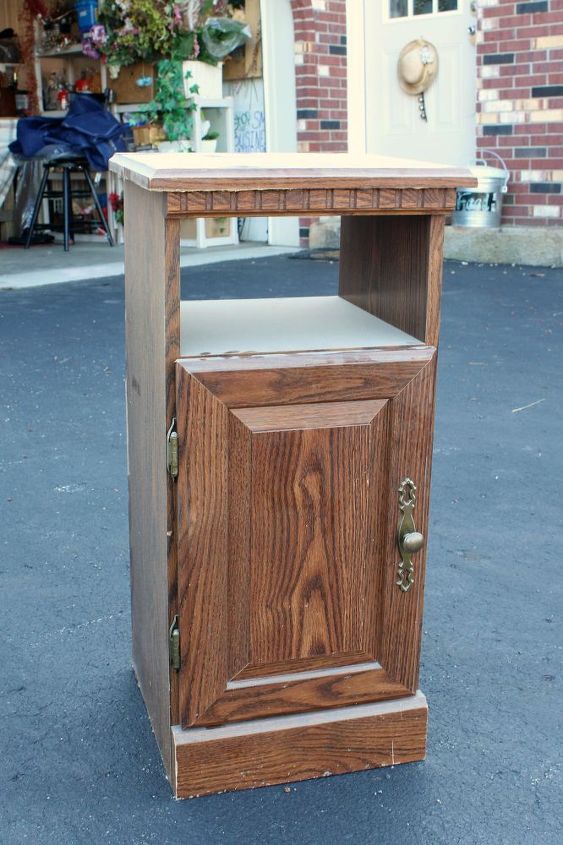
See....ugly, right!? Yikes this thing needed some help!
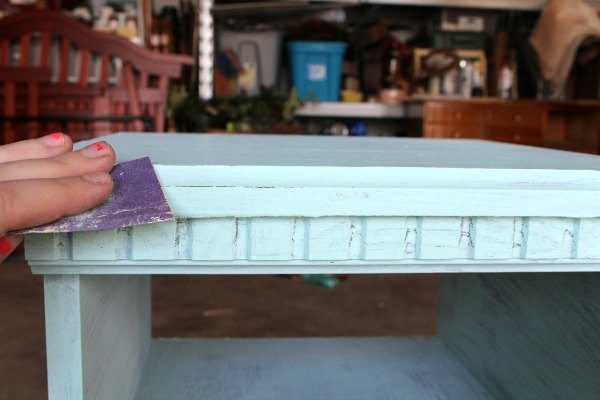
Since I am obsessed with the color mint, I decided to use mint chalk paint and give it a once over with a chip brush leaving it streaky and vintage looking. I love chalk paint for non wood projects, because you DO NOT have to sand anything before painting! It is a wonderful thing!
I was going to use chicken wire on the door, but I had an epic fail and had to toss the door out (you can see what happened on my blog).
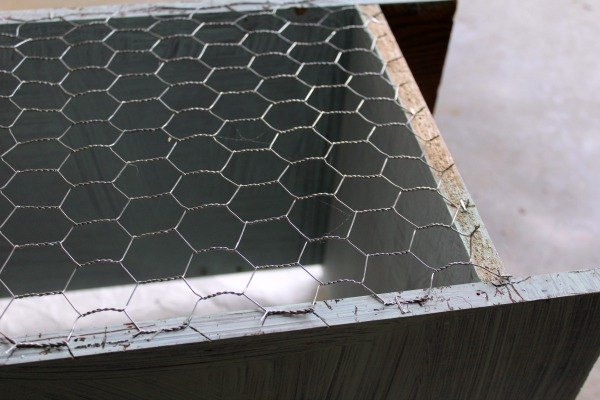
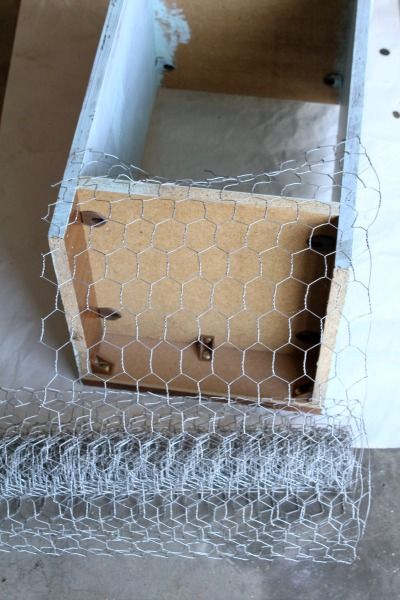
Chicken wire is a nightmare to work with, but it looks so stinking cute on things. I used a heavy duty staple gun and stapled on corner. Then pulled and stretched the wire as I stapled about every 3 inches. Then I used wire cutters and cut it off of the spool after it was fully attached.
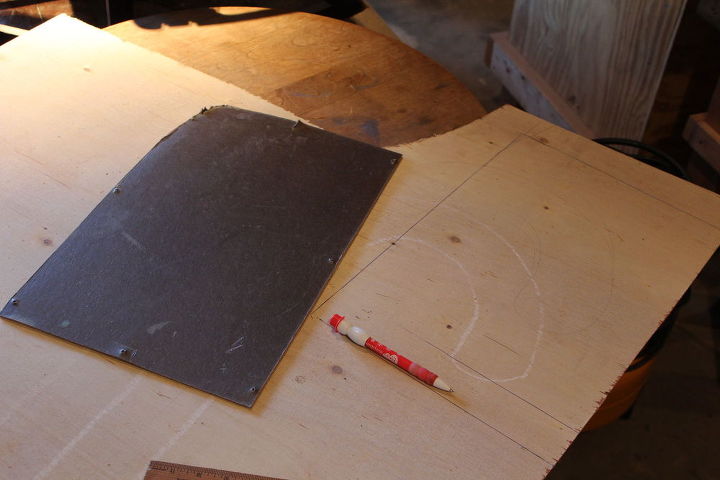
Next I had to cut out a new back. I could of left the chicken wire all by itself but I wanted to give it more contrast.
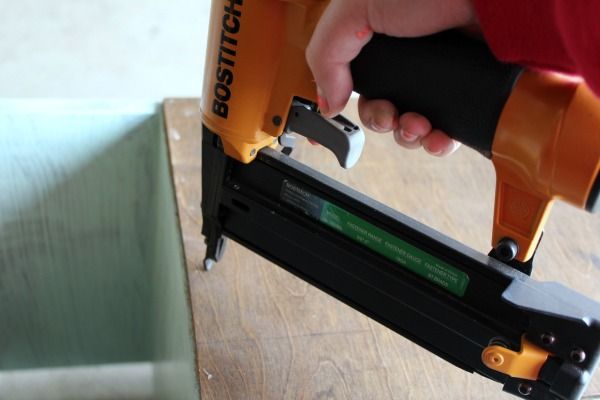
Grab a nail gun and attach the back. If you dont have a nail gun, you could use the stapler again.
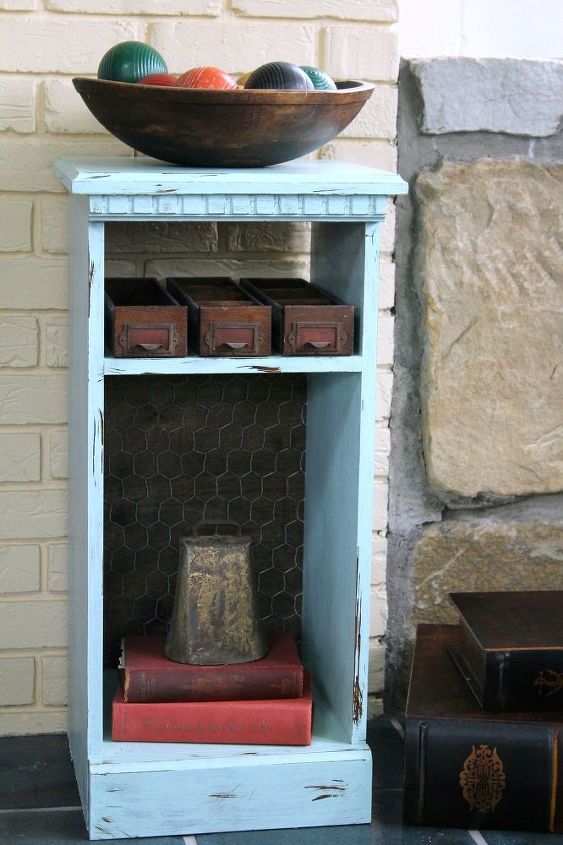
I am so in love with how it turned out! You can see the full image on my blog since it got cut off here.
Want more details about this and other DIY projects? Check out my blog post!
Comments
Join the conversation
2 of 4 comments
-
thanks Gail!
-
Really pretty...


Frequently asked questions
Have a question about this project?