


Wet Distressed Chalky Finish Planters

by
Jessica Hill
I save our inexpensive planters at the end of each season and replant them the next Spring. It saves money, but it means we have mismatched planters. This year I gave them all a makeover with chalky finish paint so that they are all !
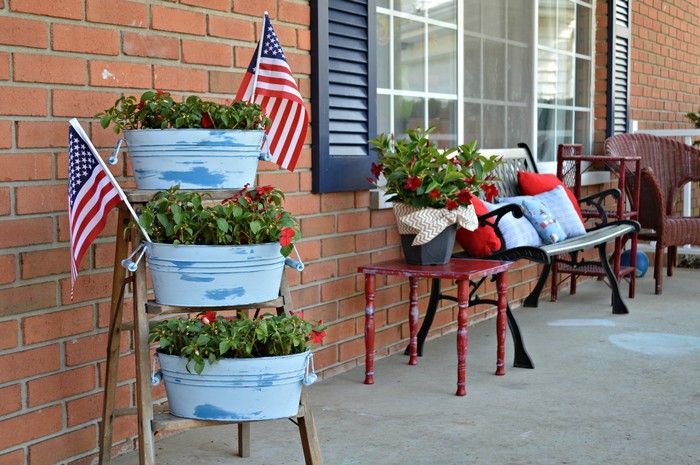
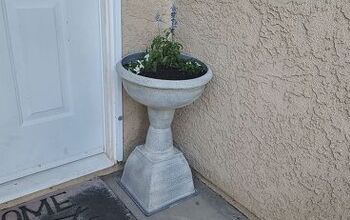
I layered on two shades of blue chalky finish paint so that all our of our planters would coordinate with my vintage Americana color scheme.
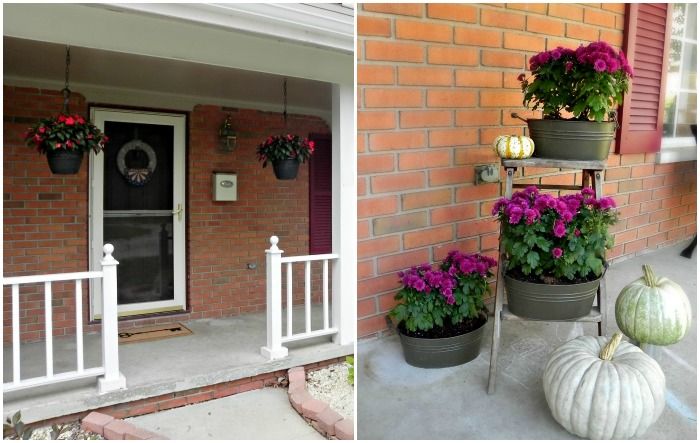
I reuse our planters from year to year, but that meant they were mismatched. I gave them a new look to lighten them up and make them work well together.
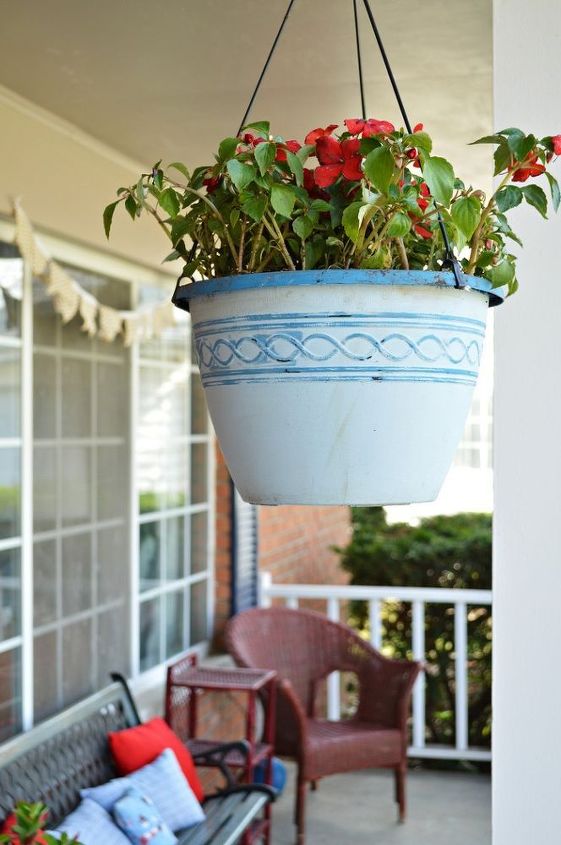
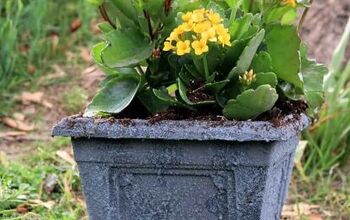
I distressed the raised areas of this hanging planter to bring out the pattern.
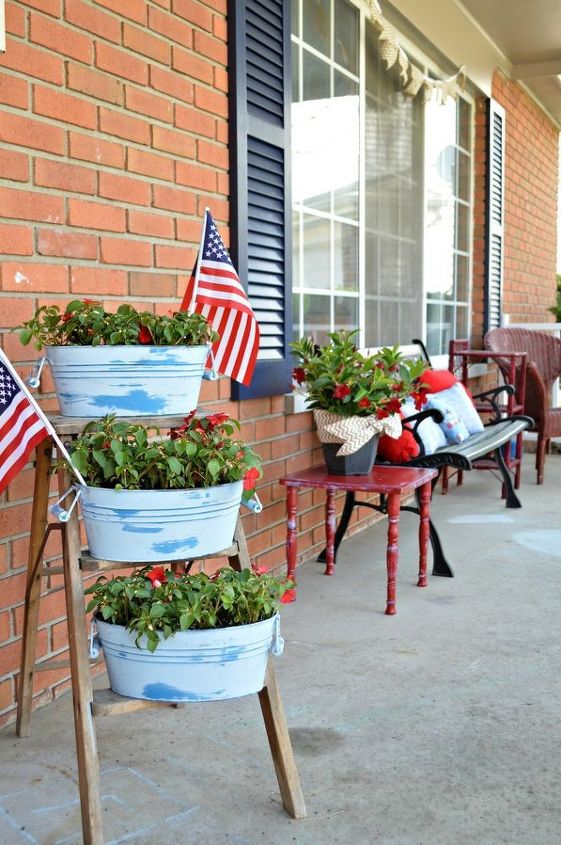
I used a wet distressing technique to make the inexpensive planters look like vintage buckets!
Want more details about this and other DIY projects? Check out my blog post!
Comments
Join the conversation
2 of 5 comments
-
Love the patriotic touch!
-
I love how the pots turned out! Also wanted to say that red side table is gorgeous!! -Handan


Frequently asked questions
Have a question about this project?
I just painted a pot to make an herb garden for a gift. To my dismay, when finished, I noticed the top and inner rim were too visible. I didn't want to paint them because of the herbs, which are planted to eat.
Any idea what to do to a visible top and inner rim of a pot or planter that will keep them food safe?