


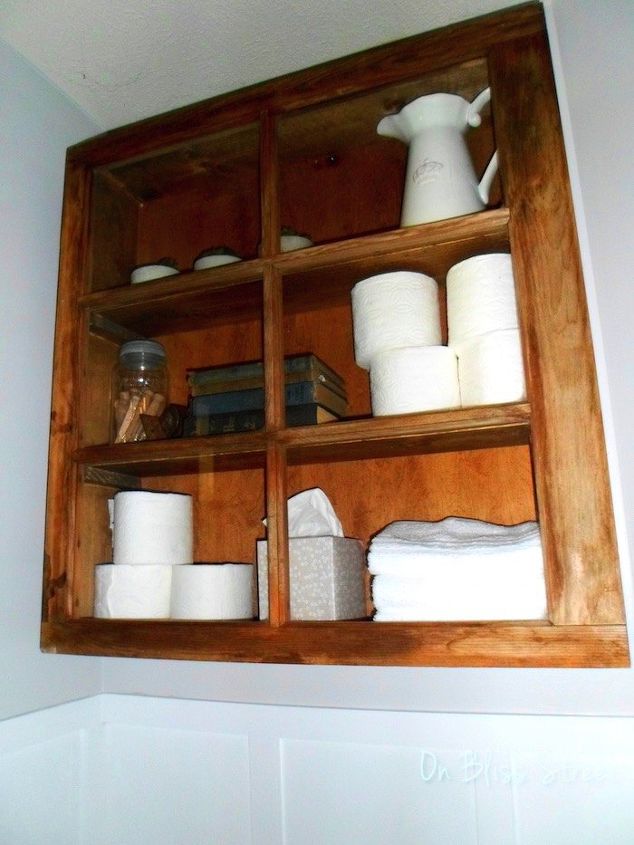
How to Make a Cabinet Using an Old Window. Super Easy and Gorgeous!
I needed a cabinet for my $300 Powder Room remodel, but now that I've made one of these, I'm trying to figure out where else I can put one! Using an old window from my stash, I created a gorgeous cabinet that looks perfect in my bathroom. It was an afternoon project where the most time was waiting for the stain to dry!
First, take the measurements of your window. In my tutorial, I obviously use my window measurements, but the plan can be easily changed to fit all windows. This is a simple cabinet.
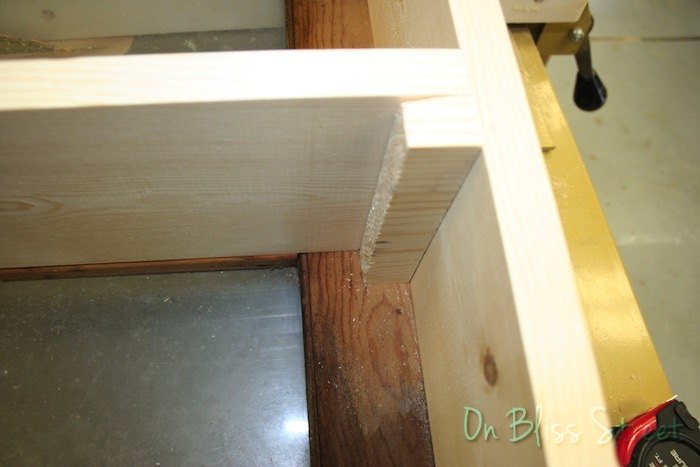
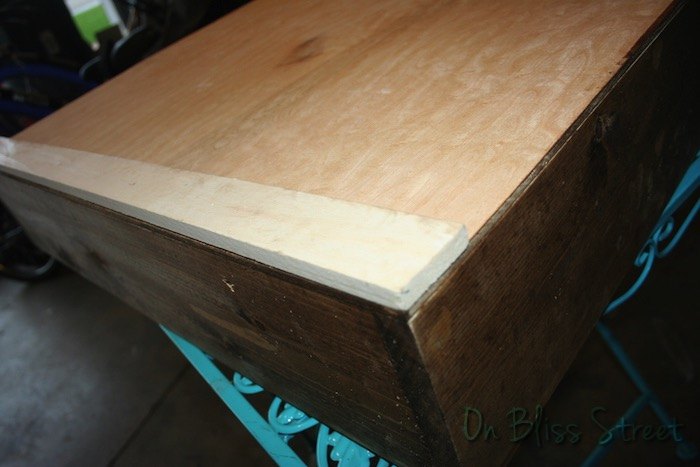
Cut 2 boards the same height as your window, these will be the sides. I wanted my cabinet shelves to be the same height as the wood between the panes. To do this, I just held the board next to the window and marked where the top of the bracket should line up. The entire cut list and full tutorial is on my blog- http://OnBlissStreet.com
I did this for both sides of the window. Your sides and brackets should line up when they are attached. I just used wood glue and 1 1/2" brad nails to attach the bracket pieces after ensuring they are level.
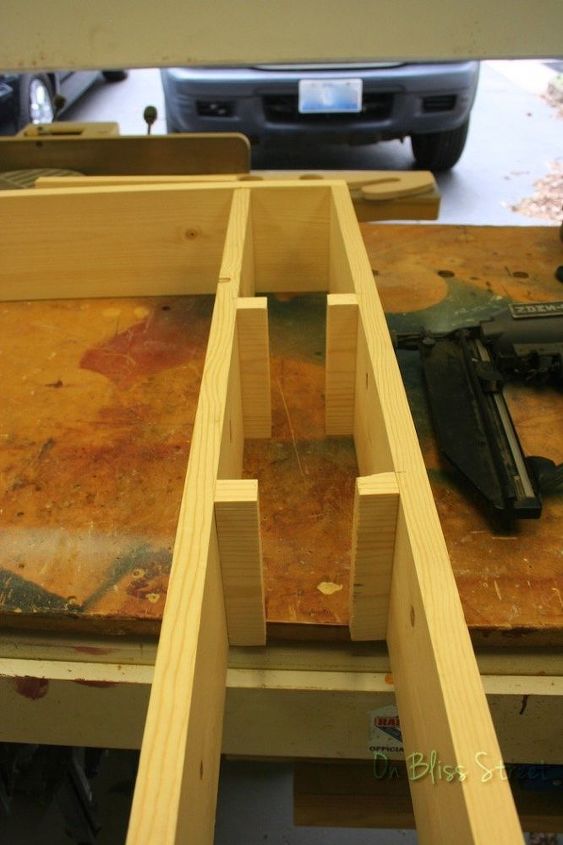
For the top and bottom- your cut measurement will need to be 1 1/2" less than the actual measurement from the window, clamp to hold in place and add glue and a few brad nails to hold in place.
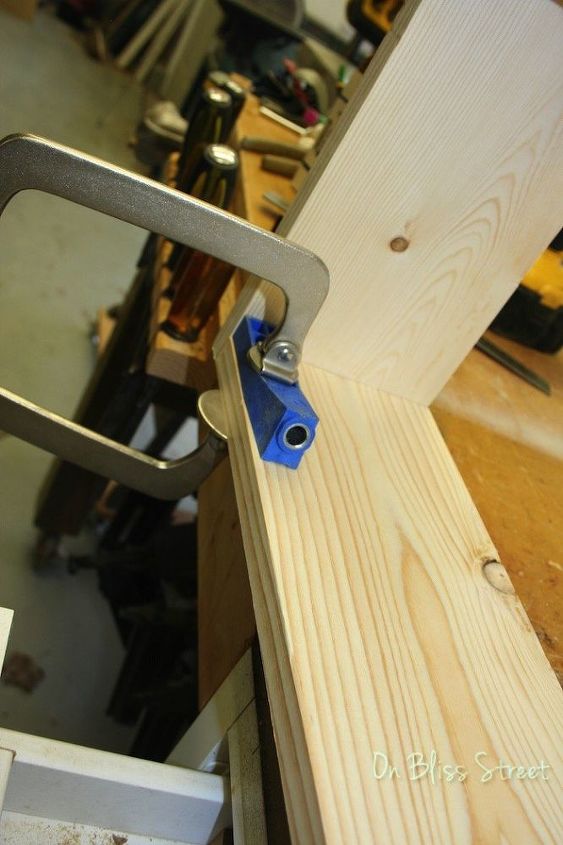
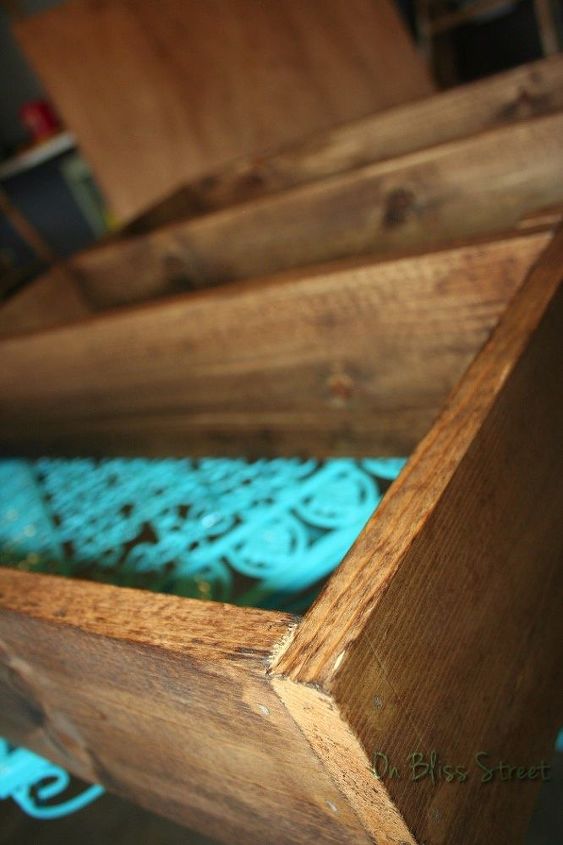
Using my Kreg Mini Jig, I added pocket holes to the top and bottom pieces for stability. You could also not attach these with brad nails first, and just use your Kreg Jig. I was working alone and this made it more stable for me. Fit your shelves onto the brackets.
Before you add the back, I recommend that you stain it first. This is just because it is easier to get to it without the nooks and crannies of the cabinet in your way. My method and tips are on my blog.
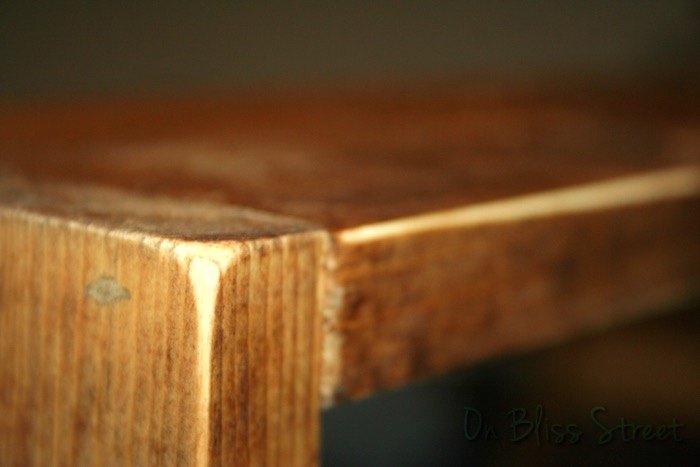
After staining, I gave it a nice sanding to give it the worn, rustic look of my window.
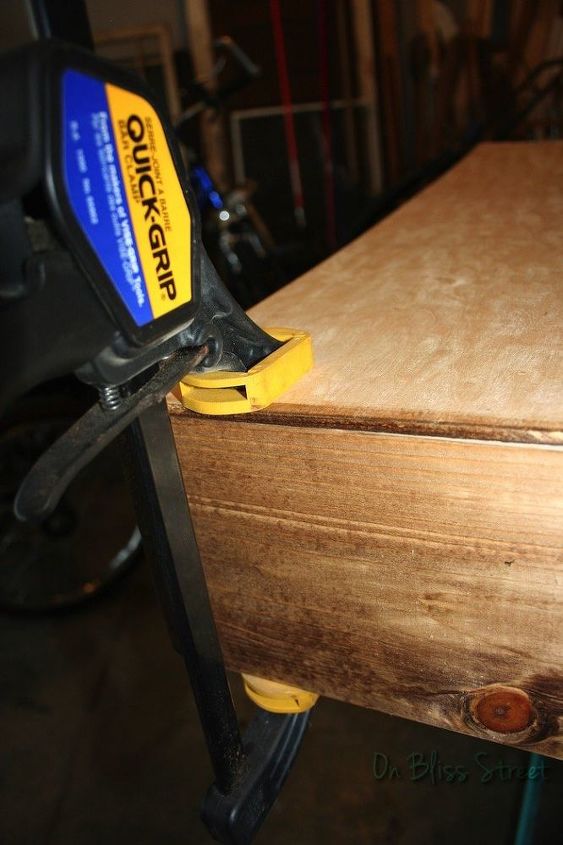
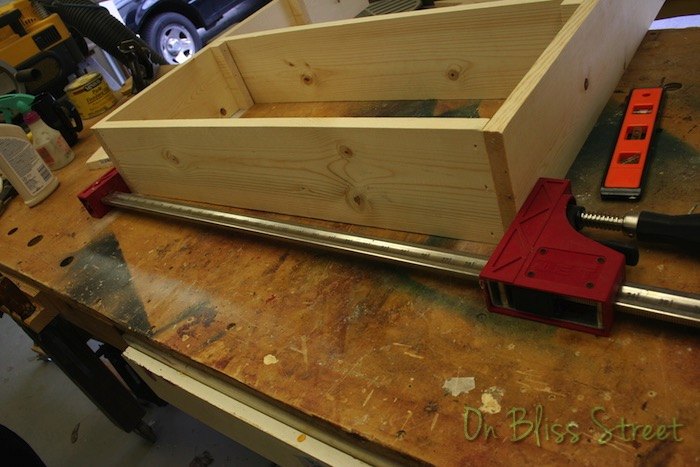
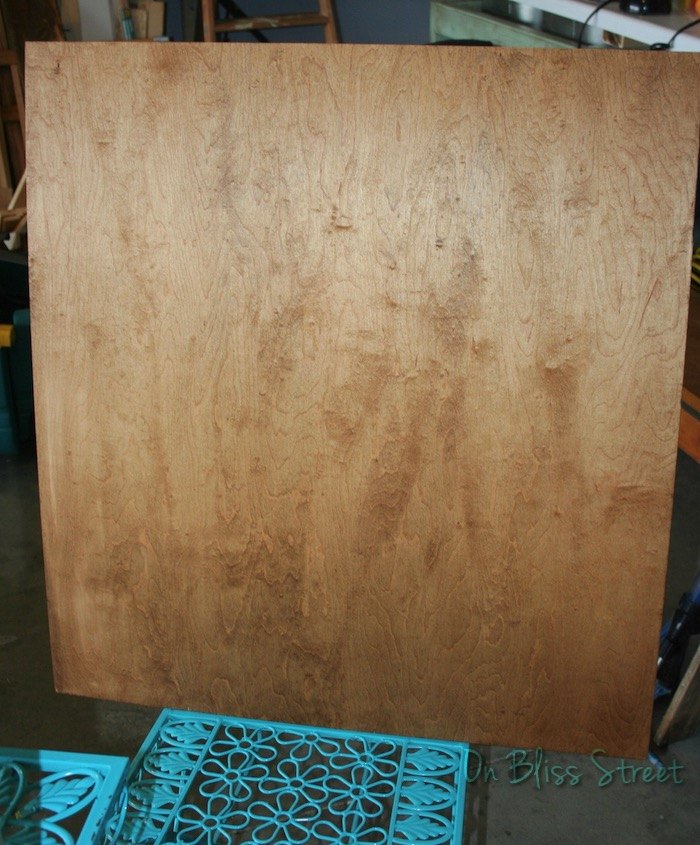
To attach the back, clamp it in place and brad nail it around the perimeter.
I added 2 boards to the back for installation purposes. My cabinet was quite heavy, so I added these pieces with 1 1/4" self tapping screws to be attached directly to the studs. Pre-drill holes into the studs and hang with 2 1/2' screws.
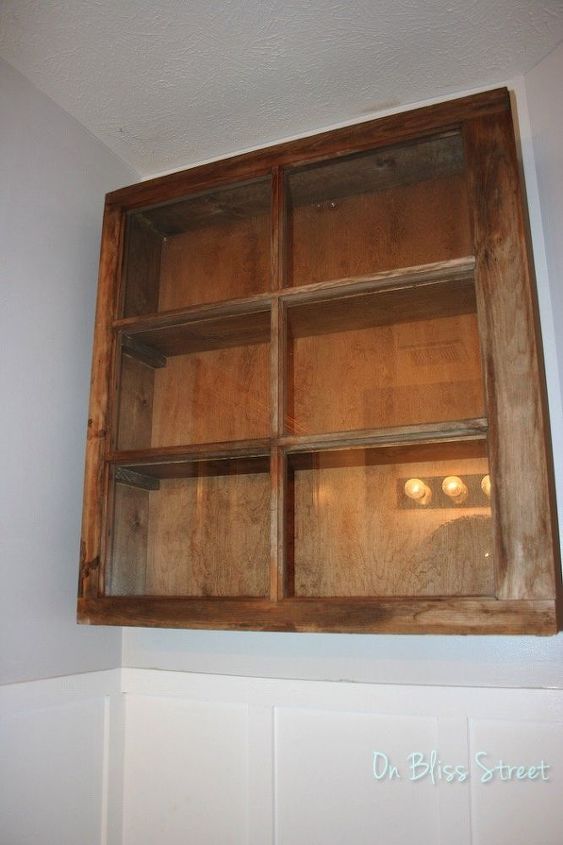
Simply add hinges to the cabinet and to the window. There you have it! A beautiful custom cabinet in an afternoon and the price of a few cheap boards. For the complete tutorial with supply and cut list- click on over to my blog- http://OnBlissStreet

Want more details about this and other DIY projects? Check out my blog post!
Comments
Join the conversation
5 comments
-
This is awesome! Perfect for any room storage.
-
Love this! I wanna make this cabinet


Frequently asked questions
Have a question about this project?