


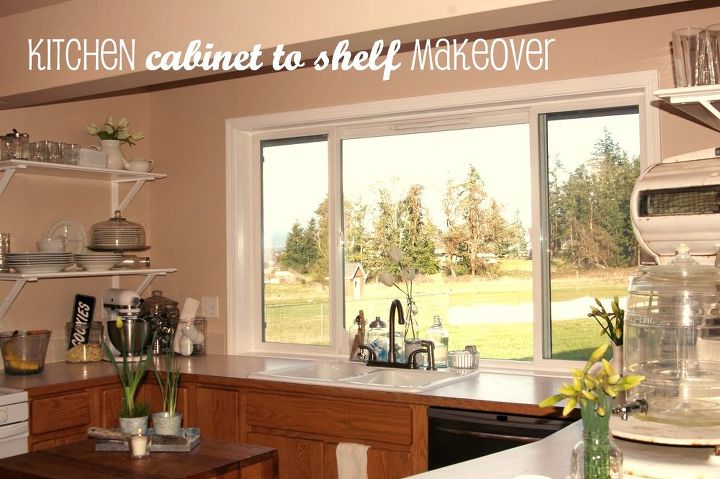
FREE Kitchen 'Cabinet to Shelf' Makeover!
Not very long ago in place far away, I had a dream house. Except for the kitchen...
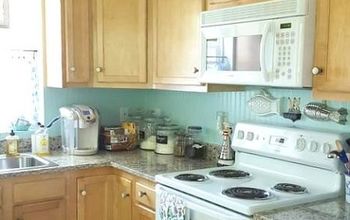
Stuck in the early 90's, it was really ready for a makeover.
The oak cabinets were ugly and basically non-functional: narrow, hard to get access to the back of the corner cabs, and the doors were hung backward by the original builder! In record time, they were replaced with open shelving.
We removed the cabinets from the wall, then removed the doors from them.
Those doors became the shelves, and the cabinet walls were ripped into strips to create the brackets to hold the shelves on the wall. Painted white, they were ready to go up within a day - AFTER the walls were painted!
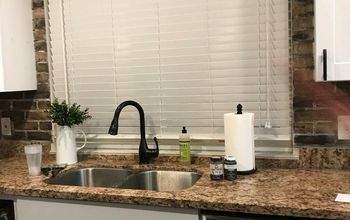
A fresh tan paint color on the entire kitchen (walls AND ceiling) unified the spaces that had been split by the overhead beam and 'bay' area on the window side. (Unseen in the photos, a new track light was installed on the backside of the beam to brighten up the area). White paint on the window trim made it seem much larger and more open than the previous wood tone. [BTW, the rest of the plan was to paint the lower cabinets white, unifying the whole kitchen. I never got that far before we had to move.]
The wood shelf brackets were screwed into the studs, the shelves screwed onto the brackets, and the project was done.
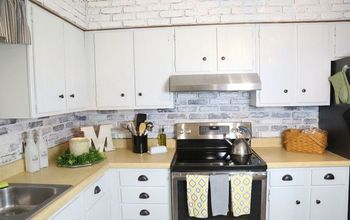
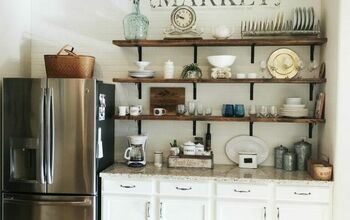
Then I filled up those shelves and the counter space below them with functional and beautiful elements - and those shelves held over TWICE the amount of kitchenware than the cabinets ever had!!
Best part? This project cost us nothing but time:
We had the paint (our whole house was painted that color), we had the screws and sand paper and tools, and we used the old cabinet wood for the new shelves. It turned out so well, we ended up doing exactly the same thing in the laundry room, too!
Stuck in the early 90's, it was really ready for a makeover.
The oak cabinets were ugly and basically non-functional: narrow, hard to get access to the back of the corner cabs, and the doors were hung backward by the original builder! In record time, they were replaced with open shelving.
We removed the cabinets from the wall, then removed the doors from them.
Those doors became the shelves, and the cabinet walls were ripped into strips to create the brackets to hold the shelves on the wall. Painted white, they were ready to go up within a day - AFTER the walls were painted!
A fresh tan paint color on the entire kitchen (walls AND ceiling) unified the spaces that had been split by the overhead beam and 'bay' area on the window side. (Unseen in the photos, a new track light was installed on the backside of the beam to brighten up the area). White paint on the window trim made it seem much larger and more open than the previous wood tone. [BTW, the rest of the plan was to paint the lower cabinets white, unifying the whole kitchen. I never got that far before we had to move.]
The wood shelf brackets were screwed into the studs, the shelves screwed onto the brackets, and the project was done.
Then I filled up those shelves and the counter space below them with functional and beautiful elements - and those shelves held over TWICE the amount of kitchenware than the cabinets ever had!!
Best part? This project cost us nothing but time:
We had the paint (our whole house was painted that color), we had the screws and sand paper and tools, and we used the old cabinet wood for the new shelves. It turned out so well, we ended up doing exactly the same thing in the laundry room, too!
by removing ugly and non-functional kitchen cabinets and replacing them with open shelving, we gained more storage and a more spacious-looking kitchen for FREE!
Deb @ HOMEWARDfoundDecor.com (kitchen project not posted on blog)
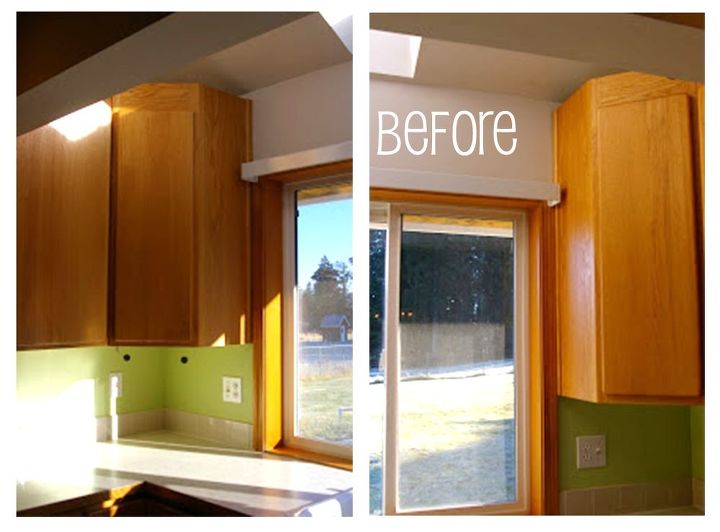
early 1990's oak corner cabinets not only lacked accessible storage, the doors were hung wrong by the builder! and that green paint? :0P

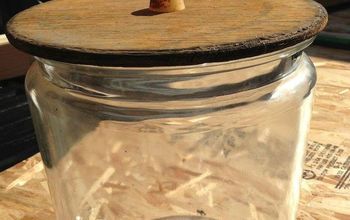
in one hour, the cabinets were removed from the walls. then the doors were removed from the cabinets - and used to create the shelves that would replace them!
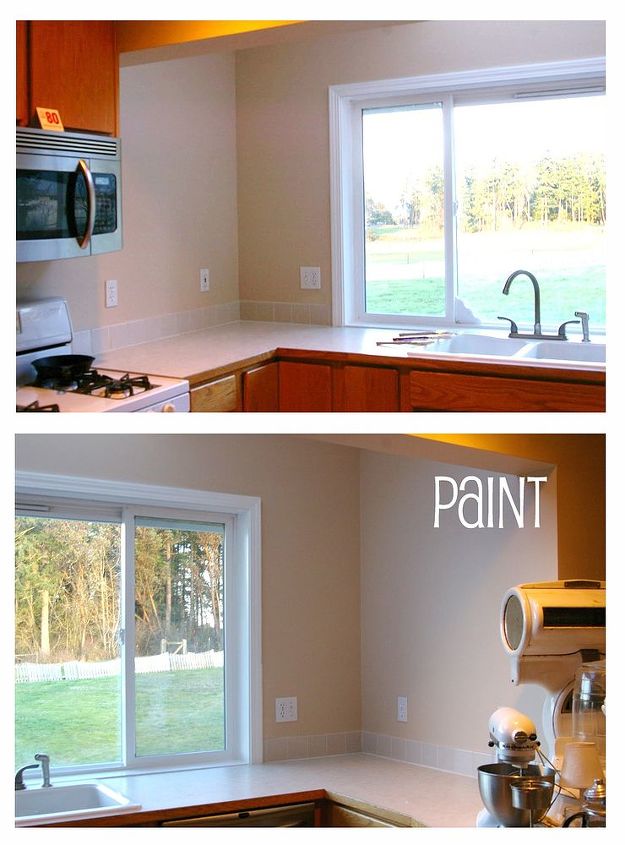
painting the trim bright white and the walls & ceiling tan opened up this 'bay' area of the kitchen and made it all seem connected and more spacious. the overhead beam seems much lighter with tan paint than the previous green & white.
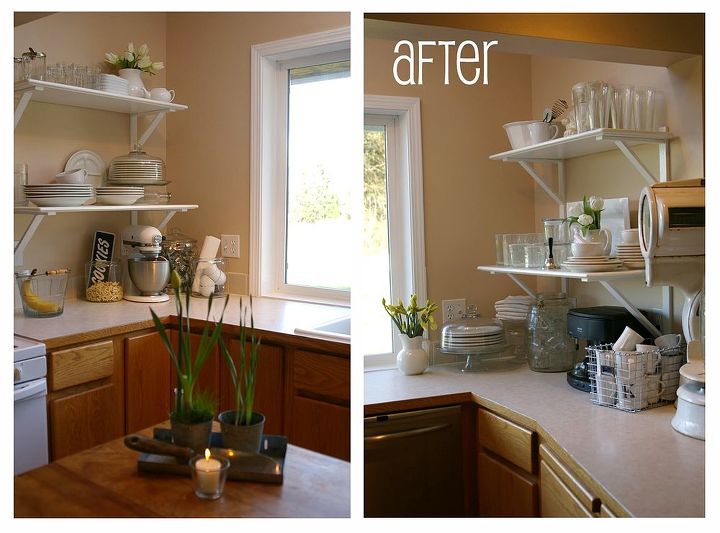
there are MORE dishes being stored on these shelves than ever fit in the previous four cabinets! it's open, light, and stylish. (and the window looks larger with white trim!) Base cabs were to be painted white in the next phase.

Want more details about this and other DIY projects? Check out my blog post!
Comments
Join the conversation
2 of 12 comments
-
My complements! You really let the sun shine in! Great idea! You have appointed a place for every item as well as arranging your dishes etc so they are lovely to look at. I have a very small, definitely not eat in, kitchen in a very old house. I believe this arrangement would complement it nicely. Thank you for sharing.
-
Very nice. The room looks so spacious. Love the window and view! Great job. Thanks for sharing all your hard work.


Frequently asked questions
Have a question about this project?