


Natural Wood DIY Garden Bench Tutorial
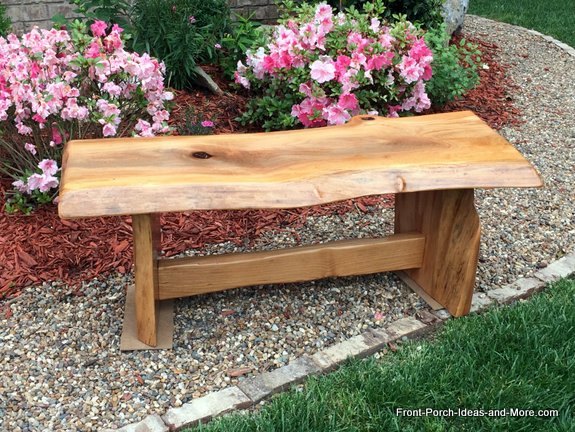
Our garden bench project is not only something doable, but results in a lasting gift or garden decor that will be cherished for years to come. Leaving the edges of the wood natural makes it a perfect outdoor accent for any style garden, porch, entry, or home.
Though it may seem difficult, with the right tools it's a project for people with basic to intermediate woodworking skills and we provide you with a step-by-step tutorial, complete with a video, in full on our site! Here's the basics of what we did-
Though it may seem difficult, with the right tools it's a project for people with basic to intermediate woodworking skills and we provide you with a step-by-step tutorial, complete with a video, in full on our site! Here's the basics of what we did-
Our bench is made from cherry, but no matter what wood you choose to use, the process is basically the same- you need a top and two legs. Most garden benches are between 16 and 20 inches tall; however, you can choose a different height if you wish.
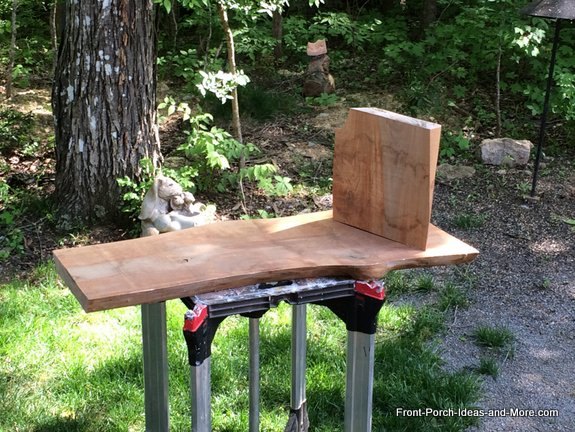
Cutting wood: I cut the legs from the same piece of cherry so our height was determined by that amount of wood I had on hand. Our seat is 44 inches long and the legs are 16 3/4 inches long (cutting the parts from the same piece of wood allows you to carry the color and grain across the piece making for a more aesthetically pleasing bench).
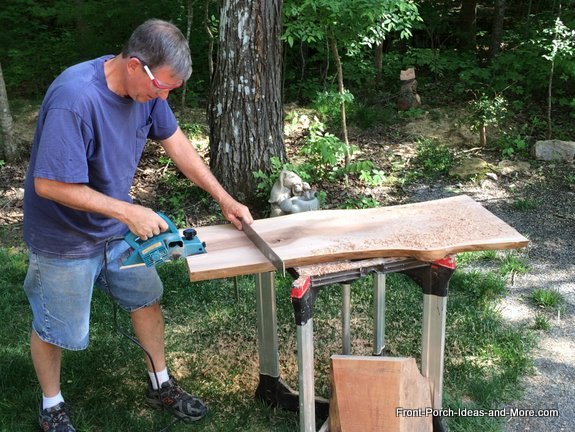
Making square: If the boards you are working with are not out-of-square too much, you may be able to sand them square. In our case it would have taken considerable effort to sand it square, so I opted to use a portable planer.
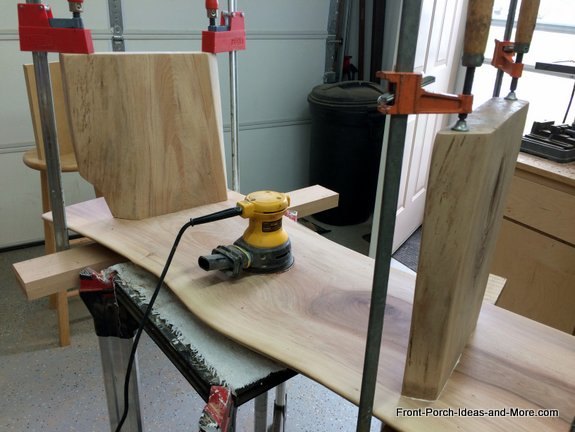
You have several options for attaching the legs to the seat. I used dowels and wood glue which work really well and minimizes screws, nails, or other materials to keep everything as natural as possible.
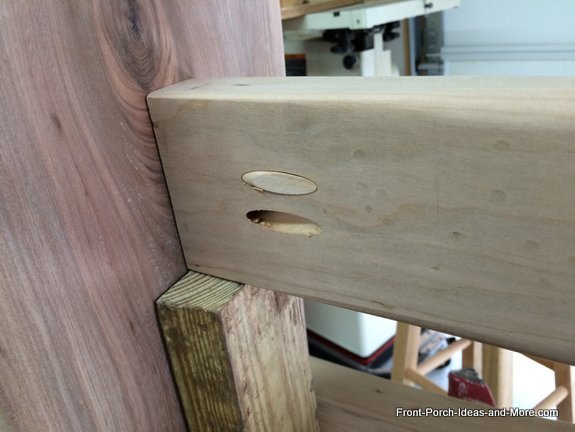
The next step is attaching a brace between the legs. It is a bit easier if your legs are 90 degrees to the seat; however, in this case they were not which makes it a little more challenging. I simply angled the brace and slid into position and then used pocket screws to attach the brace, covering them with angled dowels.
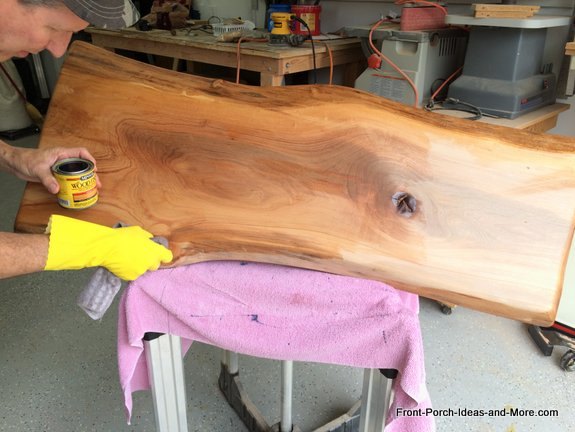
I used a natural clear stain to bring out the wood grain and then finished it with several coats of poly to protect it.
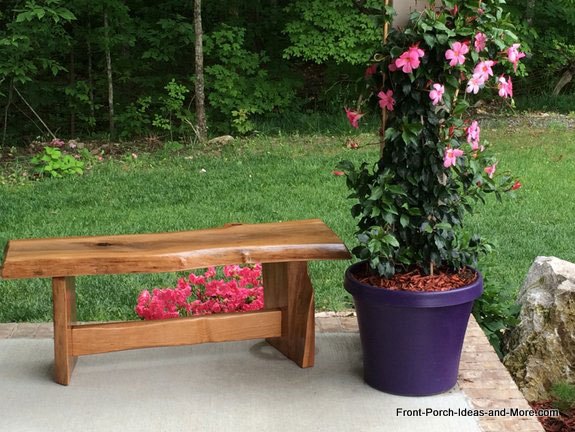
Mary and I loved the way it turned out; a beautiful DIY garden bench for the yard or your front porch!

Want more details about this and other DIY projects? Check out my blog post!
Comments
Join the conversation
3 of 5 comments
-
Love it!
-
So beautiful. Nice workmanship.


Frequently asked questions
Have a question about this project?