


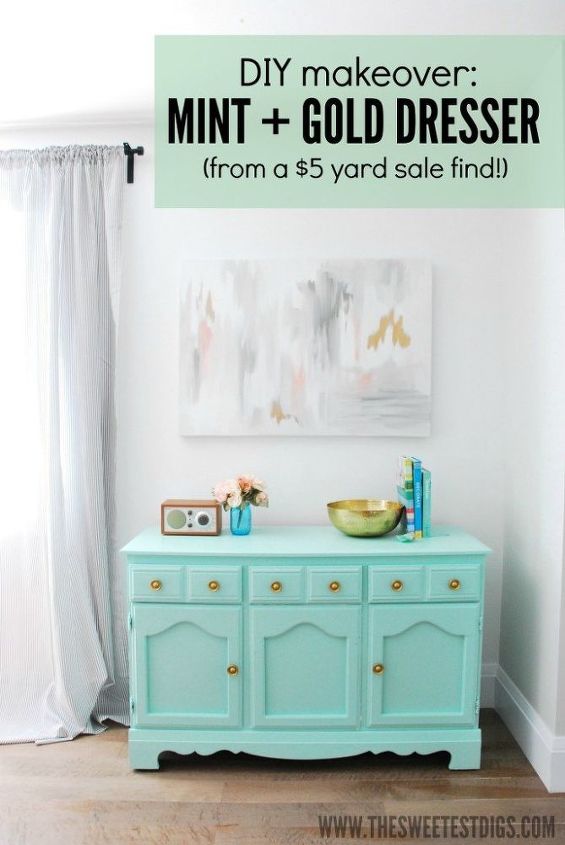
Re-Finishing 101: a Mint + Gold Dresser
2 Materials
$35
2 Hours
Easy
In our dining room, there was this nook next to the window that had been left bare. Between it looking un-finished, and the fact that I had been in desperate need of storage to unpack things like our table clothes, napkins, candles, etc, I was keeping my eyes peeled for a piece of furniture we could use as a buffet. The one that we had used in the bungalow was too long for this space, and also broken. Womp womp. Enter, a perfect opportunity to make over a yard sale find!
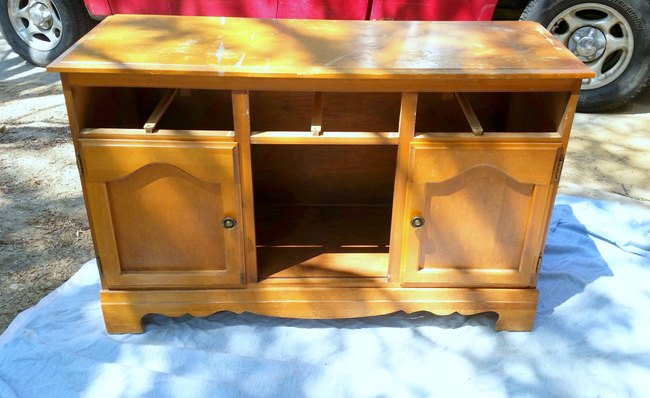
I came across this solid wood dresser at a garage sale in my neighbourhood. The asking price? $15. Oh, and that $15 also included a wooden coffee table and a round table that I plan on eventually using as a kids craft table. So basically, it was more like $5 when you divide by the 3 pieces I got. Amazing, right? This is why I ADORE garage sale-ing. Dan was maybe not as thrilled about my finds, as he had to go lug them home with a borrowed truck and put them in our garage, which looks like an episode of Hoarders right about now. Sorry honey! I got to work on making over this bad boy right away. I took out the drawers, and the middle cabinet door, which was affixed with some flimsy nails (it doesn’t open with a handle like the others). As with any wooden piece of furniture that you are re-finishing, I gave the dresser a light sanding by hand. There weren’t any major dings or holes, so no need for wood filler. I also gave it a once-over with a wet washcloth and a bit of water and vinegar. I find that this helps to take away any musty been-in-the-basement-too-long kind of smell.
As you have seen in Maya’s room, I have fallen hard for a particular mint paint lately – “Baffling Behavior” by PARA Paints. Not only is the colour so damn sweet, but I’m in LOVE with the paint. It’s PARA’s Cabinet and Furniture paint line and I have been finding it amazing to use. It covers really nicely and has a finish that isn’t too glossy but yet is durable. No adding a layer of poly on-top, this paint is the primer, colour, and top coat all in one. Perfect for this lazy DIYer. I gave the whole thing two coats. I use a brush to get into the nooks and crannies, but then a small foam roller to roll everywhere I can. That way you get the nice finish of the roller, with no visible brush marks.

Want to read the rest?? Head over to the blog to see how I finished this dresser's transformation!

Want more details about this and other DIY projects? Check out my blog post!
Comments
Join the conversation
2 of 58 comments
-
Beautiful...I'm about to do something similar to make the tv console from a free dresser i got. Can't wait.
-
Pretty cute!!


Frequently asked questions
Have a question about this project?