


Brown Paper Bags, Not Just for Lunches Anymore!
1 Hour
Easy
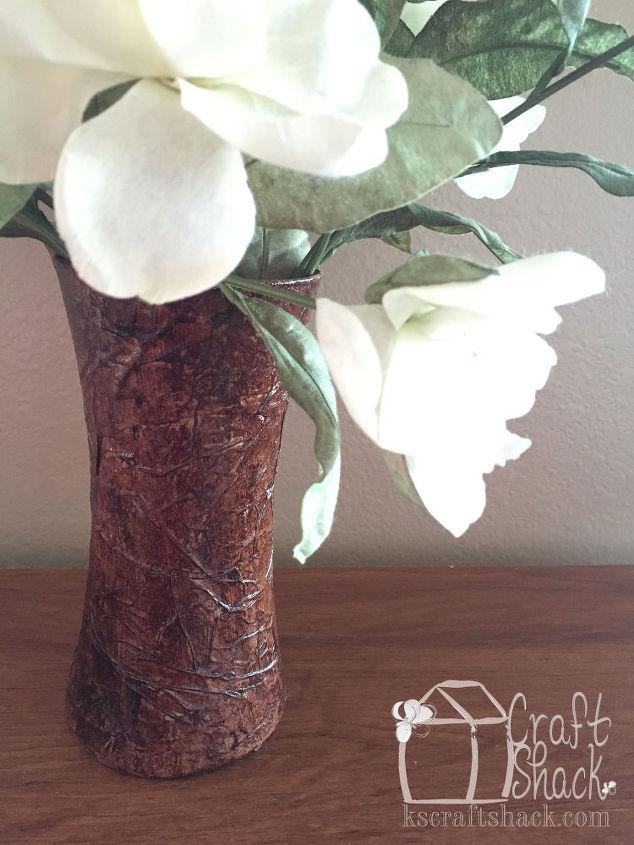
While I love the look of the brown paper bag floors and counter tops I have seen recently, it isn't exactly my style on that kind of scale. This project is perfect for the same look, on a much smaller scale!
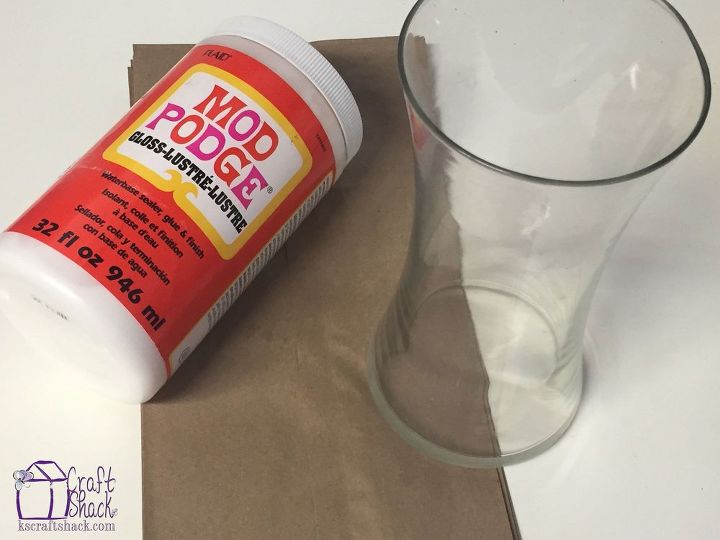
These three things are seriously all it takes! These are the basics for the project. You need something to cover (I used this plain boring glass vase), Mod Podge, and Brown paper sacks!
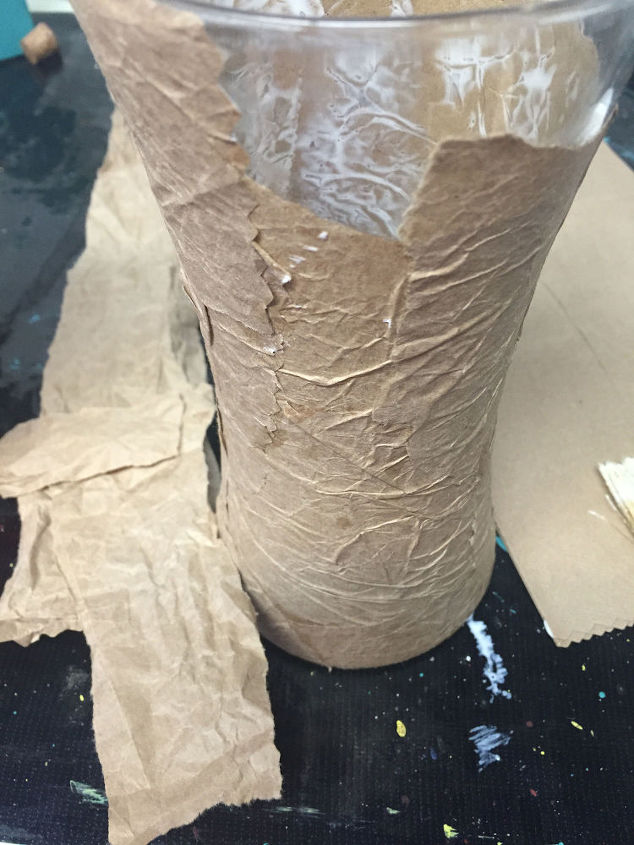
Keep going until your object is completely covered! Let it dry and seal it with a top coat of Mod Podge!
To see the full tutorial visit my blog with the link below!

Want more details about this and other DIY projects? Check out my blog post!
Comments
Join the conversation
2 of 121 comments
-
Love!!
-
If you want the leather look use the paper bags or brown packing paper also works well. I did the walls in my kitchen years ago. I used tissue paper. How I put it on …I rolled paint onto the wall first…then (you have to crumple up the tissue paper first and then open it up and lay it on the painted area) the paint right over the top of it. I ripped the edges of the tissue paper off so there were no squared edges on it. When you get to a spot where things don’t meet up just use a piece of the tissue paper off and make sure there are no square edges on it. It came out beautifully! The Tuscan look was in at the time. You can kind of see it by the light.


Frequently asked questions
Have a question about this project?