


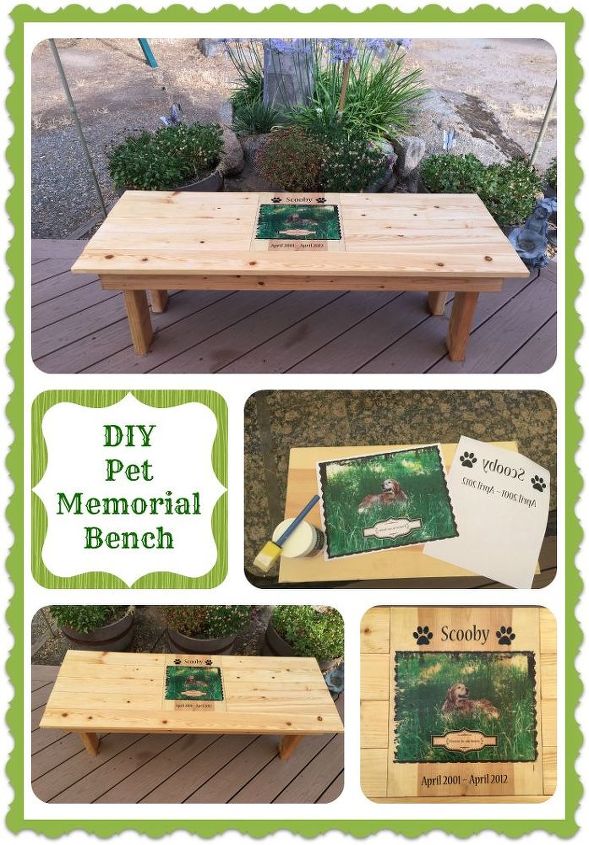
DIY Pet Memorial Photo Bench
Easy
Build a Pet Memorial Bench that incorporates your pet's photo. Easy weekend project.
One of our Golden Retrievers, Scooby, died from cancer back in April of 2012, right before he would have turned 11 years of age. We buried him at the back of our property and ever since then I have been meaning to turn the area he is buried into a pet memorial garden. I have been planning to purchase some kind of stone or statue to put over his grave, but just could not decide on one, plus they were all really expensive. Recently we had a close call with our remaining Golden Retriever, who is 14 years old, and I thought we would be burying her next to Scooby (you can read about that story here). Luckily, her health issues ended up being fixable (for a small fortune…) so she is still with us. But it reminded me that I had yet to make a decision as to how to mark Scooby’s grave.
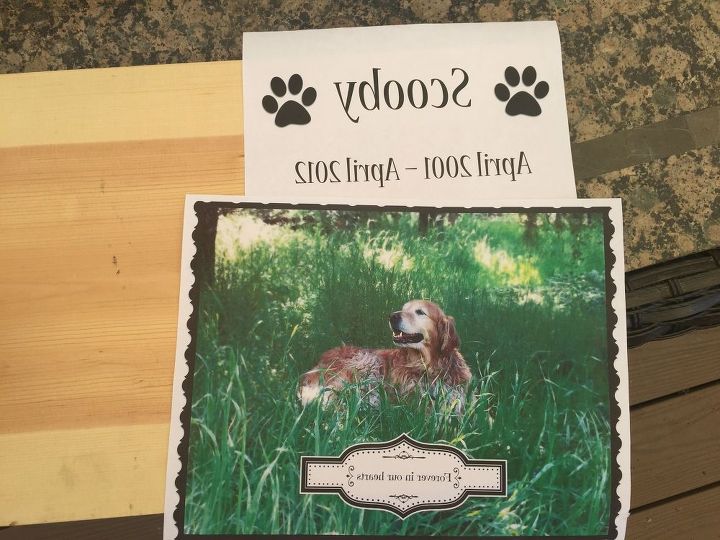
Photo and wording printed in reverse
You’ll need the following items to create the wood transfer:
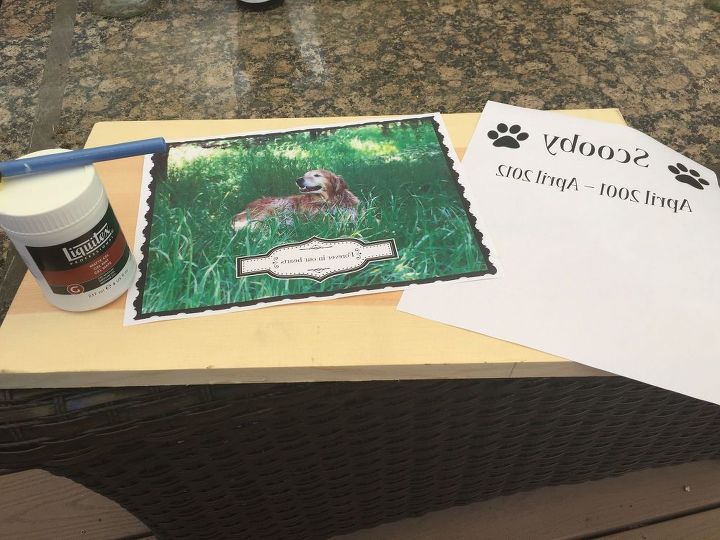
Items needed to transfer photo onto wood.
First, using the foam brush, spread an even, but somewhat thick layer of the Liquitex Gel Medium onto the area of the board your photo and wording will be transferred to. Place the pictures and wording face down onto the gel medium on the board. Use a plastic card, such as a credit card or gift card to remove all the air bubbles from under the photo.
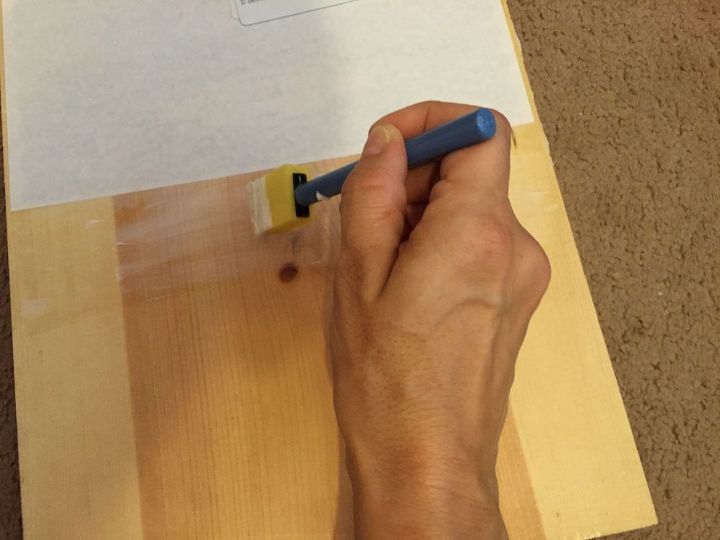
Use foam brush to apply Mod Podge to board.
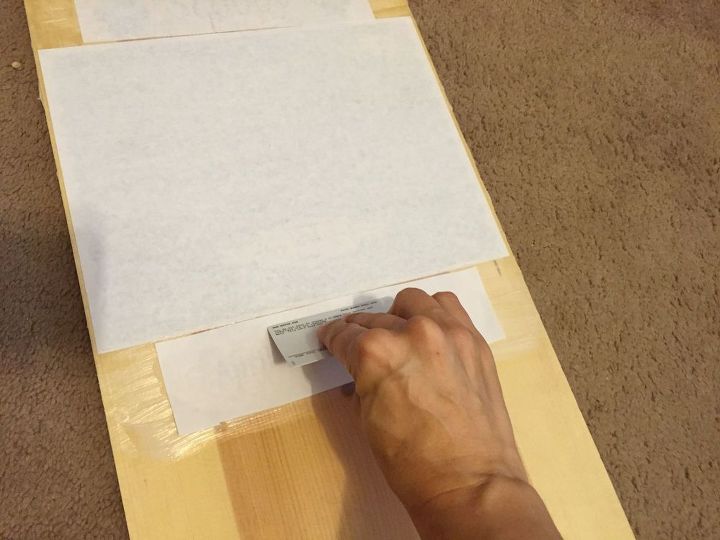
Use a plastic card to remove air bubbles
Now let the board with the photos sit overnight. After the gel medium has dried overnight, take a very damp towel and lay it over the pictures on the board for several minutes (until you can easily see the image underneath).
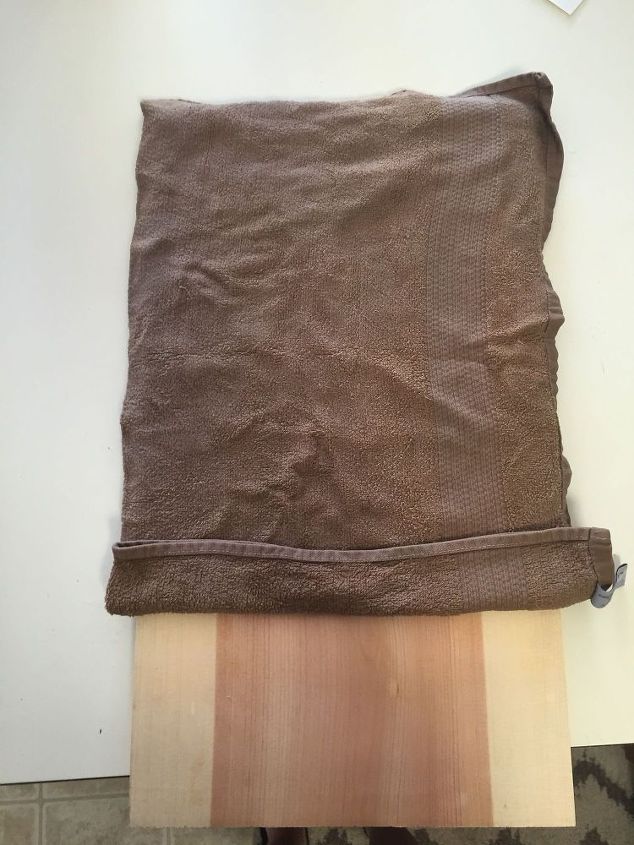
Lay a wet towel over the images on the board.
Once you can clearly see the image through the paper, you can remove the towel.
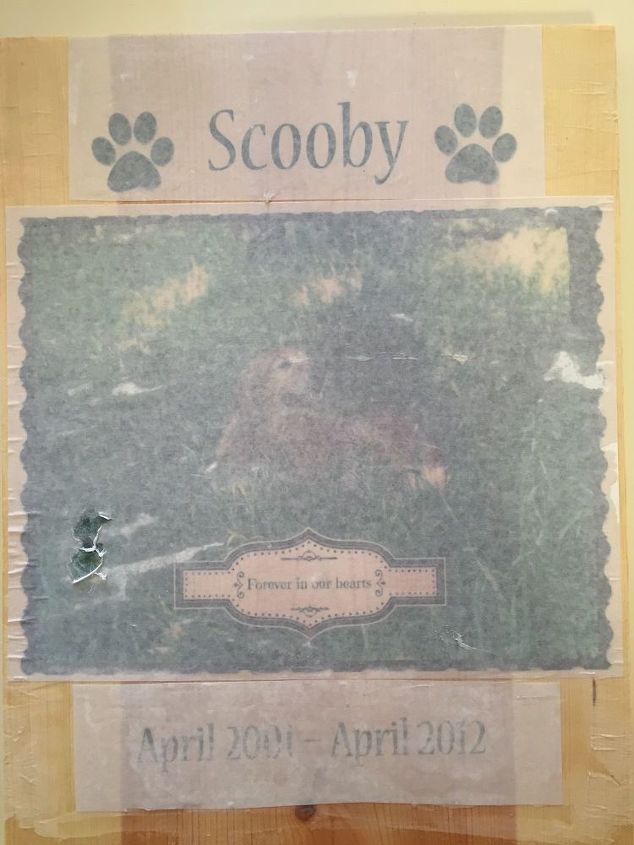
Remove towel once image is visible
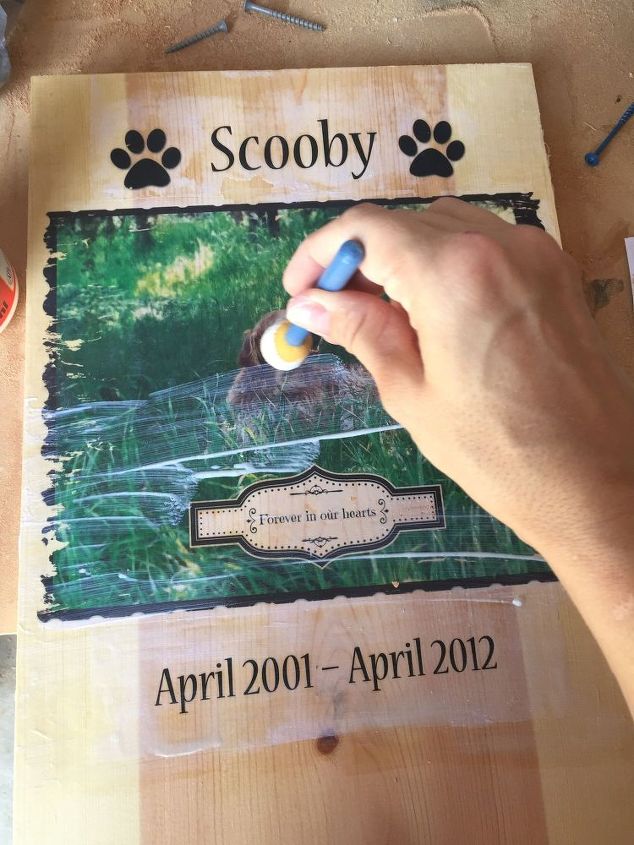
Using your finger, begin gently rubbing off the paper from the image on the wood. Continue doing this until all the paper is removed. Rub gently, if you rub too hard the image will be removed as well.
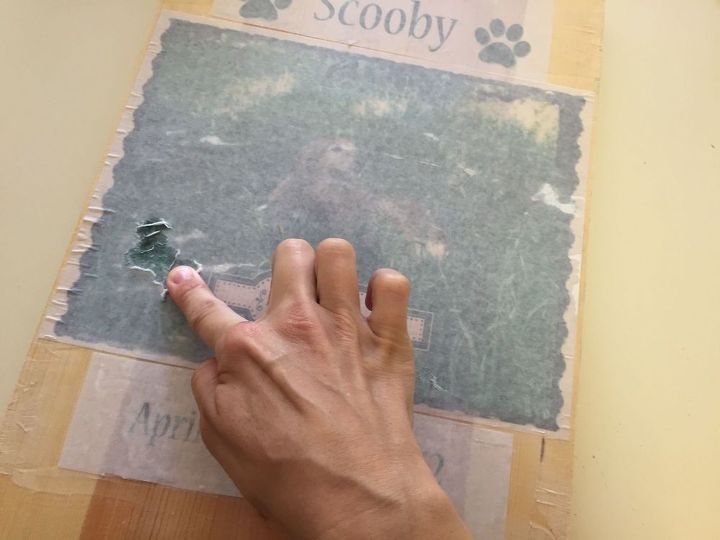
Use your finger to gently rub away the paper
Once all the paper has been removed, let the wood dry and then apply a layer of Mod Podge over the image to protect it during the bench building process.
Apply Mod Podge over image
Once the Mod Podge has dried, cut the 1×12 board with the image to 13 7/8″ in length using a miter saw or table saw.
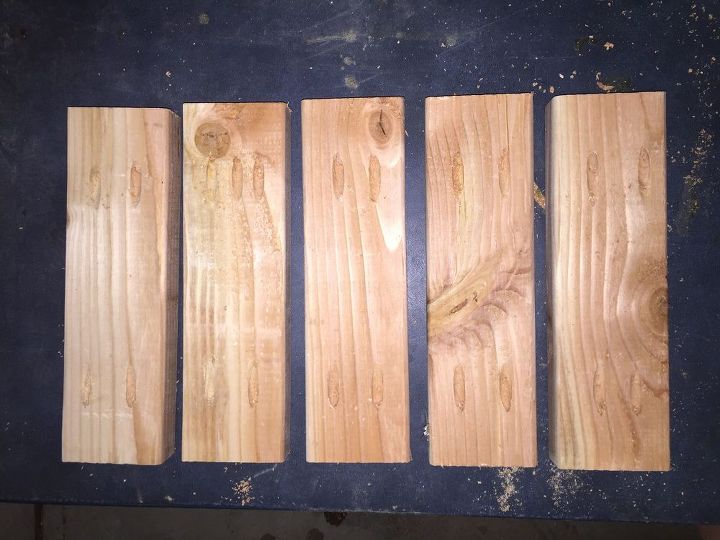
Pocket holes drilled into each end of boards.
Use wood glue and 2 1/2″ pocket hole screws to attach the 2x4x12 boards to the 2x4x46″ boards. Two boards attach at each end of the 46″ boards, and the three remaining 12″ boards are evenly spaced between them.
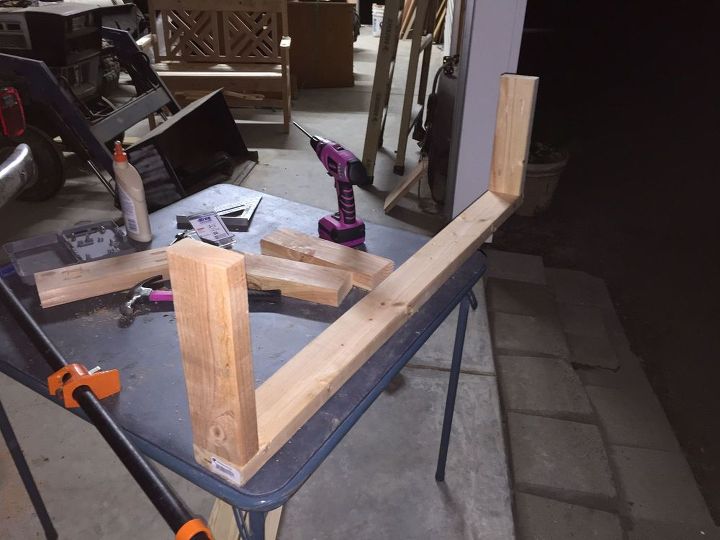
Begin building frame
Using 2 1/2″ pocket hole screws, attach the 2x4x12″ boards to the 2x4x46″ boards. Evenly Space the remaining three 12″ boards in between two end boards.
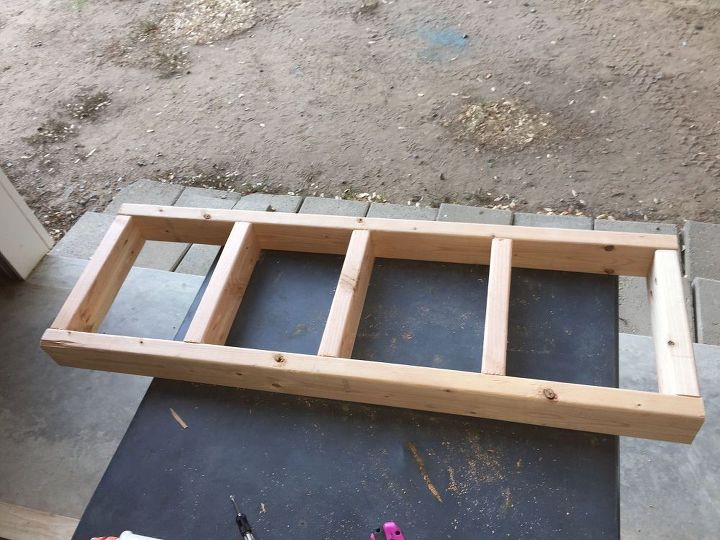
Completed frame
Next, attach the legs(the four 2x4x16 1/2″ boards) to the inside of the frame using wood glue and 2 1/2″ wood screws. Predrill with a countersink bit. Once all four legs are attached, place the frame on the legs so it is standing on all four legs.
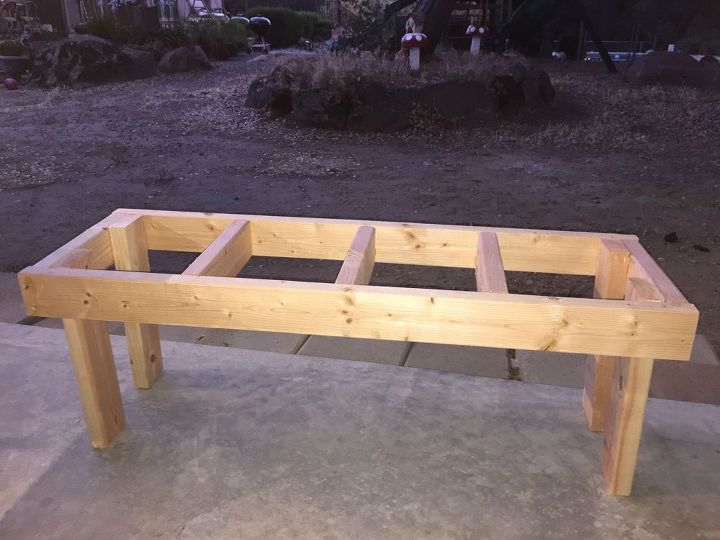
Attach legs
Now for the top! Mark the center line of your bench and mark the center line of your 1x12x13 7/8 board with the picture on it. Align the middle of the photo board with the middle of the bench frame. Make sure the photo board hangs off the top edge of the frame by 1″. Attach the photo board with wood glue and 3 1/2″ exterior wood screws (predrill with a countersink bit). The screws will be attached through the bottom of the frame up through the 2×4 pieces into the 1×2 boards that make up the bench top.
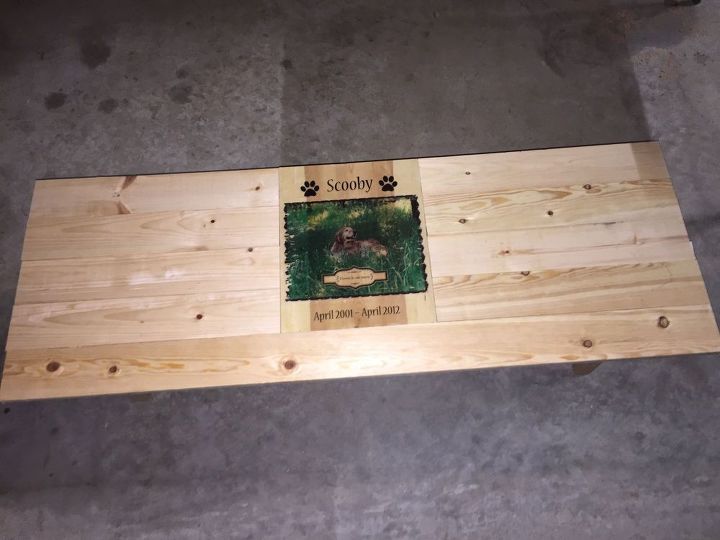
Assembled top
Coat the bench in at least three coats of Varathane Outdoor Spar Urethane. I would recommend more than three coats to help protect the image on the wood from UV light and rain.
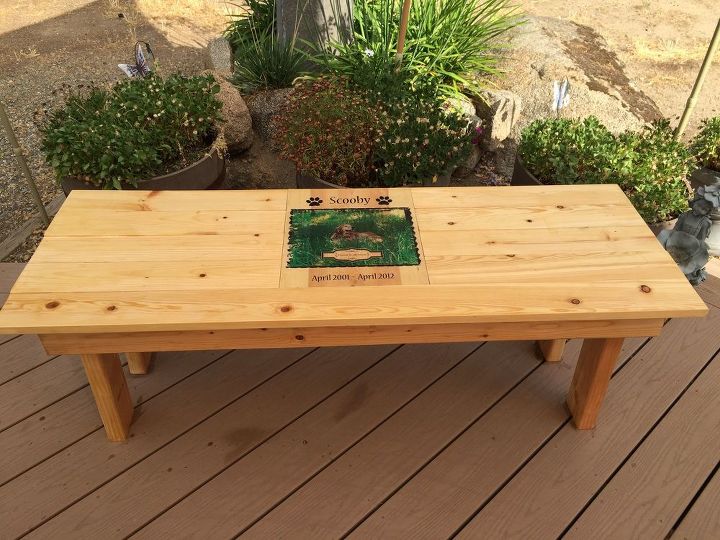
Completed pet memorial bench.

Want more details about this and other DIY projects? Check out my blog post!
Comments
Join the conversation
2 of 40 comments
-
very nice way to honor Scoobs. I am not all that talented in the carpentry area. But I have the perfect bench to do this..but I will not even TRY the transfer...it never worked for me :) I will just modpodge a photo to the wood, then more on top..then poly the whole thing...layers. Thanks for the inspiration.
-
Thanks for the great idea! I built the bench yesterday and finished the photo transfer today. It is a fitting tribute to an old and faithful friend.


Frequently asked questions
Have a question about this project?
Thank you for this wonderful suggestion... I'm wondering, do I need to use photo paper or regular copy paper for the photo and words/paw prints? TIA,
What type of wood did you use? treated? type? Thanks