


How To Get The Chippy Paint Layered Look Using Chalk Paint
I wanted to try my hand at achieving a chippy paint layered look with chalk paint. (It's also referred to as "crackle paint", but I like the sound of chippy paint better.) I thought it would be hard, but it's not hard at all- it's actually really easy and a lot of fun! :) So much so I had to make a tutorial and share it with you!
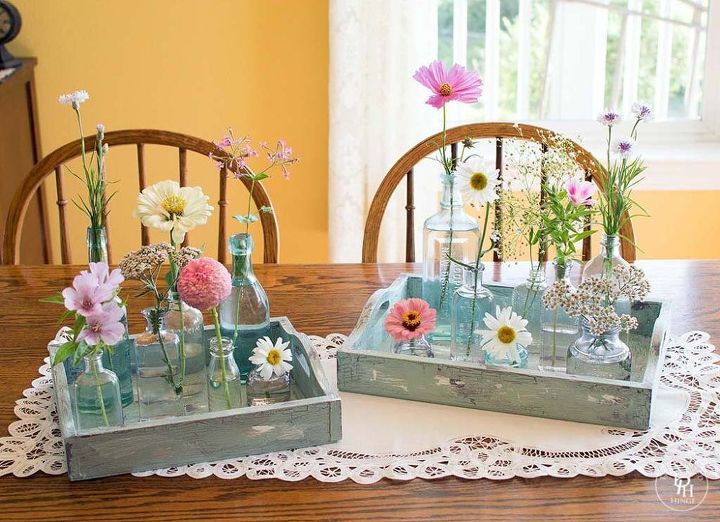
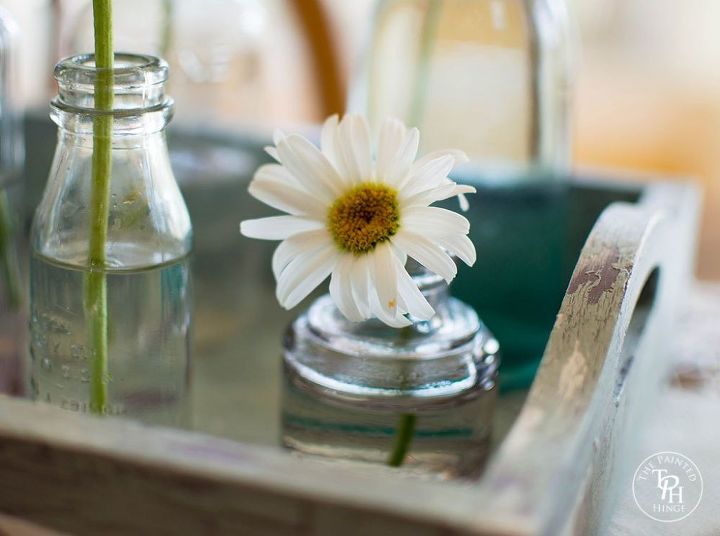
I used my finished trays to display flowers I picked from my garden.
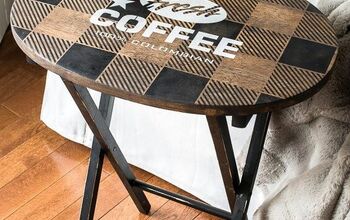
The results are a gorgeous vintage finish!
Aren't they pretty? :)
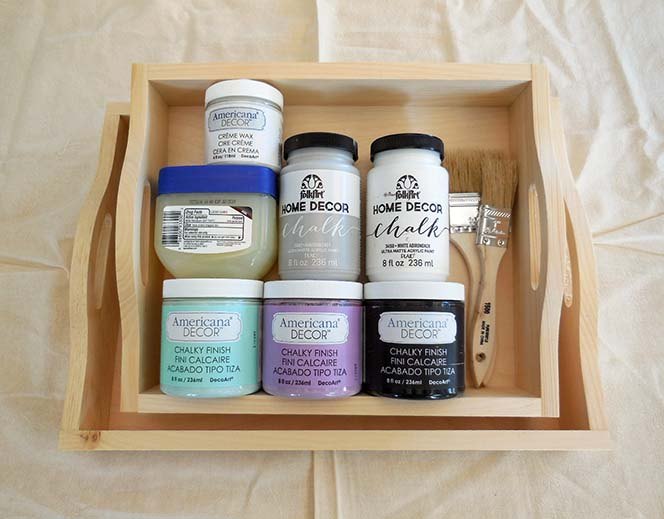
Here's what you'll need:
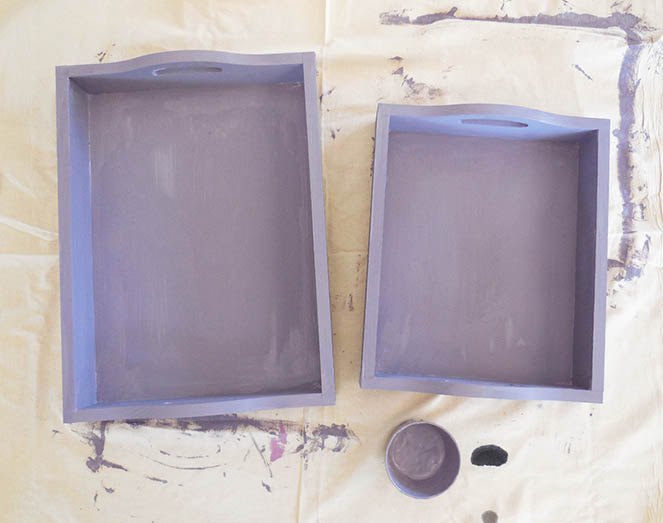
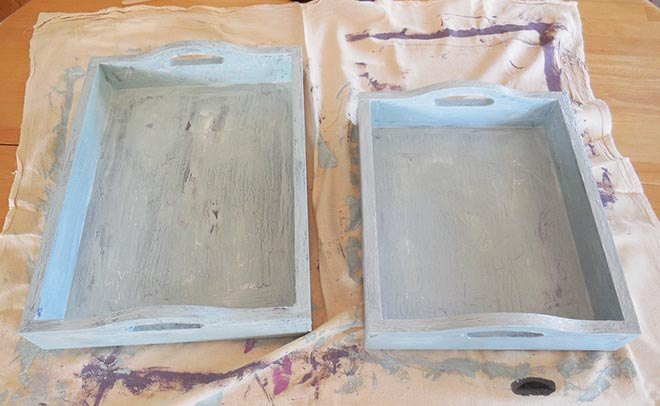
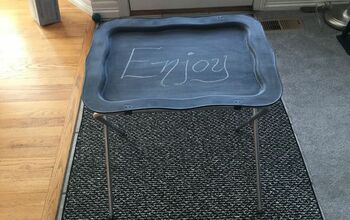
Paint trays using the you chose to be the base (bottom) color.
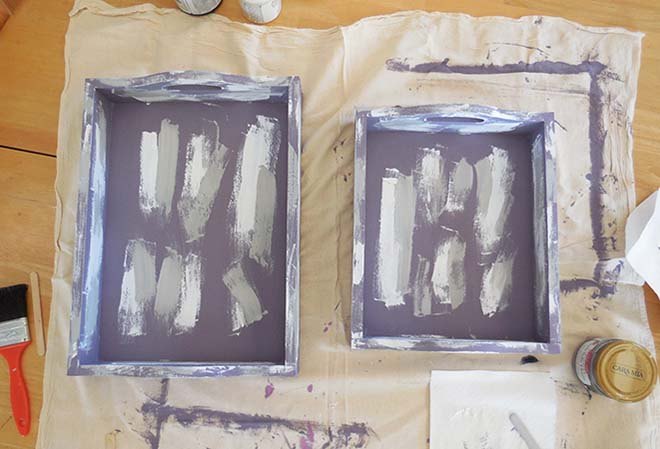
Paint on your layering colors randomly as shown. I used White Adirondack and Castle.
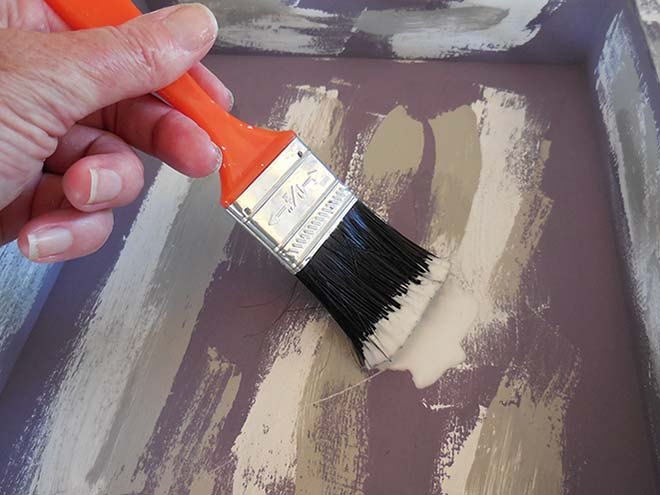
Paint on the Elmer's Glue. I chose to paint the glue entirely over both trays because I wanted the chippy paint look everywhere, but you can just want the effect in certain spots, just paint the glue on in those spots.
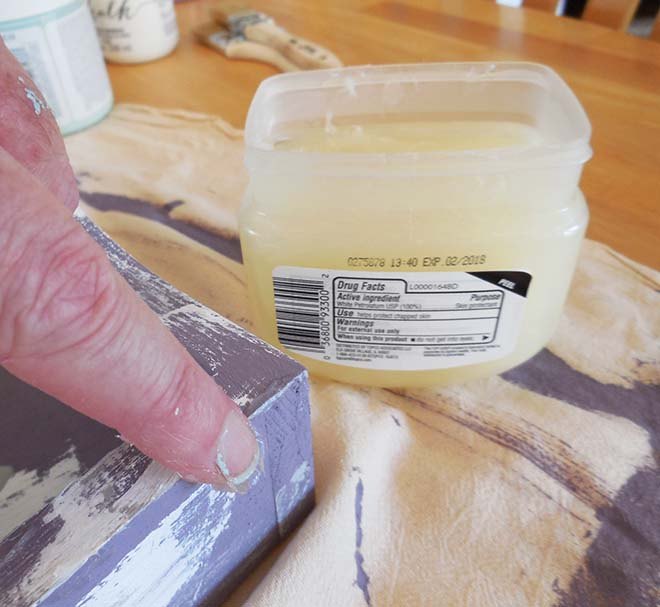
Rub petroleum jelly on the spots you want to appear "worn off." You can apply the petroleum jelly over spots that have glue on them.
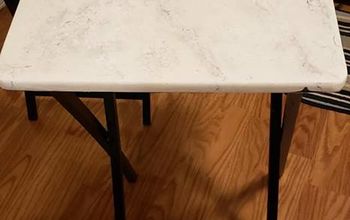
Allow the glue to get tacky (but not all the way dry) and then paint the top coat over everything. You want the glue to be tacky when you paint over it because it will cause the paint to get the chippy look as it dries. There has been much debate on how long you should wait to paint after you've put on the glue, but it really depends on how thick a layer of glue you've put on (the thicker the glue layer, the bigger the chippy look) and what the current climate is in your neck of the woods. Just test it every few minutes and paint when it gets tacky to the touch.
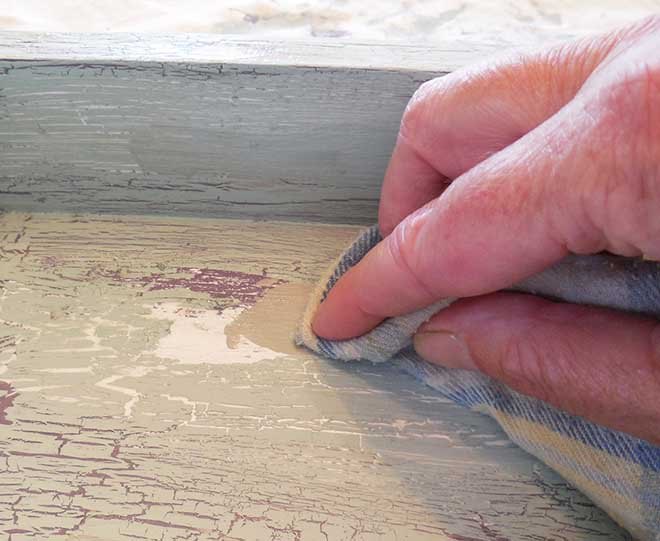
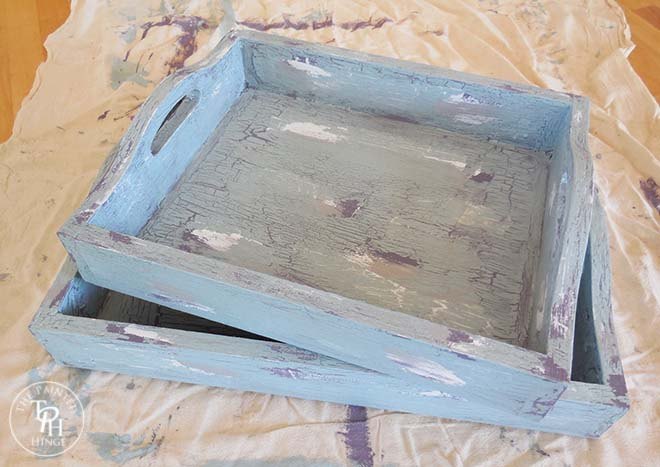
Wait for everything to dry entirely (overnight is best) and then remove the paint over the petroleum jelly areas with a soft rag. You want to make sure the paint is entirely dry before you do this, because if it isn't the wet paint will smear over the parts that are supposed to look worn and chippy. When the paint is dry, it will coagulate over the petroleum jelly and rub off easily without smearing.
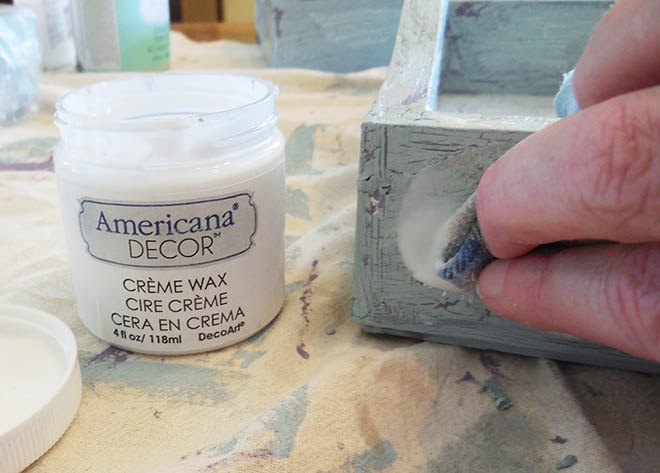
Finish with a layer of crme wax. I really like the crme wax because it is very thin and applies smoothly and dries quickly.
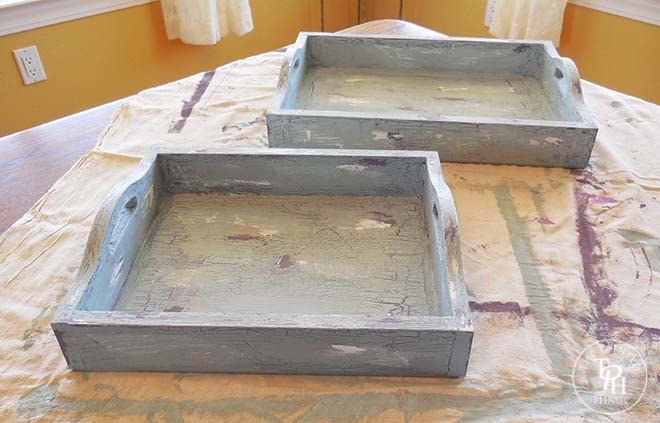
Now you have two gorgeous trays for decorating!

Want more details about this and other DIY projects? Check out my blog post!
Comments
Join the conversation
2 of 3 comments
-
Thank you so much Hannah! :)
-
Love the look - I'm going to give it a try - thanks!


Frequently asked questions
Have a question about this project?