


A DIY Tile Project
3 Materials
We just finished a little DIY project around the house this weekend that I thought I would share with you today.
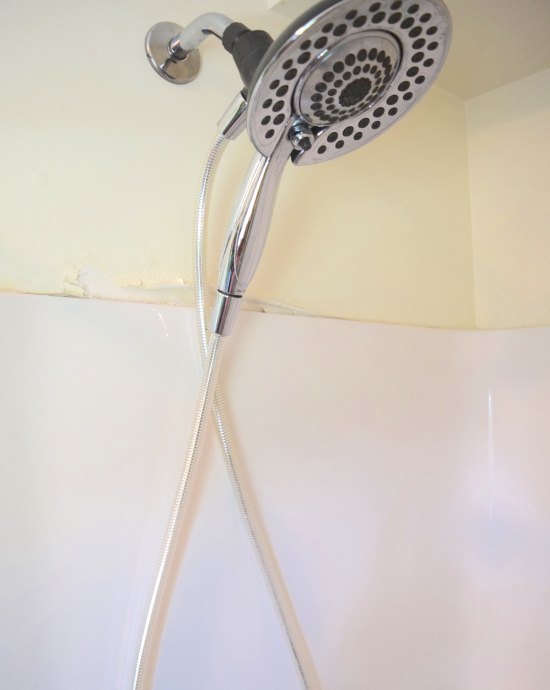
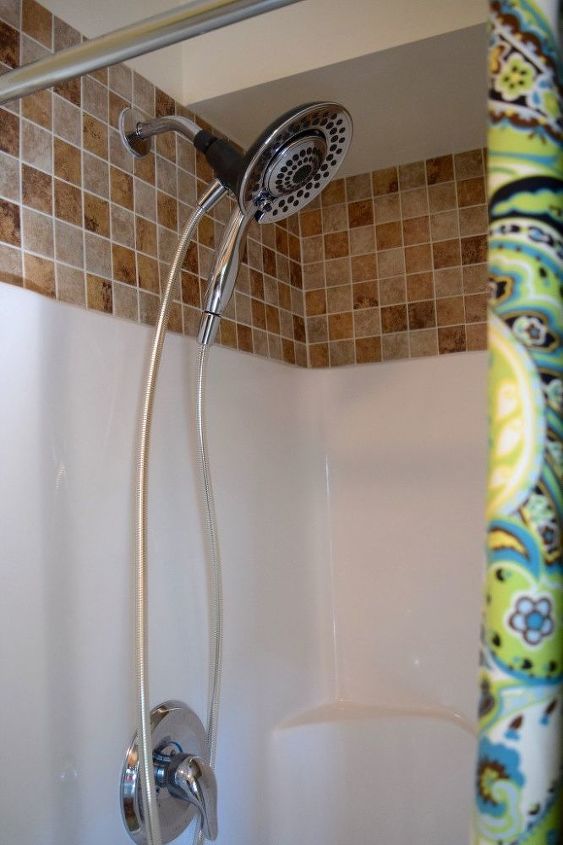
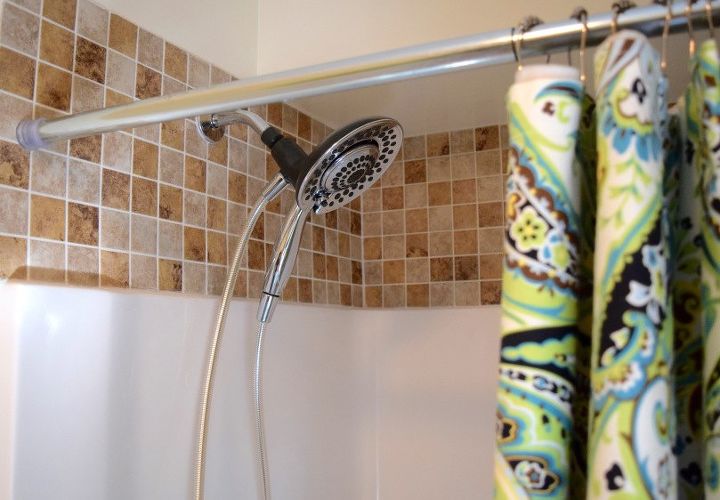
We added a small amount of tile above one of our showers
We added a small amount of tile above one of our showers

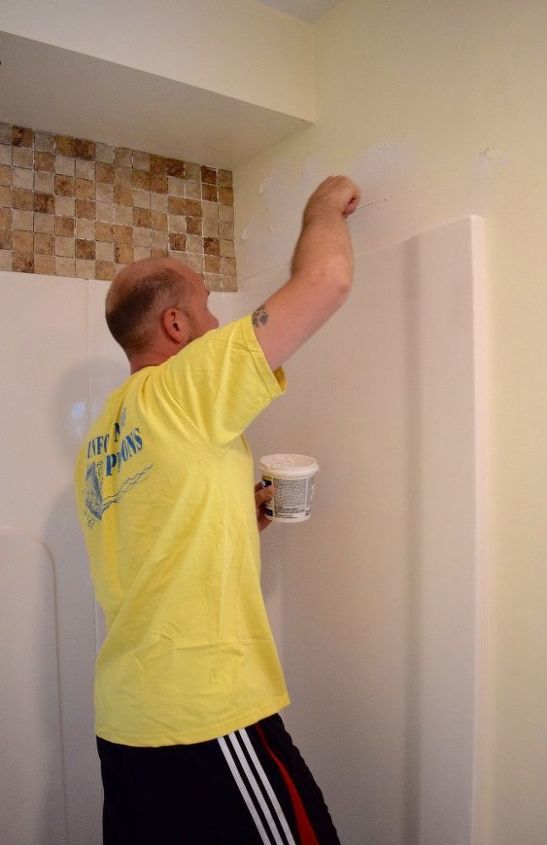
This shower in one of our bathrooms is just a stand up style and I don’t think it was meant to be used daily. Some of the paint started peeling and needed to be repaired. So, my husband decided to add tile around the top of the shower to protect the wall.
This was a REALLY easy DIY project and now it looks 100% better!
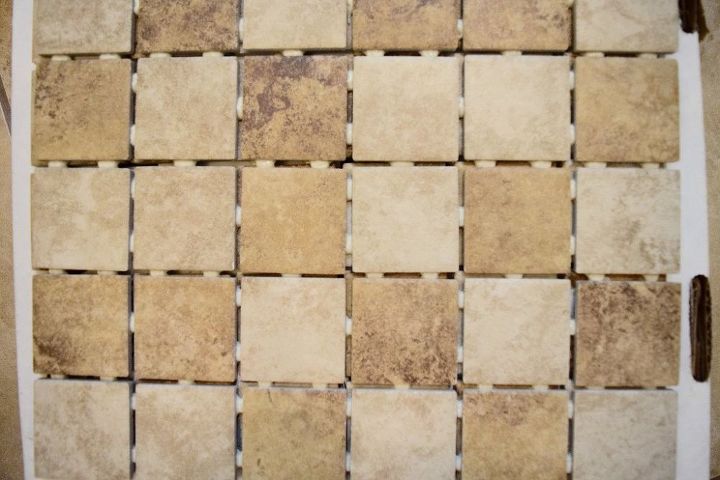
The first thing my husband did after choosing the tile was cut the squares to the size he needed:
The last part, once the tile has set and dry, was to add the grout & wipe off, add caulk to the edges and also let that dry over night.
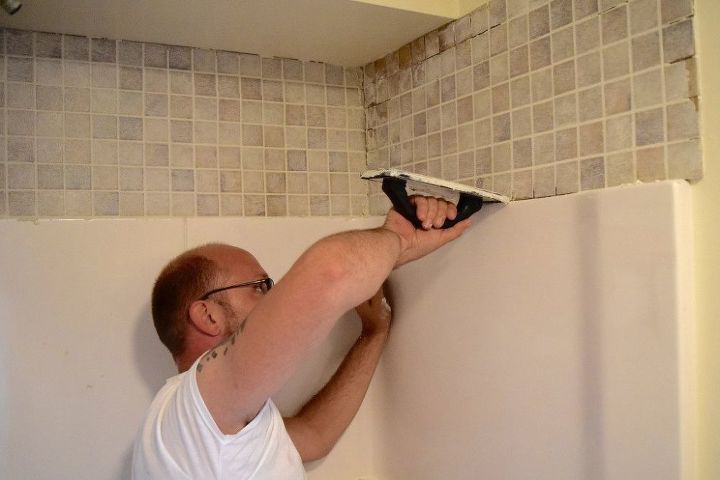
And that was it! So easy!
I really love how it turned out!
Stop by the blog to see the full post. Link below.

Want more details about this and other DIY projects? Check out my blog post!
Comments
Join the conversation
2 of 24 comments
-
Just what I was looking for thanks so much for posting. Love it by the way!
-
Snippers


Frequently asked questions
Have a question about this project?
Looks nice but did you just apply to sheet rock instead of installing backerboard? I heard or was told you shouldn't do that as moisture will get behind the tile. Please advise as I want to do the same thing to my shower stall.
I like this update. Thank you. I have the same issue in my guest bath. Did you use the same tile anywhere else in the bathroom?
Did you rent the tile cutter? Was it difficult to get the cuts right for around the shower hardware? Can you use snippets instead of a tile cutter? I think that would be the only tough spot for my bathrooms.
thank you!
Lori R