


Gray and Yellow Master Bathroom Reveal
This bathroom project started in January of 2013 and I can now officially reveal the bathroom (and its August of 2015!). I am so excited to have this bathroom done, especially after sharing TEN tutorials on it over the last 1 1/2 years! The tutorials are at the bottom of the actual blog post (so click on the blog post link below) for all 9 projects!
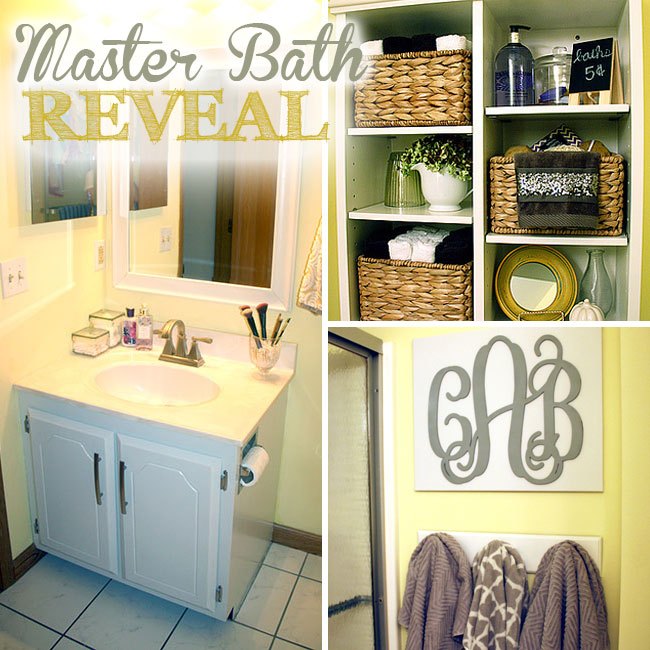
The end result is a refreshed and updated bathroom with new lighting, faucet, painted vanity, painted walls, new hangers for the towels, new towels, decor, etc.! It was A LOT of work, but SO worth it.
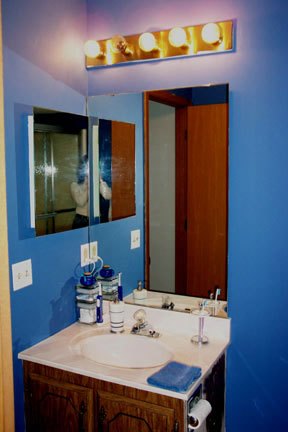
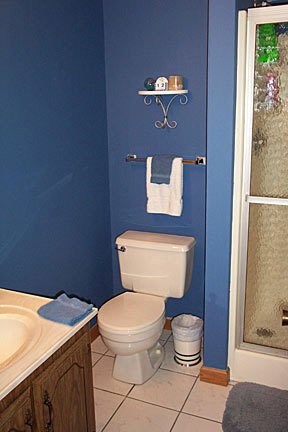
Of course, we have to start with some before photos! This is what the Master Bathroom looked like right after we moved into the house. I wanted to paint it a dark blue and I even had some orange bath towels that you thankfully can't see in these photos. The room was very plain and I can't believe I had a trash can out in the open by the toilet and that ugly blue rug by the shower. This blue color is doing NOTHING for the room, if anything it makes the room look smaller.
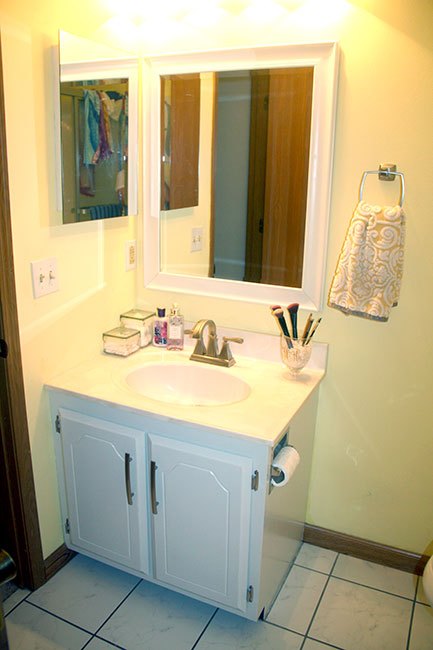
In this area of the bathroom, I had Brian replace the old lighting and sink fixture with new ones from Lowes. We used to have the hand towel rack above the toilet (ew!) and changed it to a ring hand towel holder next to the sink (much better!). The hand towel that I found is from World Market and I need to go back there and get a few more of them! You'll also see that I removed the large mirror sheet and replaced it with a white framed mirror. I also painted the vanity in a light gray and monogrammed a glass for my makeup brushes. LOVE this space!
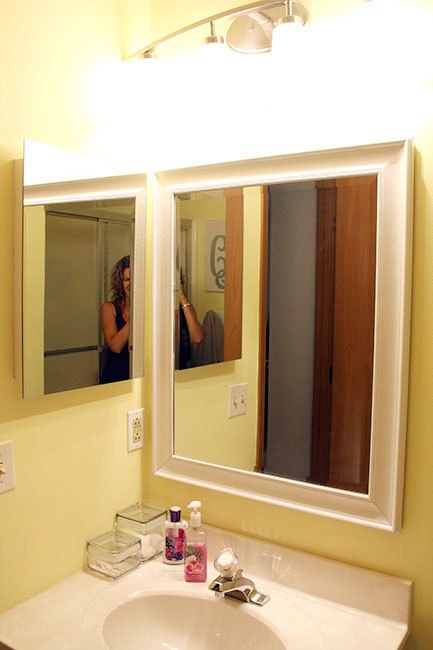
This mirror was actually on clearance at Target and the frame was silver! I spray painted it white and it was perfect for the bathroom!
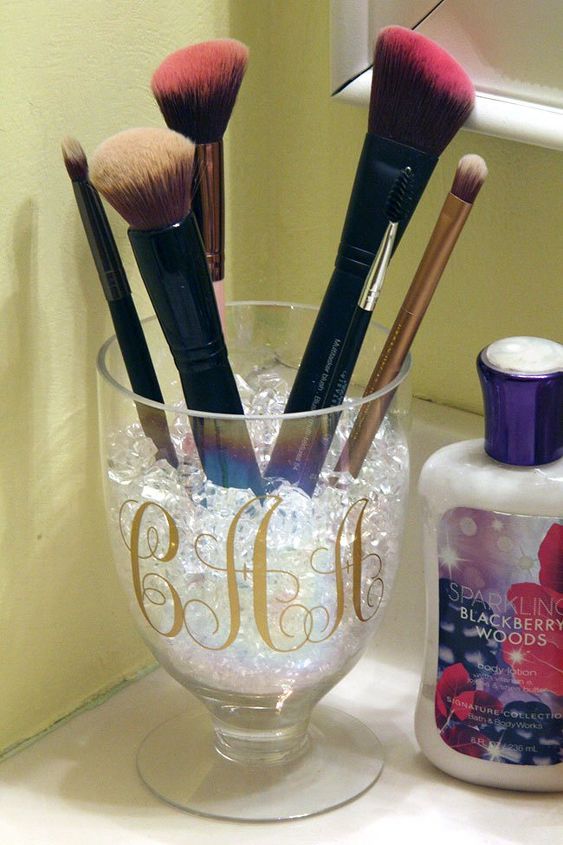
I apply most of my makeup with brushes and needed a quick and easy place to set them up. I monogrammed a glass I found at HomeGoods and filled it with bedazzled crystals that I found at Hobby Lobby. Now I have the perfect place for my makeup brushes and I can wash them and they'll air dry in this glass.
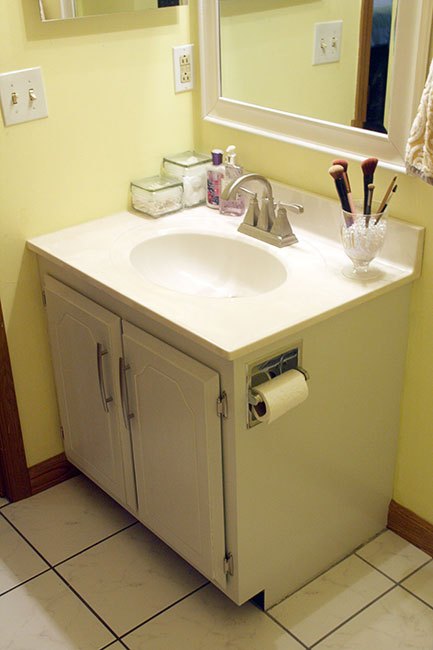
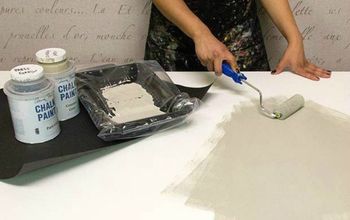
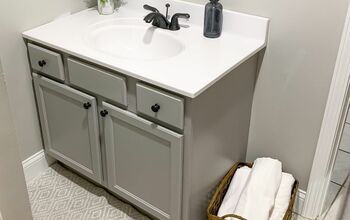
Painting the vanity in the Master Bathroom was my second to last item I did... but, it was the one with the greatest impact overall! I can't wait to paint the vanity in our hall bathroom now. It completely changes the look of the room!
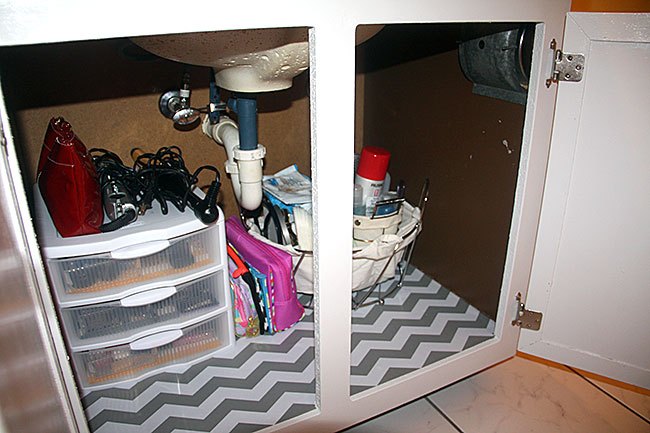
After painting the vanity, I added a gray and white chevron shelf liner to the bottom of it. It lightened the inside of the vanity and cheered up the space quite a bit.
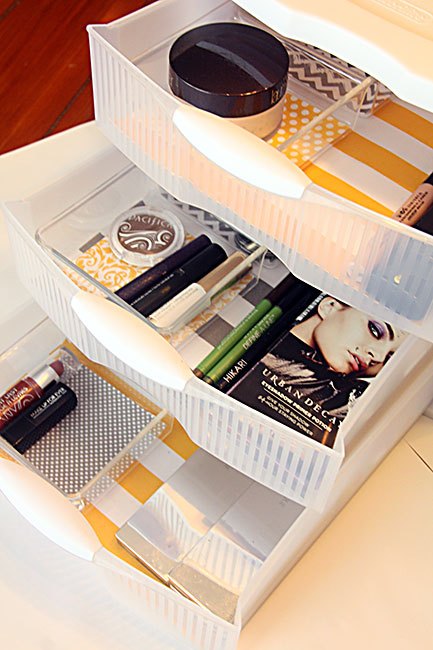
I also created a makeup organizer for the inside of the vanity. This helps me apply my makeup in minutes every morning! It is so nice that everything is organized and in its correct spot.
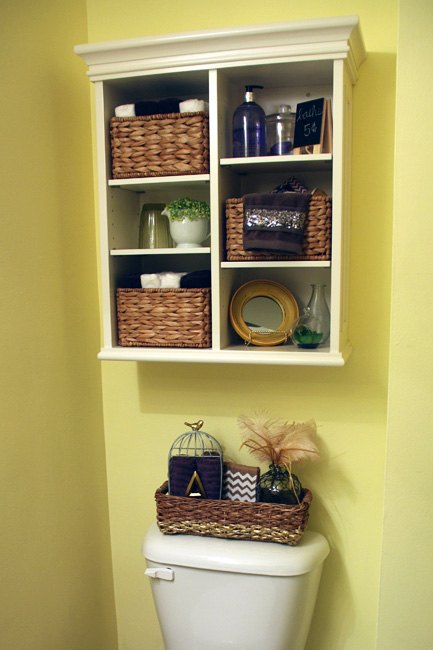
Now for the toilet area! I had been eyeing this shelf and basket storage unit from Pottery Barn and decided to splurge and buy it for the bathroom. It is what everyone oo's and ahh's about when they walk in the room. It was worth every penny! The basket on top of the toilet is dipped in gold and is functional in that it has a couple extra hand towels for our guests.
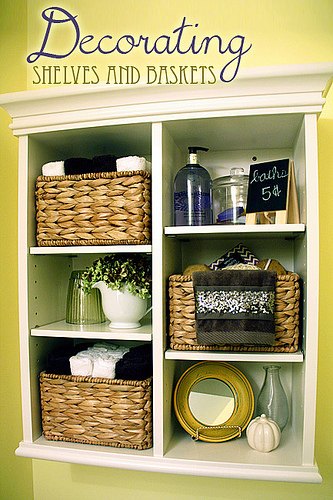
I have a whole post dedicated to these shelves. I went to a few stores to shop for the decorations and it was a lot of fun planning how to decorate it for the first time. It was a fun afternoon for this DIY'er. :)
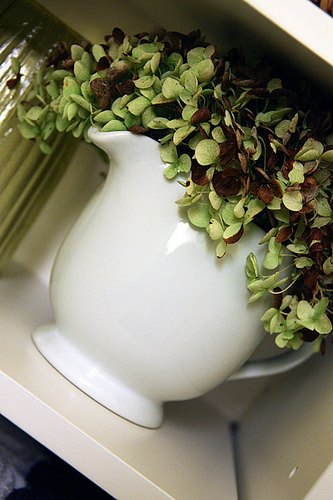
I also enjoy decorating these shelves slightly different every season. For instance, I have that white pumpkin on the shelf in the fall, but it changes to a different white ceramic for each season... I have a white ceramic bunny, a white fox, etc. I also change the flowers up in the milk vase.
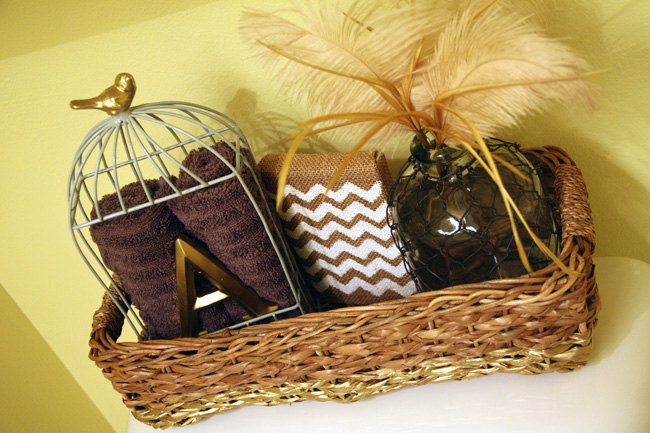
This basket above the toilet was dipped in gold by a can of gold spray paint! The two hand towels are in a little mini bird cage (and I dipped the bird on the top in gold). I painted the burlap canvas with white paint to create a chevron pattern. I am all about the little details in this basket!
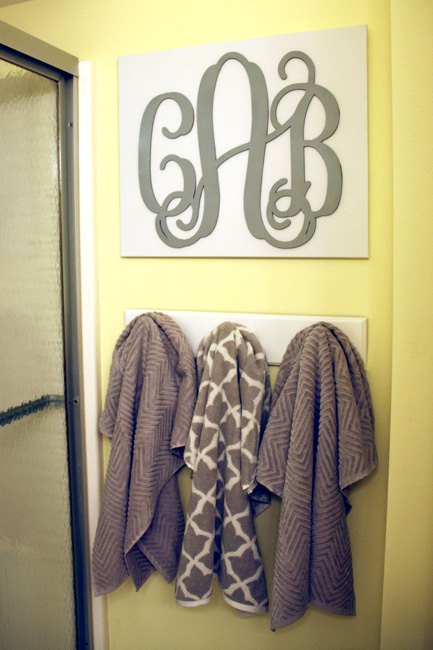
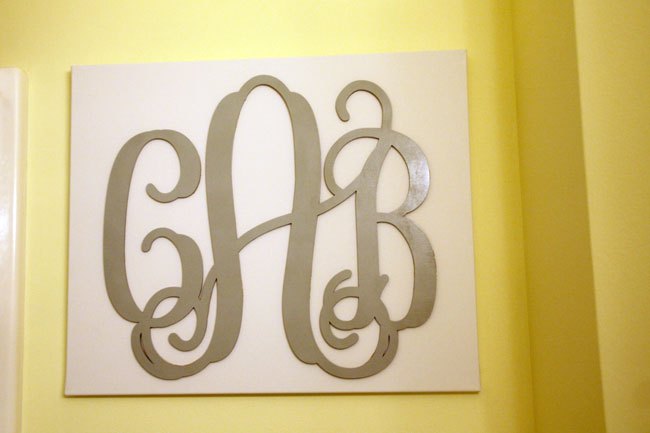
Another space to LOVE in this bathroom! I purchased my initials and Brian's in a monogram and spray painted the monogram gray and glued it to a canvas. I then purchased a hook rack at Hobby Lobby and repainted it to match the bathroom. The gorgeous bath towels are from Pottery Barn (another splurge) and yes, they are as soft as they look.
I am thinking about doing a similar monogrammed canvas in Autumn's bedroom above her bed, but just with her first initial.

Want more details about this and other DIY projects? Check out my blog post!
Comments
Join the conversation
4 comments
-
Lovely! I'm a fan of yellow walls.
-
I love this. Love the colors!! Been wanting to update my upstairs bathroom in those colors as well!


Frequently asked questions
Have a question about this project?