


From Headboard To Reclaimed Wood Bench

by
Melody
4 Hours
Medium
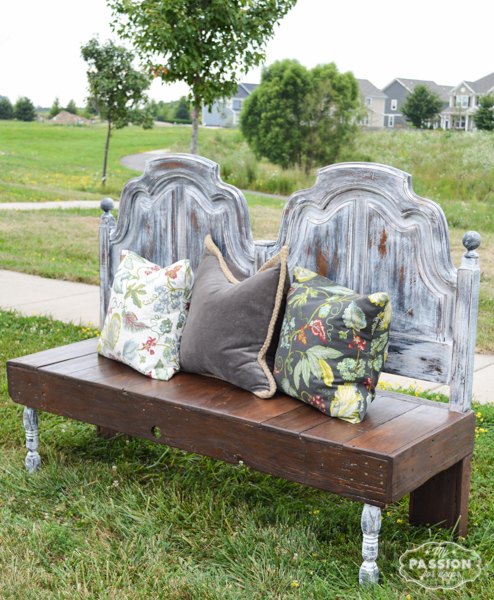
At the beginning of summer I found a great deal on a bedroom set. The set was in decent shape, but the one part of the set I didn't really want was the headboard. I bought it anyway, then brought it home and figured out what to do with it...make a bench!
With a little help from my 10 year old Son, I was able to take items we had on hand to build this fun bench.
I started with 2 X 4 lumber we had leftover from a workshop project. From this I made a base, along with reclaimed wood I had in the garage.
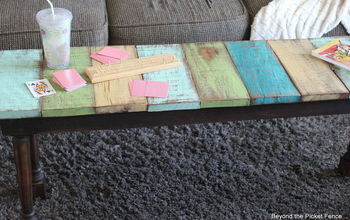
Once the base was built, I added reclaimed wood slats to the seat, then added legs. The legs came from an old chair I found in a dumpster. It was broken and a mess, but I knew I could use parts of it to make something else. The legs worked perfect for the front of the bench.
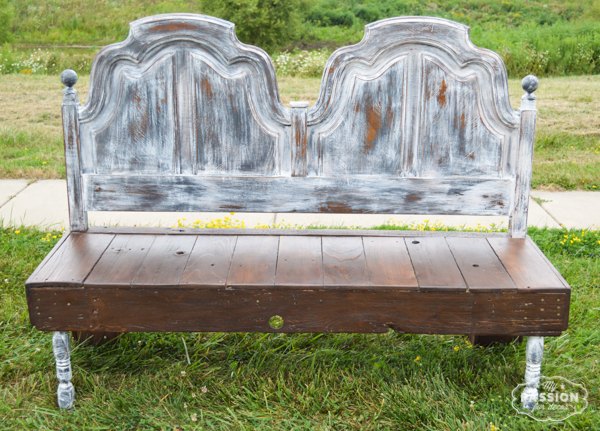
Once it was all assembled, I sanded and stained the reclaimed wood seat. The stain I used was Dark Walnut by Minwax. I painted the headboard and the front legs in a combo of Chalk Paint™ by Annie Sloan in Graphite and Pure white. Once everything was dry I sealed it with dark wax for the seat and clear for the back and legs.
If you want more step by step details and pictures please click on the link to the post:
http://www.mypassionfordecor.com/2015/08/headboard-reclaimed-wood-bench.html
dunfolded wood
With a little help from my 10 year old Son, I was able to take items we had on hand to build this fun bench.
I started with 2 X 4 lumber we had leftover from a workshop project. From this I made a base, along with reclaimed wood I had in the garage.
Once the base was built, I added reclaimed wood slats to the seat, then added legs. The legs came from an old chair I found in a dumpster. It was broken and a mess, but I knew I could use parts of it to make something else. The legs worked perfect for the front of the bench.
Once it was all assembled, I sanded and stained the reclaimed wood seat. The stain I used was Dark Walnut by Minwax. I painted the headboard and the front legs in a combo of Chalk Paint™ by Annie Sloan in Graphite and Pure white. Once everything was dry I sealed it with dark wax for the seat and clear for the back and legs.
If you want more step by step details and pictures please click on the link to the post:
http://www.mypassionfordecor.com/2015/08/headboard-reclaimed-wood-bench.html
dunfolded wood

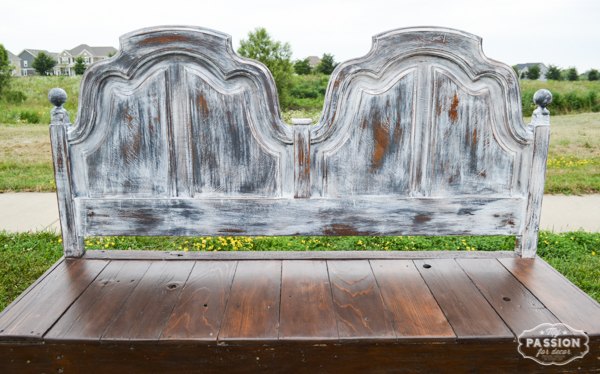
Here's the bench all finished
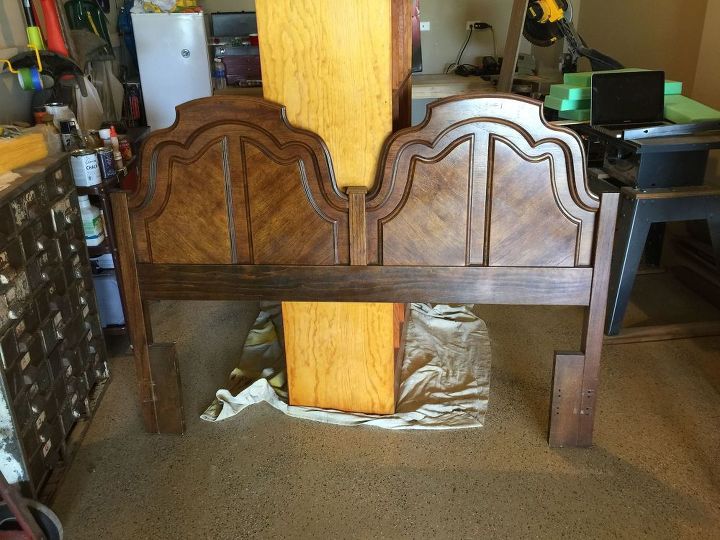
This is the headboard before
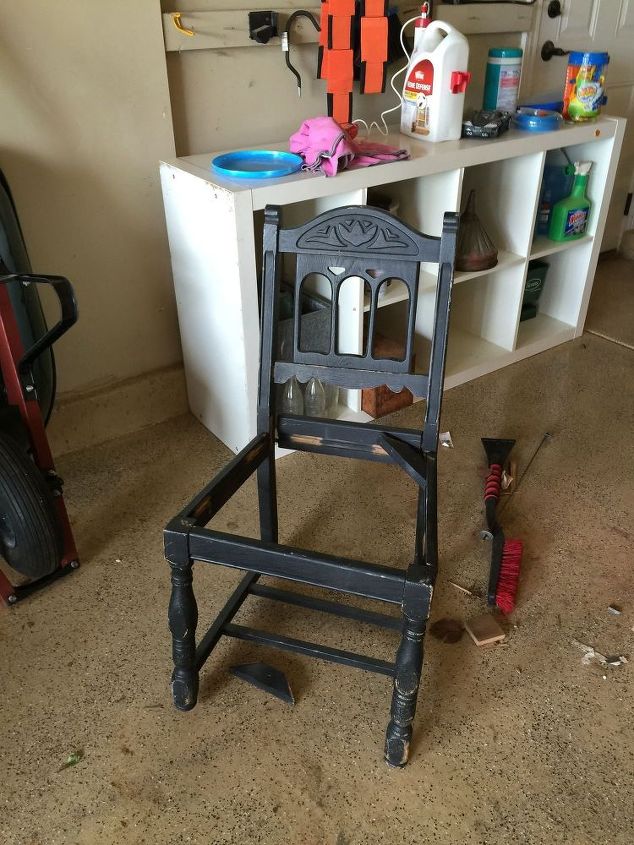
This is the chair my Son broke apart so we could use those cute legs.

Almost done!

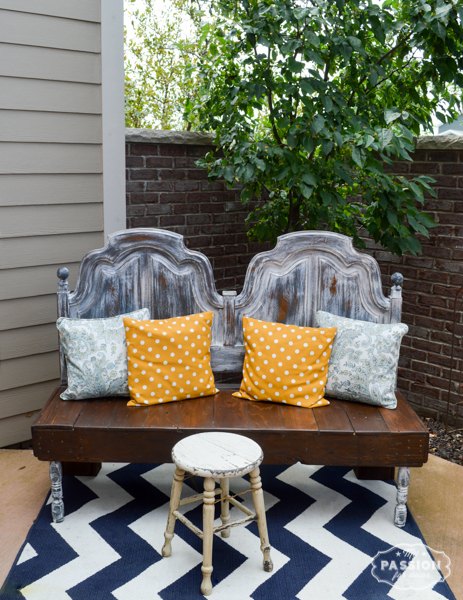
Here's where the bench sits now. We have a brick courtyard at the front of our home. This is a nice place to sit and have a cup of coffee in the morning!
Want more details about this and other DIY projects? Check out my blog post!
Comments
Join the conversation
2 of 4 comments
-
Amazing how creative you are. I love it Mel.
-
I’ve wanted to do something very close to this and (make a swing from a twin head board) and I think You inspired me to this!


Frequently asked questions
Have a question about this project?