


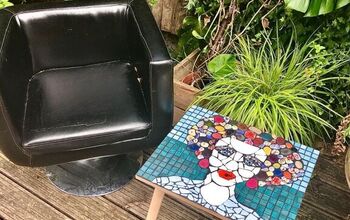
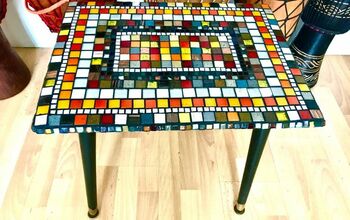
How to Mosaic a Table-Top
I am always looking for coffee tables or smaller pieces of furniture that I can handle myself (by that I mean carry) to "play" with. Whether it's painting, decoupage, wallpaper or tile work, I just can't resist a table that already has the framework in place. This gorgeous table was a steal at a thrift shop and I knew just what I wanted to do with it.
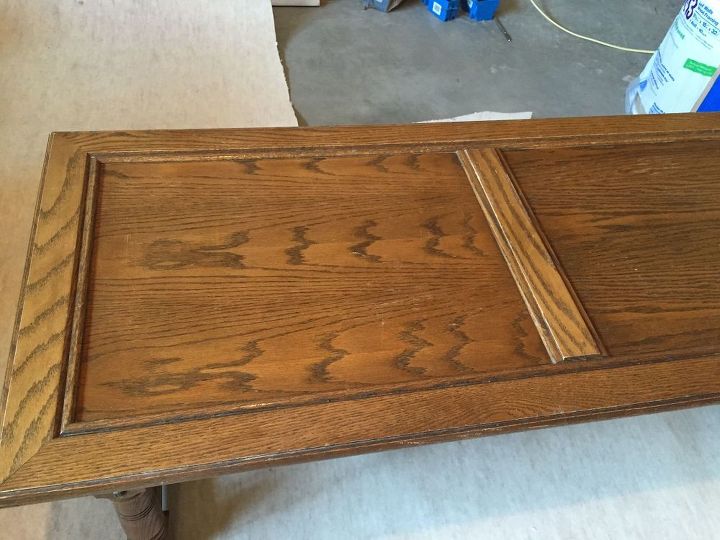
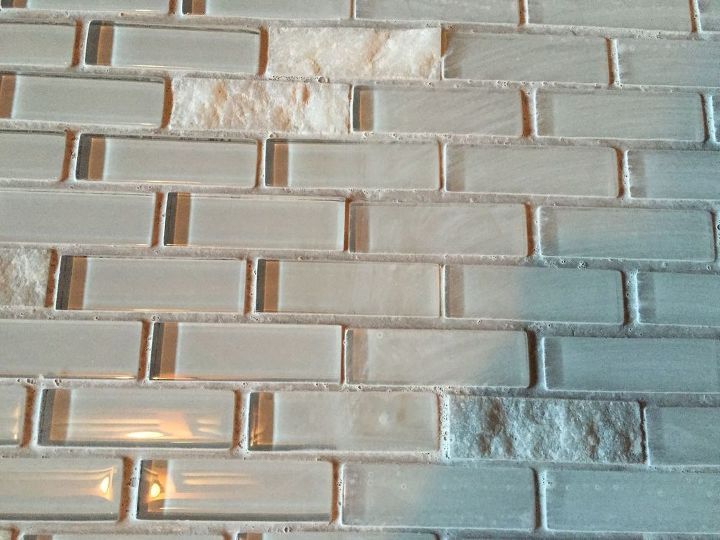
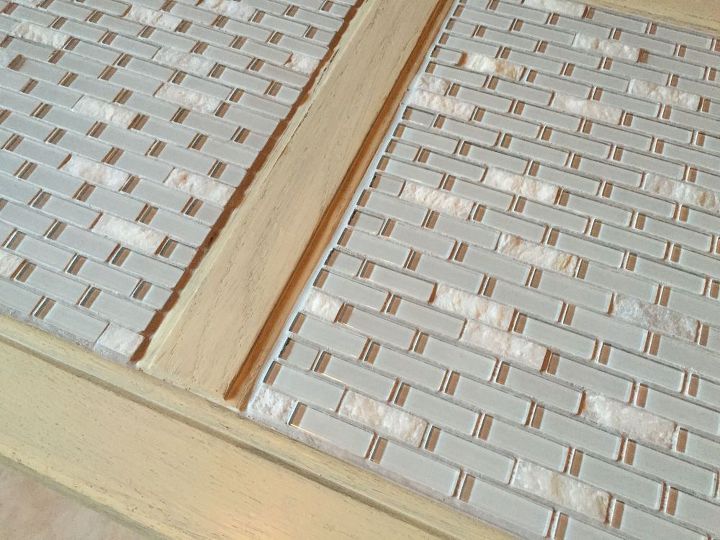
Here it is before, really it's not in bad shape, just dated. I have been working on a bathroom project and have lots of leftover mosaic tile that I thought would work perfectly within the framework of this table top.
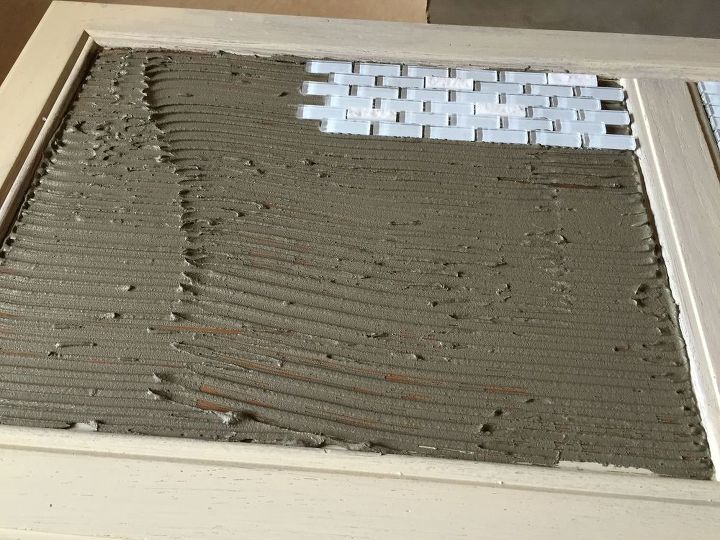
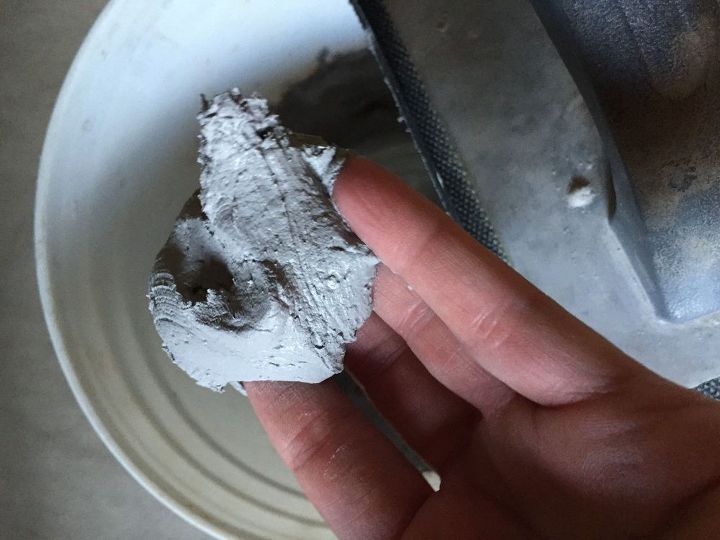
The first thing I did was give it a good cleaning and let it dry. Then, one coat of paint (not in the area I'm going to tile but the rest of table). I mixed up my mortar, spread it out and notched it with a trowel, then began laying the tile, wiggling them just a little to make sure they embed in the mortar. This is a messy job (well, it is for me anyhow). No matter how light a layer of mortar I use it doesn't matter, these little mosaic tiles are plain 'ole messy to work with.
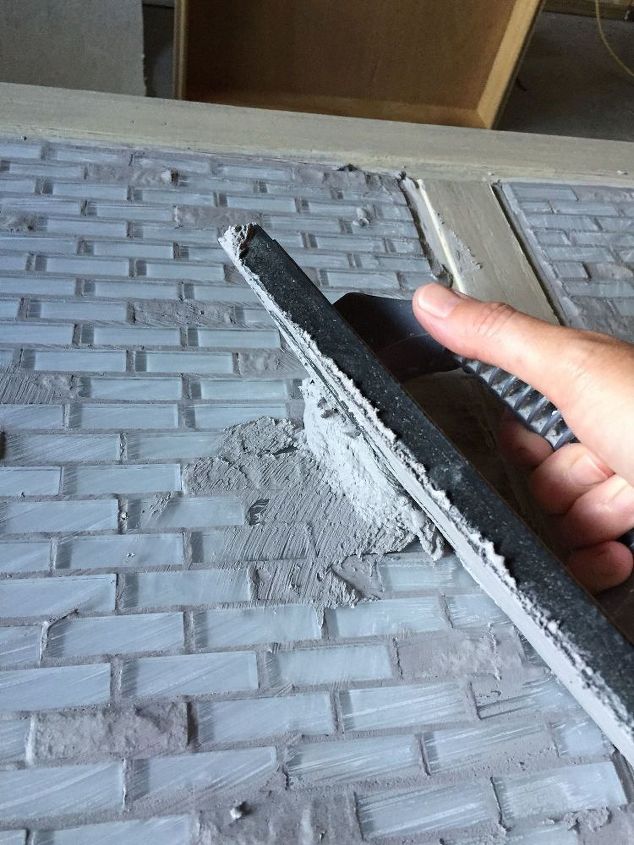
As you can see in this picture some of the mortar squishes out between the tile. It never fails, no matter how careful I am, I will have a couple spots where this happens. While it's still damp you can use a small screwdriver to scrape the excess out (that's what I had handy). Or, wait for it to dry and chisel it out before you grout.
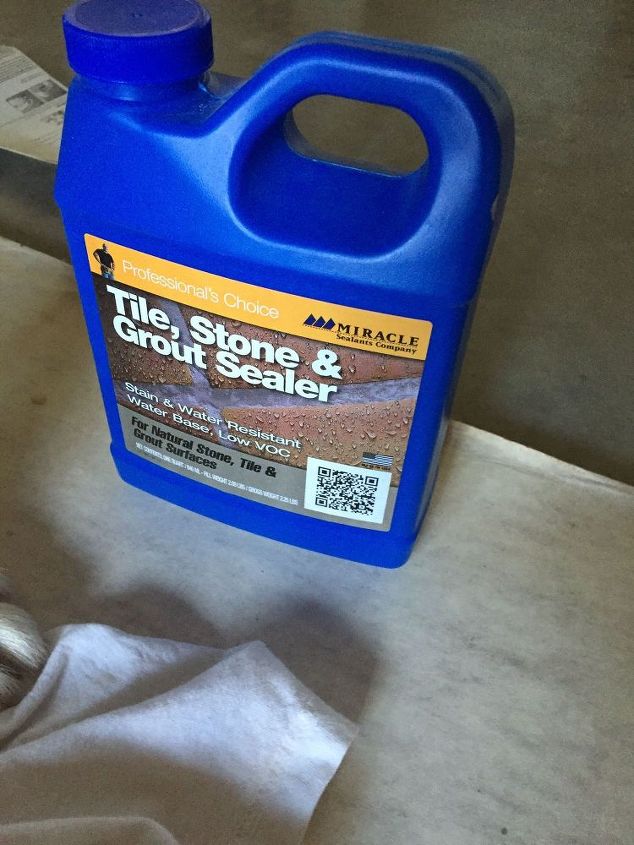
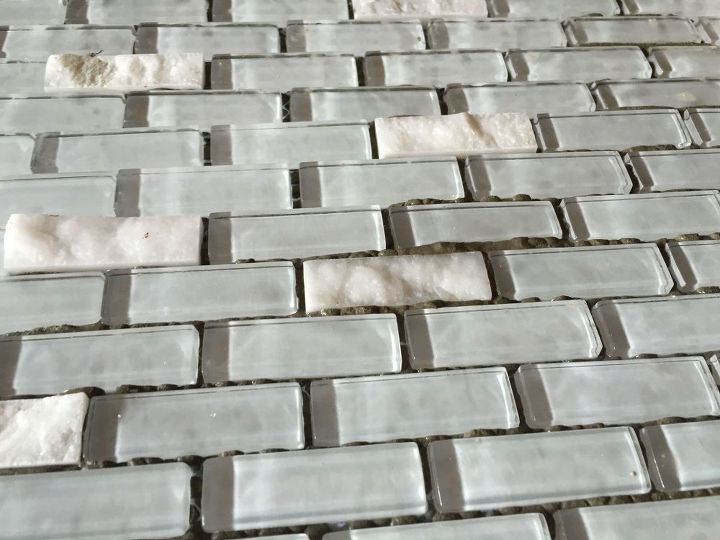
When working with stone you will need to give it at least one coat of sealer, I usually do two. This is the sealer I bought at Lowe's, Home Depot has a very similar product. Just seal the stone so the grout doesn't settle in. The mortar cleans off really well but the grout, well, that's another story. It'll fill in every crack and crevice and you will not be able to get it all off. Moral of the story, seal it before you grout.
When grouting it's better to mix smaller quantities at a time, especially if you're not experienced. You have a little bit of workability time but it dries out fairly quickly (about 30 minutes or so) and you can feel, and see the difference when its time to pitch it and mix fresh.
Simply use your float to grab some grout from your bucket (that's what I mix in) and spread it over the tile at a 45 degree angle. I go in all directions, not just one to ensure you're entirely filling the void and getting all the bubbles out. From what I've experienced the unsanded tends to bubble a little more than sanded, it helps to go from multiple directions.
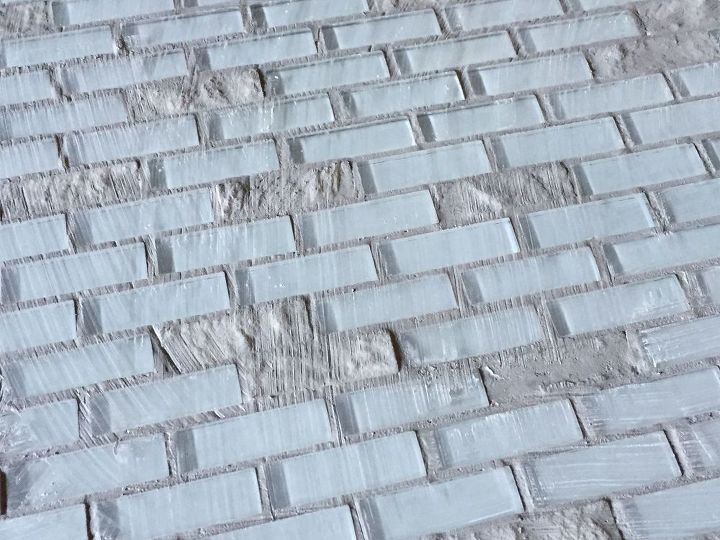
Here's what it'll look like, messy eh! See how the stone is covered in the grey grout. If I hadn't sealed it I would have a hard time getting all that off and my stone would no longer be white.
Here, you can see that I missed a few spots of mortar, those darker grey spots. So, while the grouts wet I take my screw driver (or other tool made for grout removal) and scrape those pieces out, immediately followed with fresh grout.
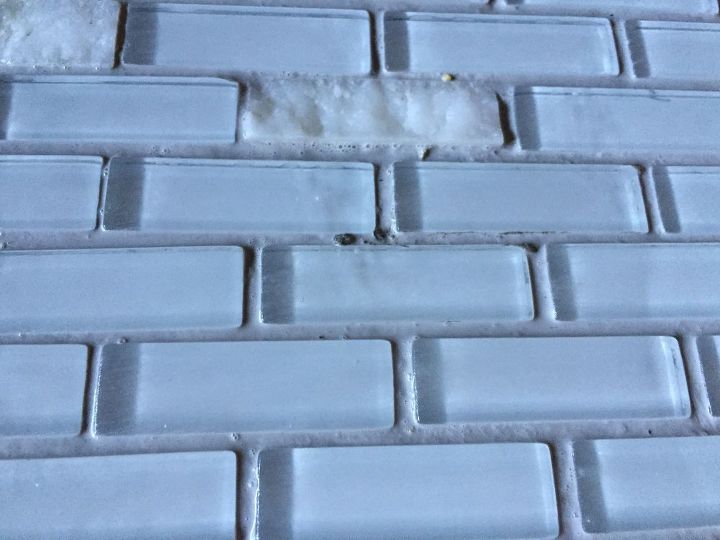
Even after you've cleaned off your tile with multiple buckets of clean water it'll still look like the right of this picture. A film develops over the top of the tile. After letting the grout dry for about an hour (I waited a lot longer) use a clean rag in a circular motion to buff out the film. The left of the picture has been cleaned off.
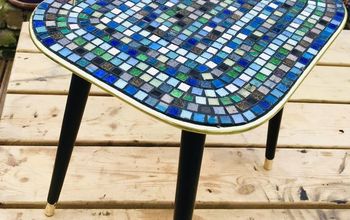
Here it is! Tiled and grouted, just needs polyurethane and it's done. Really happy with the outcome and I used leftovers so it was a really inexpensive project.

Want more details about this and other DIY projects? Check out my blog post!
Comments
Join the conversation
4 of 6 comments
-
Is there something I can use besides a float? I am doing a couple of broken tile mosaics that are too small for a float.
- See 1 previous
-
Beautiful upcycle, thanks for sharing.


Frequently asked questions
Have a question about this project?