


Kitchen Counter Makeover
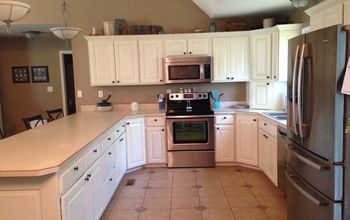
If you have a countertop in your bath, kitchen, or laundry room that needs to be replaced but you can't afford it. This easy, affordable treatment is done with Rustoleum Hammered Finish Enamel Paint and polyurethane and it can get you through until you can replace them with new countertops. This particular countertop is tile with grout that is impossible to keep clean and not very sanitary for the kitchen.
*Make sure you know what type of paint is okay to use in your kitchen, according to your state's code. Some states only allow certain types of paint to be used. If you have to use a latex paint, it can still work but you will really need to seal it well with several coats of a good, strong, clear sealer so that it won't peel away over time. You may also need to do more frequent touch-ups with this type of paint.
*Make sure you know what type of paint is okay to use in your kitchen, according to your state's code. Some states only allow certain types of paint to be used. If you have to use a latex paint, it can still work but you will really need to seal it well with several coats of a good, strong, clear sealer so that it won't peel away over time. You may also need to do more frequent touch-ups with this type of paint.
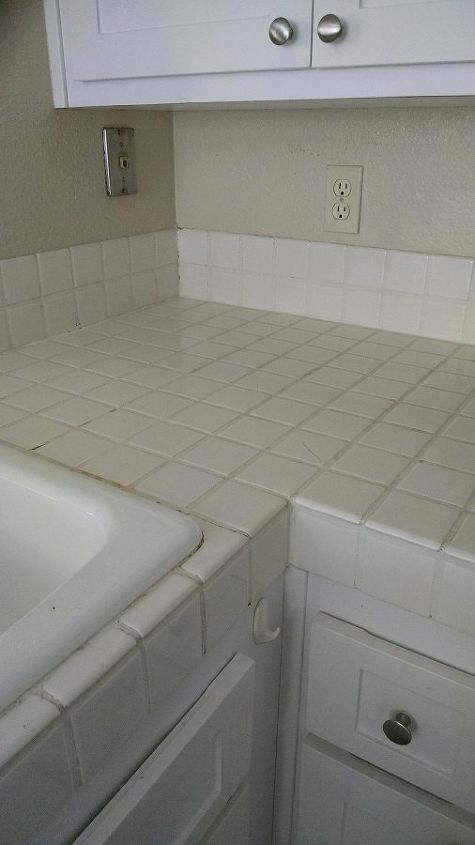
To begin, you want to clean everything thoroughly and allow to dry. If you are doing a tile countertop, you may opt to fill the grout lines. In this project, we didn't. The next step is to lightly sand everything, wipe down, and allow to dry. Then tape off all areas where countertop meets the wall and appliances.
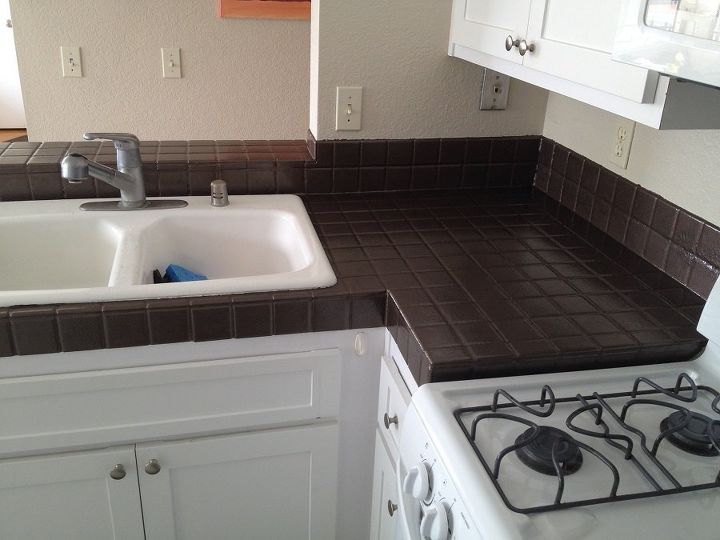
Next you will apply a nice thick coat of the paint. I like to work in sections and go back after each is complete and stipple the paint with my brush. It will give some good texture to the finish. This hammered paint already dries with texture but the stippling will add even more dimension. As it begins to dry, you may have to go back and touch up some areas that didn't completely cover on the first go-round. Now allow to dry thoroughly. This can take up to 48 hours or so depending on humidity. This is an oil-based paint so it's very sticky so be sure and watch for bristles from your brush and remove them if you see any. Since this is an oil-based paint, it has a very strong odor until it dries so good ventilation is a must.
Once the paint is completely dry, you will want to add several coats of polyurethane, allowing drying time between each coat. The poly will protect your finish and help it last longer. Because you wipe your kitchen counters down so much, eventually the poly and paint may begin to wear away. Keep leftover paint for touch- ups down the road. To help protect your finish, don't cut on the counter directly and don't set very hot things directly on it. Use cutting boards and trivets. As far as how sanitary this finish is, it's the same type of finish you might put on your dining room table or a coffee table so use the same type of safe food-handling practices as you would on any other surface in your home.
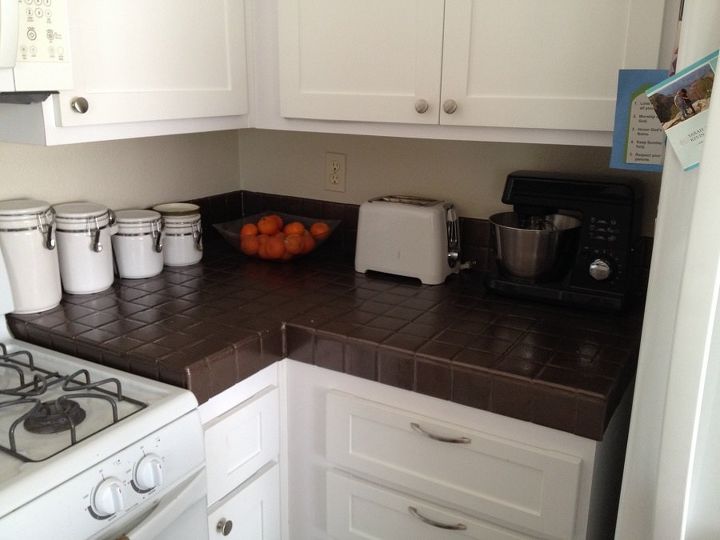
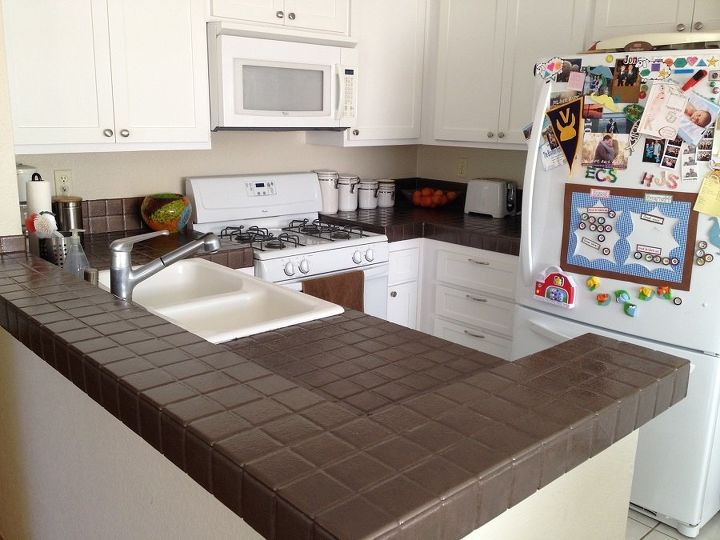
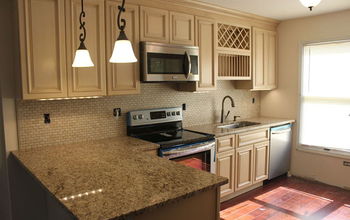
You can see what an improvement over the first picture above and the entire cost of this kitchen was less than $20.00. What it takes the most of is time...waiting for things to dry thoroughly so you may be out of your kitchen for a few days but the end result is well worth the wait!

Want more details about this and other DIY projects? Check out my blog post!
Comments
Join the conversation
3 of 91 comments
-
Looks fantastic! Hugs
-
thank you for this helpful tip a good thing to try with my rental home


Frequently asked questions
Have a question about this project?
how do you fill the grout lines?