


How To: DIY Embroidery Hoop Art
2 Materials
$40
2 Hours
Easy
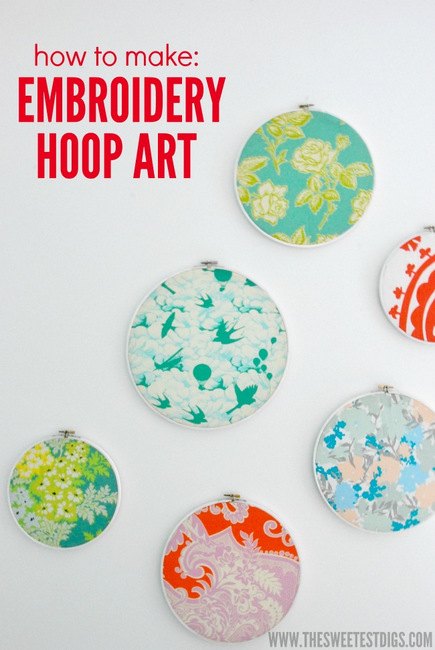
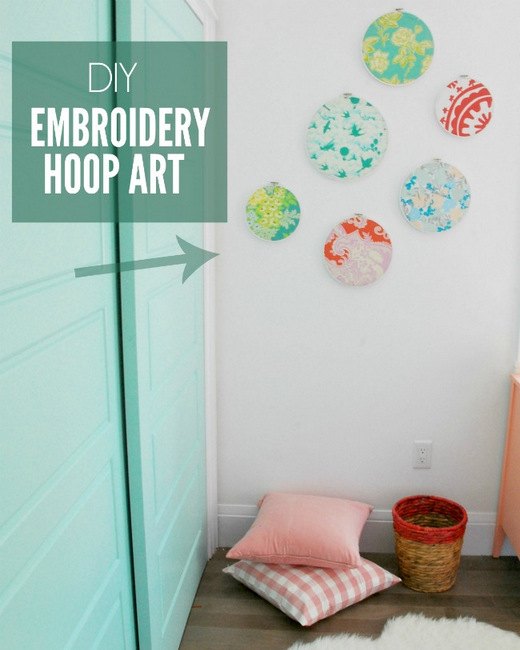
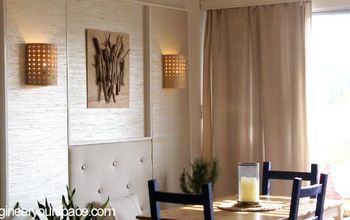
Time to dive in to some of the projects you spotted in Maya's nursery reveal. First up? DIY embroidery hoop art. I have been wanting to do this project for AGES, and finally had the perfect spot - a corner of Maya's nursery dying for a little colour and pattern.
Here is what you need:
-white paint + paintbrush (if you choose to paint the hoops like I did)
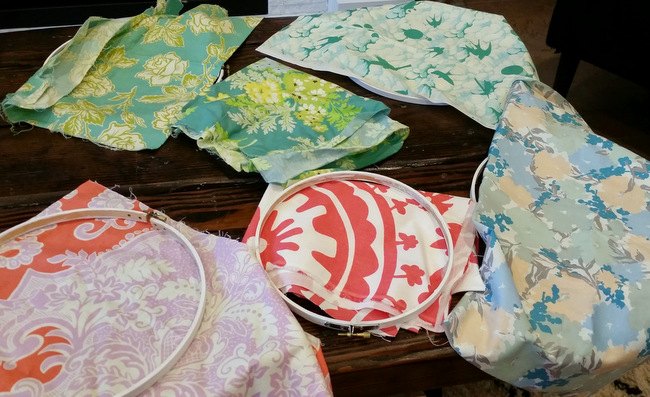
-fabric scraps
-scissors
-wooden embroidery hoops of various sizes (buy them at your local craft store, keep your eye peeled for them in the thrift store, or order online - here are some from amazon that are a great deal!)
It's a super straightforward project. I wanted a bright and crisp look to mine, so I decided to paint my hoops white rather than leaving them wood. I used basic white acrylic paint - two coats. And remember - the smaller hoop will be hidden behind the fabric, so you just need to paint the bigger one. Once they had dried, it was time for the fabric. I had pulled out all of my favourite fabric scraps in the colours that I knew would work in the room, and then narrowed it down to a collection that felt cohesive. These were either remnants from other projects, or fat quarters that I had purchased.
The rest of the steps are super simple and all available in the full post here!

Want more details about this and other DIY projects? Check out my blog post!
Comments
Join the conversation
2 of 12 comments
-
We have Hobby LObby, Michael's, and AC Moore
-
So fun! I love that embroidery hoops are finally getting so much love from the interior design community! They add such whimsy to a space!


Frequently asked questions
Have a question about this project?