


Project Guide: Preparing, Carving, and Decorating Pumpkins
Fall is just around the corner, which means pumpkins and jack-o-lanterns are just about to start popping up outside of every home and building. Make sure that your pumpkin carving is successful and safe, and that your creations stay crisp and fresh all holiday season long, by following these cleaning, preserving, decorating, and carving tips.
Preparing, Carving, and Decorating Pumpkins:

1. Choosing a Pumpkin
- If your pumpkin is intended for Halloween, buy it no more than a week before, so that it won't go bad by the holiday
- Make sure your pumpkin is unblemished, free of scratches, cuts or bruises
- Make sure you pumpkin has no soft spots that indicate rotting
- Check that the stem is sturdy and not too bendable
- Check that your pumpkin is healthy by knocking on the side to make sure it sounds hollow
- Plan your carvings and designs before hand, so that you choose the right shape and size
2. Prepare Your Workspace
3. Prepare Your Surface
- Wash pumpkins in a mild solution of bleach, water, and dish soap. 1 gallon water, 2 teaspoons bleach, and a drop of Dawn dish soap
- Scrub them with a soft brush to remove any dirt or grime
- Dry them thoroughly, turning them over every few hours
- Give them a coat of clear spray paint (If you're planning on leaving them whole)
4. Prepare Yourself for Working
- Remove all jewelry from your hands
- Wear work clothes that you won't mind getting pumpkin on
- Tie back long hair
Basic Tools Include:
- Sharp Serrated Knife
- Jab Saw
- X-acto Knife
- Spoon or Ice Cream Scoop
- Battery Tea Lights or Candles
- Rotary Tools
- Jig Saw
- Drill with a small bit
- Awl (if transferring a pattern)

1. Cleaning
- To cut the lid, angle your knife slightly towards the center of your pumpkin, so that your lid will fit snugly back into place later
- Make a small mark or line at the back of your pumpkin to indicate where you cut the lid so that it lines up perfectly after cleaning
- Using your hands, a large spoon, or an ice cream scoop, remove all of the stringy filling and seeds from your pumpkin
- The cleaner your pumpkin, the brighter your design will be when the light shines through it
- If your pumpkin is unsteady, level the bottom by cutting off a slab and creating a flat base
2. Planning Your Design
3. Carving
- There are 3 levels of the pumpkin to keep in mind when following a carving pattern: the surface, the pulp, and the inside of the gourd
- Use the serrated knife or jaw saw when trying to cut fully through the pumpkin to the inside, and the x-acto knife when you are trying to carve the skin or just reach the pulp
- Carve your pumpkin in a back and forth sawing motion
- Reattach any broken pumpkin features by pushing a toothpick into your broken piece and then placing it back where it belongs
- If you're having trouble removing small carved details, stab the section with a toothpick and pull it out

Preserving Your Design
- After you've made your cuts, coat the cut parts of your pumpkin with petroleum jelly, Vaseline, or diluted lemon juice
- If you're adding a flame to your jack-o-lantern, be careful not to coat the inside
- If you have cool weather, leave your pumpkin outside
- If you're in a warmer climate, put your pumpkin in a large plastic bag or cover it with plastic wrap, and set it down in the fridge when it doesn't have to be on display
- If it starts to dry out, place your pumpkin in a tub or sink for a couple of hours, carved side down, and let it soak up some moisture
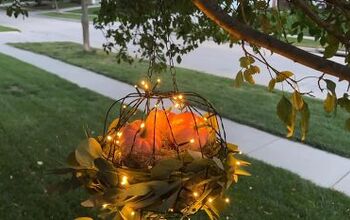
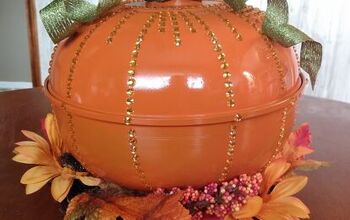
Projects to Look At:

Want more details about this and other DIY projects? Check out my blog post!
Comments
Join the conversation
4 comments
-
I never cut the top of the pumpkin Rather, I cut the bottom out and place my carved pumpkin on a flat plate with a tea light in it.
- See 1 previous
-
I just L-O-V-E the tips. THANK YOU!


Frequently asked questions
Have a question about this project?