


Vintage Typewriter Desk Gets a Makeover
Enjoy a good flea market flip? I think this cute little typewriter desk would qualify as either Industrial Design, Good Bones or Ugly Duckling. It's created out of steel for industry, it's a sturdy little table, thus good bones, but the rust is starting to take over my little ugly duckling.
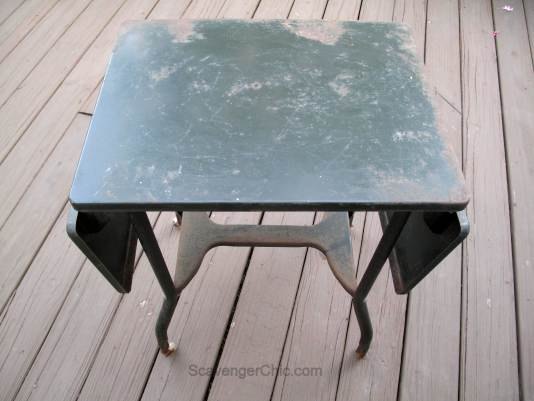
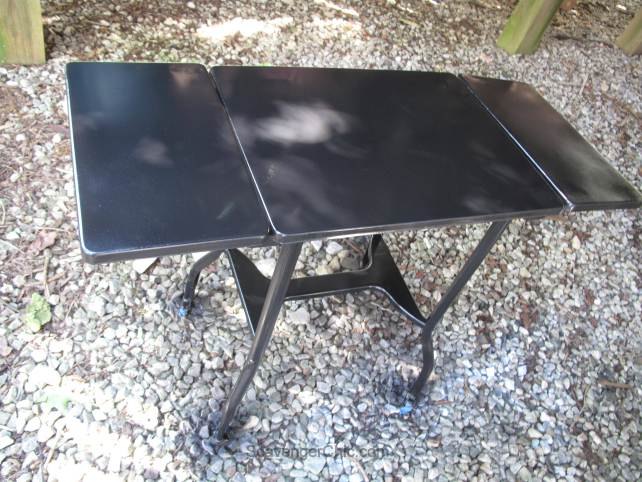
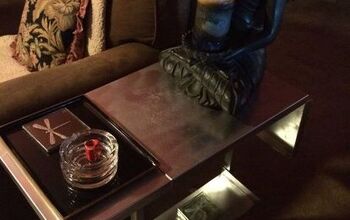
And here is what my vintage typewriter desk looked like in his before photo. The purchase price for this baby was $15, I thought it was a good deal but it did need a little makeover.

I loved the I-shaped detail on the bottom of the desk where someone would stick their legs. Since I’m not going to use it as a desk, but as a table, a shelf down there would be far more practical.
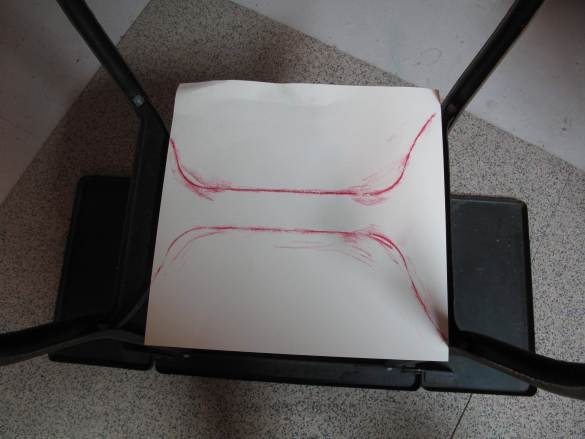
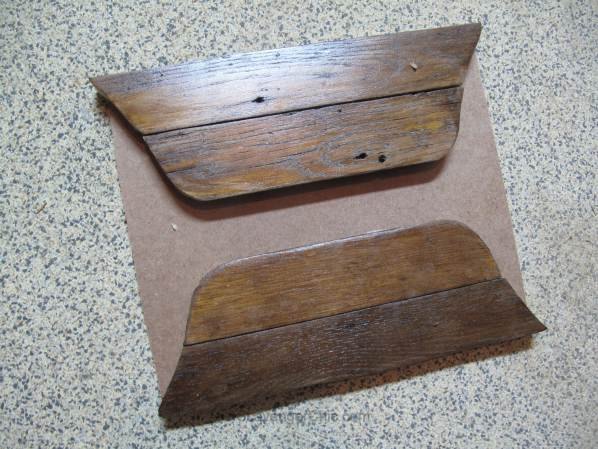
Not wanting to cover up the metal (which would have been so much easier), I decided to make a shelf to go around the detail. I made a pattern by just rubbing over a piece of paper with chalk, then cutting out the pattern.
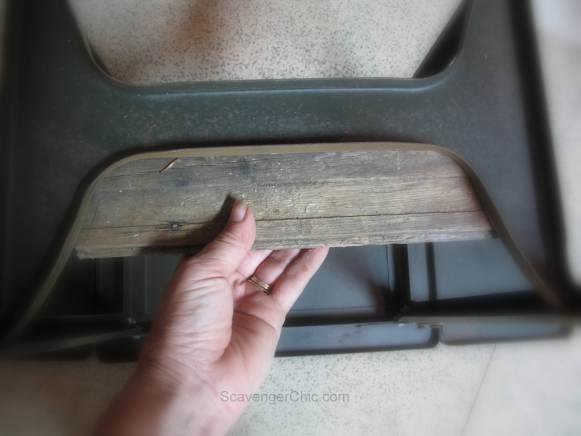
The pattern I had just created was then traced onto old oak hardwood flooring boards and cut out with a scroll saw. Any little tweaks to the cut were made now so that the flooring boards would fit snugly.
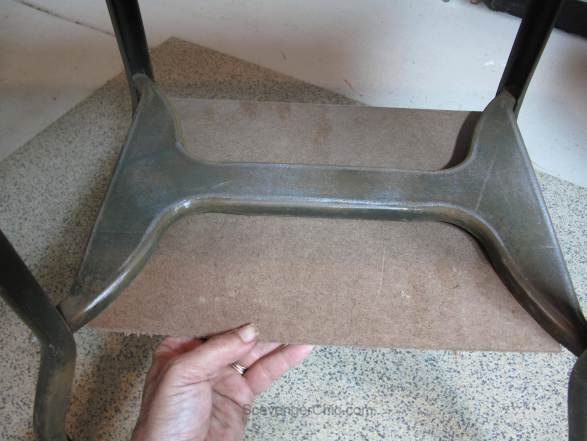
A thin piece of mdf was then cut slightly smaller than the floorboards, I didn’t want any of the mdf to be peeking out.
The newly finished floorboards were then attached to the mdf with builders adhesive. You’re not attaching it yet to the typewriter table, but hold it up to the table when you’re placing the boards to get the tightest fit possible. Allow to dry.
While the adhesive is drying, you can start working on the table.
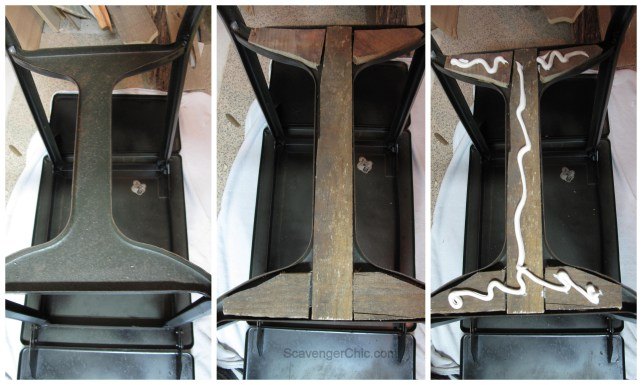
Turning the desk over, there really is nothing to attach my great new shelf to.
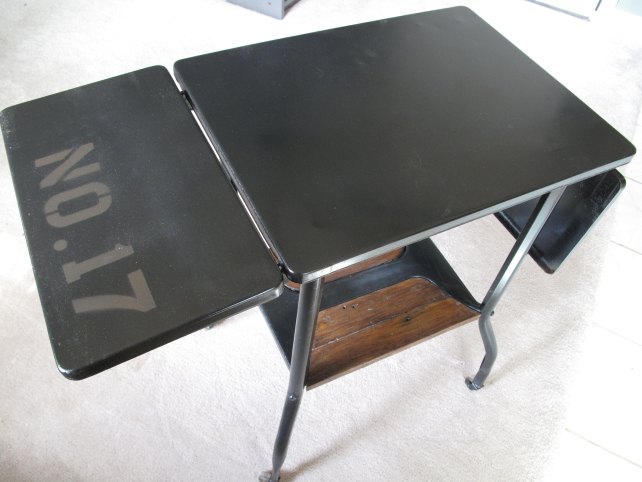
The shelf was clamped into place and let dry overnight.

Want more details about this and other DIY projects? Check out my blog post!
Comments
Join the conversation
2 of 28 comments
-
I have one I painted silver.
-
Very creative! Love the addition of the shelf. Thanks for sharing. ☺


Frequently asked questions
Have a question about this project?