


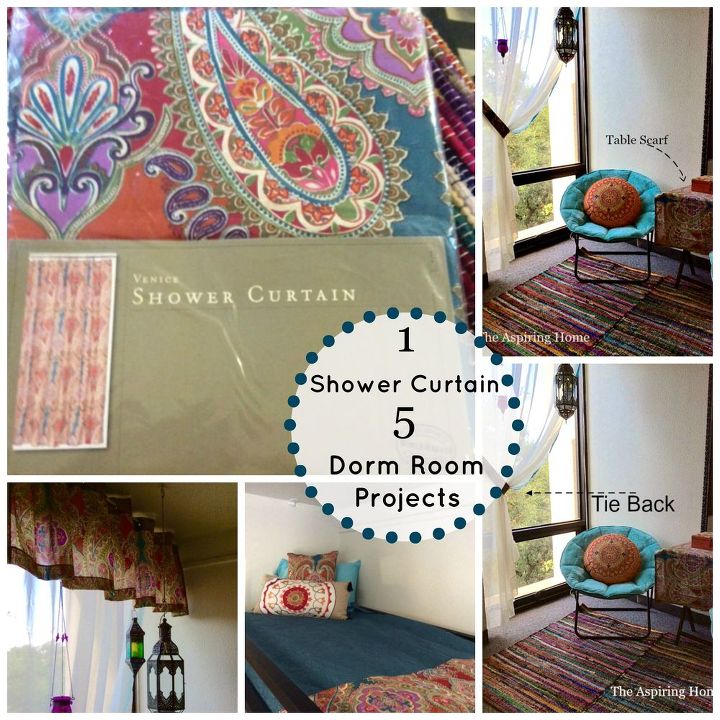
1 Shower Curtain - 5 Easy Projects!

by
Joy
Howdy!
Today is a fun and frugal project. We moved the second kiddo into college life last week and if you have had this pleasure- you know how quick the cashola starts adding up. It is like setting up a second household.
While shopping for inspiration, my daughter and I came across this shower curtain at World Market....
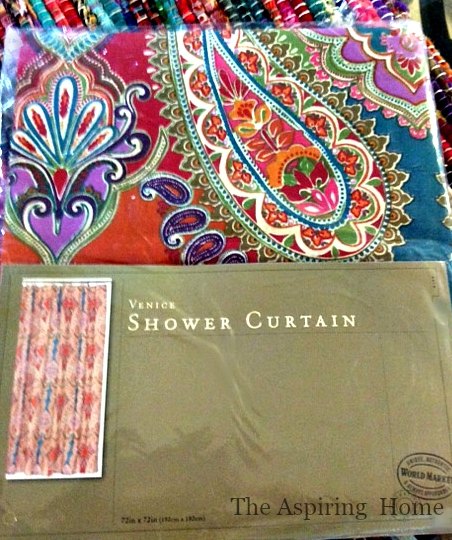
The colors and pattern were perfect for the look my daughter was hoping for. After grabbing a few cool lanterns and accessories- we dubbed the coming design "I Dream of Jeanie". :)
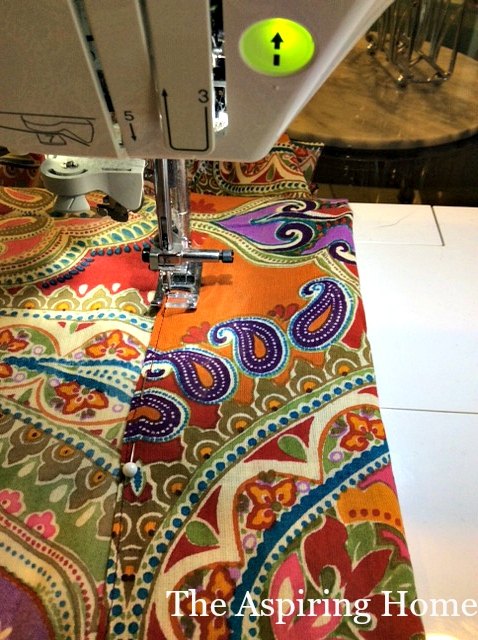
The second item I cut was the 15x15 pillow. My insert was actually 16x16 and I bought it at Walmart. The difference between making the bed scarf and a pillow- I had to cut lining for the pillow. The shower curtain was a bit sheer to stand on its own. I grabbed leftover plain off-white fabric. I cut a total of four 15.5 x 15.5 inch squares. I sewed the print fabric to the plain fabric to create two 15.5 x 15.5 inch squares. Next step is to sew the two squares together - leaving the bottom open to insert the pillow form. Once I inserted the pillow form I folded the raw edges in and pinned the seam closed. Final step... sew the bottom opening shut.
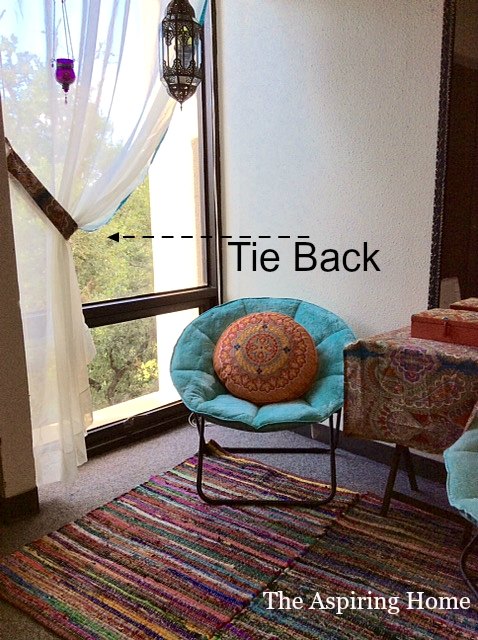
The third item I cut was the curtain tie back. I cut a piece of fabric which measured 6 x 24 inches. Again, I made a backing out of the plain fabric for the tie back.
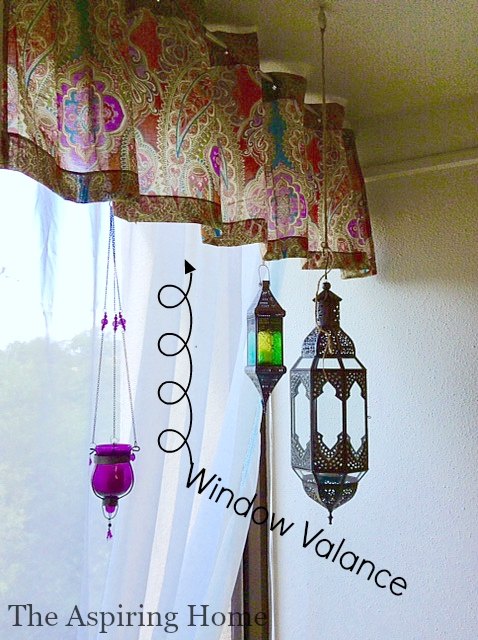
The fourth item I created was the Window Valance. I measured from the top of the shower curtain down this time. I wanted to keep the area where shower hooks would normally go. I measured and cut a piece that measured 22 x 72 inches. I did not line the valance because I wanted to keep the sheer feeling. I sewed a two inch hem in the bottom and that was it!
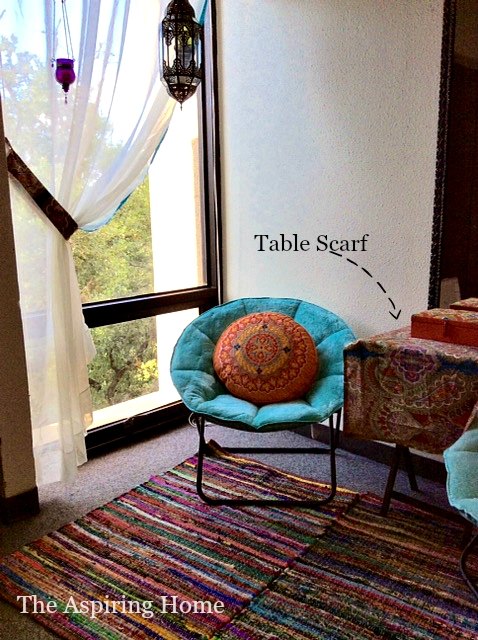
The fifth item I created was a deskchair or table scarf. Ok, I will be honest... I do not have a measurement for this item. It was the last of the fabric and I just put a hem in it. By the time I created this- it was midnight and I was in an almost zombie state. I KNOW you have been there... We used it on a little table to bring that wonderful pattern to the opposite side of the room.
Till Later,
Want more details about this and other DIY projects? Check out my blog post!
Comments
Join the conversation
2 of 114 comments
-
Wowww love those rugs did you sew two of them together to form a big rug like some people do they go great with those curtains you made
-
instead of table scarf, could make done a runner


Frequently asked questions
Have a question about this project?