« View Post
Photos

Oops! Leave without saving?

If you leave this page, the information you have entered will not be saved!
Are you sure you want to leave this page?

Leave this page Stay on this page

Hometalk.com

  • Sign Up
  • or
  • Log In
  • Professionals
  • Community
    • All Members
    • Professionals
    • Bloggers
  • About
    • About Hometalk
    • Blog
    • FAQ
    • Guidelines
    • Resources
    • Support
    • Press
    • Contact
    • Terms of Use
    • Privacy Policy
  • Following
  • All Topics
    • Cleaning & Organization
    • Crafts
    • Design & Décor
    • DIY Projects
    • Gardening
    • Home Maintenance & Repairs
    • Outdoor Living
    • Painting
    • Remodeling
    • Repurposing & Upcycling
    See More Topics »
  • Questions
    • All Questions
    • Open Questions
    • Unanswered Questions
  • Clips
Post & Ask
Join Now Log In

Hometalk is where people share and help with everything home & garden

BeachBumLivin

Blogger | Sarasota, FL http://www.youtube.com/user/BeachBumLivin
93 Followers 481Likes 23174 Shares
  • Overview
  • Portfolio
  • Posts16
  • Comments31
  • Boards1
  • Clips3
  • Likes34
  • Following98
  • Send a Message

My Recent Boards

  • BeachBumLivin's board

Featured Photos

About Me:

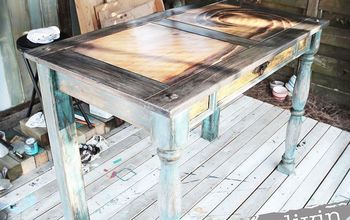
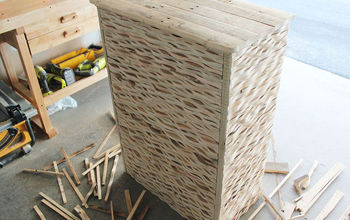
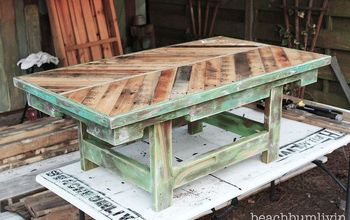
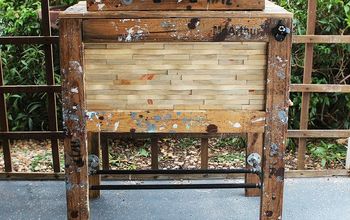
How-to videos on making furniture SUPER AWESOME. Sarasota Florida (a couple blocks from beach) via Honolulu Hawaii. Life loving, beer drinking, day dreaming, furniture fixing, surfing, fishing, stand-up paddling, kind of Guy. That's ME :) Aloha


Recent Activity


  • Close up of the "wet sanding" result.
  • The 2nd drawer is the overall effect. 2

My Impatience Finally Paid Off!

First, I will say that I love working on various re-purposing projects in the little bit of spare time I have....my biggest problem is that I'm so impatient when it comes to waiting ...»
between steps like I should because something in my personality wants instant results. I recently redid a small dresser, and after layering on some off-white paint, I wanted to sand it back to remove it for a worn look. I didn't wait for the paint to completely dry and when I sanded, it was still "sticky wet", and produced this very cool "chipped paint" effect. My husband wasn't thrilled that I gummed up so much sandpaper, but he'll get over it. Thought the "slightly wet" paint technique may be of use to those of you looking for this effect and/or are as impatient as I am!

Leslie D
Leslie D Las Vegas, NV
5 Comments | Post Comment | 64 Views
  • BeachBumLivin
    Commented 2 days ago
    Wow, Leslie, that looks soooo awesome!! Your method to your madness is great! Thanks for the ...»
    mention also :)

  • Share 0
  • Like 4
  • Clip 1
Clipped to:
  • Furniture Makeovers
  • Honor the fallen.
  • A nice blue with clear and dark wax.
  • The flag is made from pallet wood scraps.
  • This is Jimmy's final resting place in Arlington National Cemetery. The image I used was taken by a photographer on Memorial Day 2007. The heartbroken women was Jimmy's fiance.
  • Star Knobs that look like the stars from an American Flag.
  • Me and Jimmy, Afghanistan 2005
  • See 4 more photos

Memorial Day!! Honor the Fallen. In Memory of Sgt. Jimmy Regan

I redid this dresser to pay tribute to my Ranger buddy Jimmy who was KIA Feb 2007 in Iraq. Read about him here: http://www.leadthewayfund.org/sgt-james-j-re...
BeachBumLivin
BeachBumLivin Sarasota, FL
9 Comments | Post Comment | 447 Views
  • BeachBumLivin
    Commented 2 days ago
    Thank y'all very much! It means a lot to me that y'all took the time to look! :)
  • Share 57
  • Like 9
  • Clip 5
Clipped to:
  • RePurpose
  • Furniture Redo Inspirati...
Leslie D
  • BeachBumLivin
    Followed 1 person 2 days ago
Sia@South 47th
  • BeachBumLivin
    Followed 1 person 7 days ago
Sihem Tachouli Desiree G
  • BeachBumLivin
    Followed 2 people on May 14, 2013
Melissa at Renovating 519 Primitive Style
  • BeachBumLivin
    Followed 1 person on May 10, 2013
Karen - The Graphics Fairy
  • BeachBumLivin
    Followed 1 person on May 08, 2013
  • This quirky, double wide sized pallet wood chair is all decked out, ready for a great summer read.
  • Two pallets, 4 legs and two armrest boards are really all it took. So easy! The trick is to ensure you find two pallets that are similar in size.
  • Let's add more quirk to make it totally yours! This signboard was used as an armrest. Note how wide the board is... perfect for my coffee cup. Priorities here...
  • This leg has an antique level attached. This project is a little like 'Where's Waldo's Wild Additions?'
  • Pallet markings were celebrated by placing them in prominent places. Coffee bean sacks acting like large pillow cases were just tucked in place. No sewing required. 2
  • For the legs, a little bracing was required inside the pallet so the leg had something to stabilize against.
  • Tell me that isn't one big cool chair to curl up in! But let's add some comfort...
  • 5" foam cut to size (new from a foam shop) was key for the ultimate comfort.
  • This is a pallet SOFA I made last year, decked out in total bohemian style craziness. The build is much more size customized: http://www.funkyjunkinteriors.net/2011/08/how-i-built-pallet-sofa-part-2.html
  • See 6 more photos

A two pallet chair ANYONE can build in a jiffy!

There's nothing like a need to bring on a new project!

Desiring a 2nd seating area for my patio, this oversized chair was created out of two ...»

pallets and little more. I kid you not! This is the easiest build in the world and you'll wonder why you didn't think of it first!

#MayProjects

#SummerStyle

2 Hours Easy
FunkyJunk Interiors - Donna
FunkyJunk Interiors - Don... Canada
38 Comments | Post Comment | 18192 Views
  • BeachBumLivin
    Liked on May 06, 2013
  • Share 7.3K
  • Like 291
  • Clip 384
Clipped to:
  • reclaimed lumber
  • D Y ideas
Tanya Peterson Felsheim Susan Vaughn Stacy Monasmith Kent
  • BeachBumLivin
    Followed 5 people on May 05, 2013
No. 29 Design Linda @ it all started with paint
  • BeachBumLivin
    Followed 2 people on May 04, 2013
Loading
Back
to top
Feedback