


How to Remove a Toilet and Save Yourself a Plumber Bill

By Marilyn Syarto
Whether you’re rehauling your entire bathroom or are replacing your old, worn-out toilet, removing a toilet is a little messier in real life than it is in tutorials. We understand that. That’s why we are giving you the best tips on how to remove a toilet so that it’s easy enough for a novice DIYer to handle.
Our guide will give you the basics of how to remove a toilet, plus tips on how to handle some of the tougher moments that happen when it comes to taking your throne off its perch.
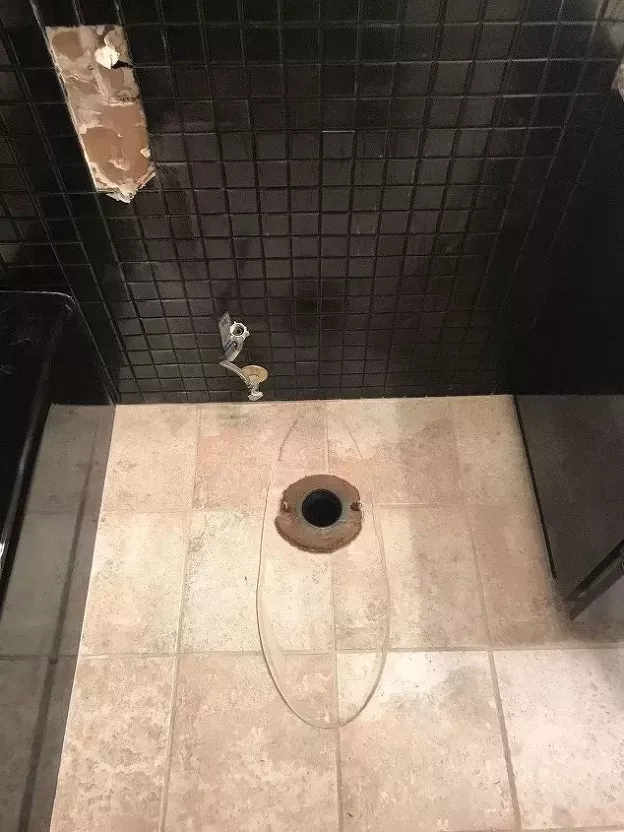
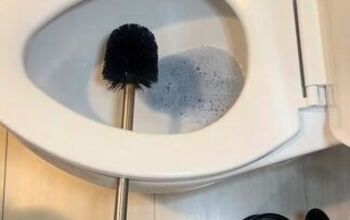
Photo via Carol Becker
Reasons You Need to Remove a Toilet
It’s not every day that you need to remove your toilet. But there are some pretty good reasons why you may have to remove or replace your toilet:
- There’s a crack in the tank or bowl.
- There’s a slow leak at the bottom.
- It has a weak flush and constantly clogs.
- You are installing or fixing the bathroom floor.
- You need to update your old toilet to a newer, more efficient model.
- The bowl is hopelessly discolored (possibly from hard water stains)
- The toilet wobbles, which could mean the floor beneath is rotting away (and it may mean your toilet leaks).
- There’s a buildup of impossible-to-remove mineral deposits clogging the bowl’s water outlets.
- You need access to the wall behind the toilet.
- And a favorite reason: You’re remodeling your entire bathroom and you need a new, sparkling toilet!
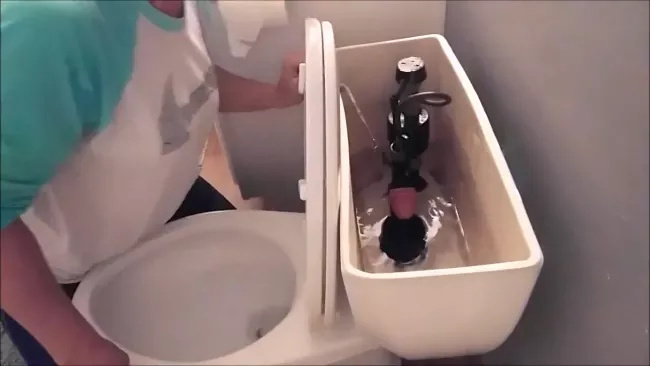
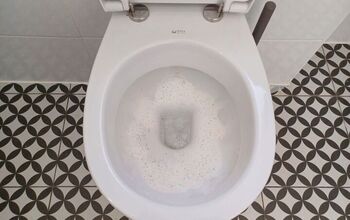
Photo via ChickFix
How to Remove a Toilet
Removing a toilet is a dirty, awkward job, but possible to do without the help of a professional. The only challenging issue may be removing gross and rusty bolts. Bolts are typically rusted on a toilet due to the natural humidity in a bathroom and they won’t likely turn easily for removal. Then, there’s that dastardly wax ring that needs to be removed from underneath the toilet. We’ll get to all of these issues (and more)!
Safety Warning
Wear protective gloves, eye gear, and a mask when you start to clean inside the toilet to avoid getting any bacteria on your skin or in your eyes. Use towels and sponges that you plan on disposing of when you’re done. Also, when it’s time to carry your toilet out of the bathroom, it’s helpful to have a buddy to help you. Toilets are not only heavy but awkward to carry.
Tools and Materials Needed:
- Old towels or sponge
- Protective gloves
- Protective eye gear
- Mask
- Plastic garbage bags
- Bucket
- Ratchet wrench or basin wrench
- WD-40 or other lubricant
- Razor blade
- Flathead screwdriver
- Mini hacksaw, reciprocating saw, or nut splitter
- Small putty knife or paint scraper
- Rags
- Wire brush
Step 1: Shut off the Water Supply
The shut-off valve to the water supply is typically located on the wall at the back of your toilet (if it’s not there, check the floor). Turn the knob clockwise to completely shut it off.
Step 2: Flush the Tank
Flush the toilet a few times until the tank is as empty of water as possible. (You can remove the tank’s top and place it out of the way.)
Step 3: Remove Excess Water
If there is still any water in the tank or bowl, use an old towel or old sponge to dry it out. Throw out the towel or sponge in a plastic garbage bag.
Step 4: Disconnect Connector
Place a bucket under the toilet connector hose to catch any water that’s still in the drain when you disconnect the hose. Unscrew the connector hose from the bottom of the toilet. You can leave it connected to the water valve unless you are installing a new hose.
Step 5: Remove Bolts Under Tank
Reach under the tank to find the mounting bolts, which need to be removed so you can lift off the tank. Use a ratchet or basin wrench to do the job. Lift the tank and put it down on an old towel.
It’s pretty inevitable that you’ll run into rusted bolts. If they’re hard to unscrew, soak the bolts with a penetrating oil such as WD-40, then try removing them. If that doesn’t work, grab a helper to hold the bolts' heads inside the tank still with another wrench or screwdriver while you work on the outer bolt.
If this didn’t work and the bolts are impossible to remove due to rust, you’ll have to lift the toilet from the floor in one piece. (Cutting the bolts from under the tank isn’t necessary.)
Step 6: Remove Old Caulk
If there's caulking at the bottom of the toilet that’s sealing the base to the floor, use a razor blade to cut through it for removal. Remove the caulking and toss.
To begin to loosen the bowl and base, stand over the bowl and with your hands gently rock it back and forth and side to side. The action will loosen up some of the rust, caulking, and wax seal.
Step 7: Remove Bolt Caps
Use a flathead screwdriver to pop off the bolt caps (they are probably very loose by this point).
Step 8: Remove the Bolts
You will likely encounter another set of very rusted bolts holding the toilet to the floor. Try removing them with a wrench and use a lubricant if the rust is keeping them in place. This time, however, if you have a worst-case scenario, you will need to use a hacksaw, reciprocating saw, or nut splitter to cut through them so you can remove the toilet from the floor.
Steel vs. Brass Bolts
Step 9: Lift Toilet Bowl
Once the bolts are gone, lift the toilet straight up from the wax seal and flange (the metal/plastic ring that the wax sits on). Place the toilet on an old towel.
Step 10: Plug Sewer Gas Hole
Immediately put a large rag or old towel into the drain hole surrounded by the wax ring. You need to plug it up so stinky sewer gas doesn’t seep into your house.
Step 11: Remove Wax Ring
You can still remove the wax ring with the rag/towel in the hole, but if it’s in the way, just work quickly without the rag/towel plug.
Use a putty knife or paint scraper to get under the wax ring so you can lift it or begin peeling it away. Toss it in a garbage bag. Recover the drain hole with a rag/towel if you removed it.
Step 12: Inspect and Clean the Flange
After removing all the wax, see if the flange is in good condition. If it’s worn, it needs replacement. If it’s fine, give it a good cleaning with a wire brush to remove debris. Recover the drain hole with the rag/towel.
How to Throw Out a Toilet
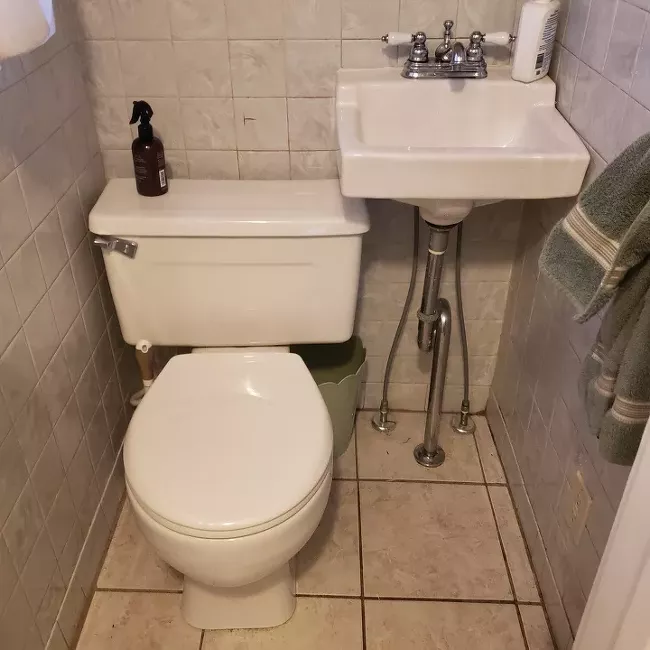
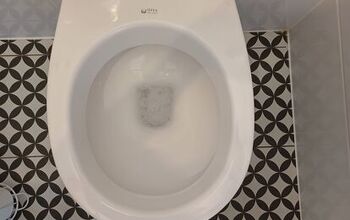
Photo via Jen Cee
When to Call a Professional
If removing a toilet is not how you would like to spend an hour or two, call a plumber. This way a professional can effortlessly remove and replace a toilet in the blink of an eye. It may be worth every penny if you don’t have to deal with dirty tank water or rusty bolts. Here are a few more reasons why you may want to call in the professionals:
Mold Growth
There may be mold underneath the toilet and around the ring. The right plumber should be able to take care of the mold growth and potentially any structural damage before installing a new toilet.
Too Much Rust
If you simply cannot cut away the bolts or safely unbolt the bottom of the toilet from the floor, you will need the help of a professional.
No Tools
If you don’t have the tools needed to remove a toilet, like a reciprocating saw or nut splitter, a plumber will.
Correct Removal and Installation
It’s not easy to remove an old toilet and stubborn wax ring—the new wax ring has to sit on a spotless floor flange so the toilet can sit level and leak-free. A professional will know how to make sure there's a solid seal between the toilet and the wax ring.
Quick Removal and Installation
A professional can do the job of removing (and replacing) a toilet in two to three hours. Add at least an hour or two to a DIY job.
Correct New Toilet
A plumber can also help you choose the correct size and type of replacement toilet so it fits and blends seamlessly into the space.
Caulking Is Required
Have you encountered a tough toilet that needed removal? Did you have bolts that seemed permanently cemented to the floor and toilet? How did you manage to loosen up the toilet yourself? Let us in on your secrets in the comments below!
Comments
Join the conversation
-
Great instructions, I know for a fact that the sewer line has to be plugged up well. I got sewer gas and little knats flying around because we did not make that pipe tight.


Frequently asked questions
Have a question about this project?
What to do to seal off & cover the hole in the floor if you do not plan on replacing the toilet?