


Simple 5-Step Black and Gold Nightstand Makeover
Hey, DIY enthusiasts! Today, I'm excited to share a step-by-step tutorial on how I gave a new life to my worn-out nightstands, transforming them from plain particle board to a sleek black and gold nightstand masterpiece.
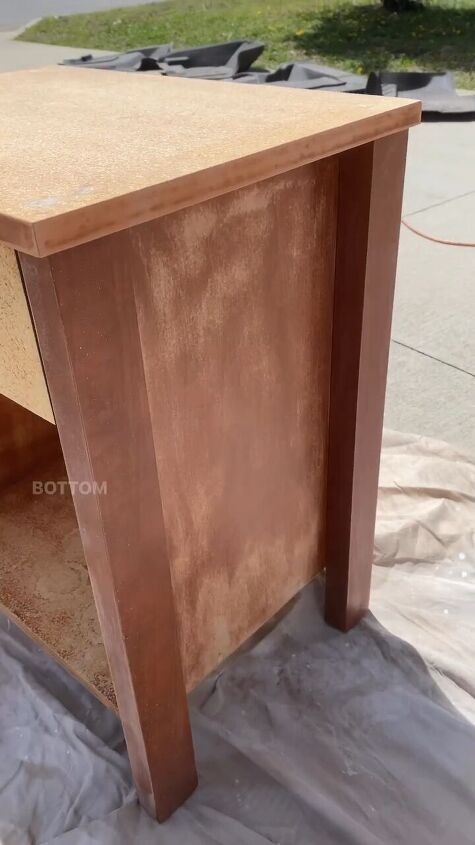
The surface had seen better days, with bubbling and water damage, but with a bit of creativity and some handy tools, I was able to flip, reverse, and revitalize my nightstands.
Follow along as I guide you through each step, from disassembling and repairing to painting and adding the final touches.
Tools and materials:
- Old particle board nightstand
- Screwdriver
- Drill
- Wood glue
- Bondo (polyester putty)
- Sandpaper (various grits)
- Square dowels
- Nails
- Black paint
- Gold handles
- Paintbrushes or paint sprayer
- Drop cloth or newspapers
- Masking tape
Nightstand makeover
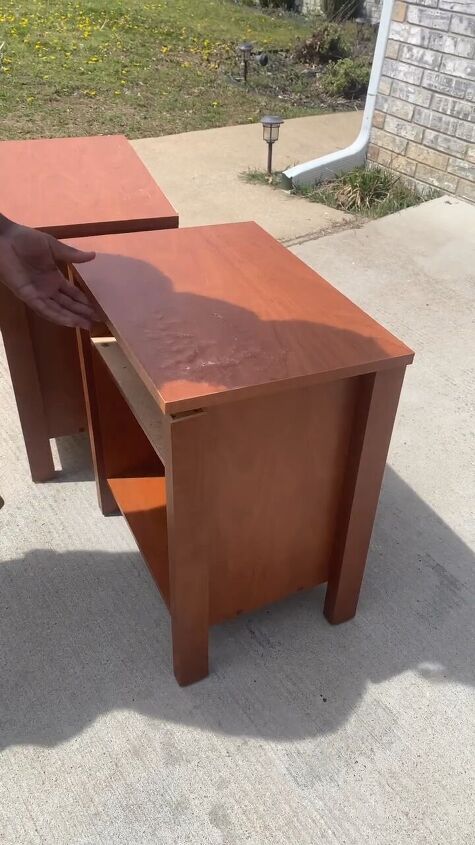
Step 1: Disassemble and Repair
Begin by carefully disassembling the top of the nightstand. If there are dowels in place, use a drill to remove them. Once disassembled, flip the top part to start with a fresh surface.
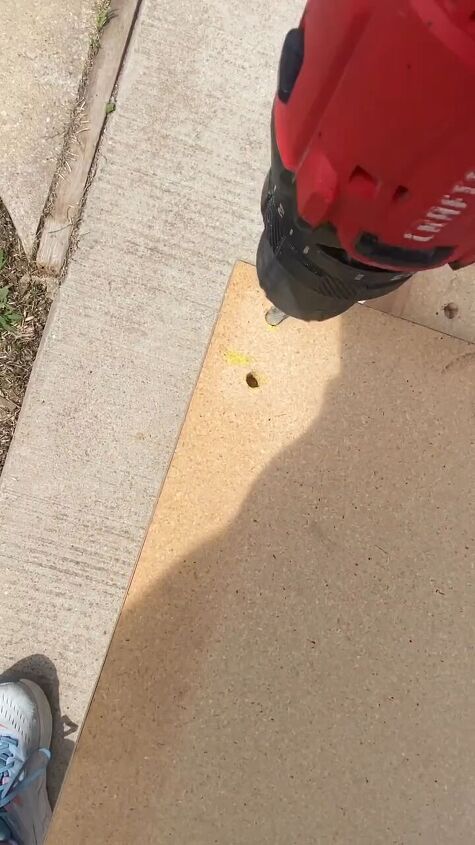
Drill new holes for dowels, apply wood glue, insert the dowels, and cover with Bondo for a seamless and sturdy connection.
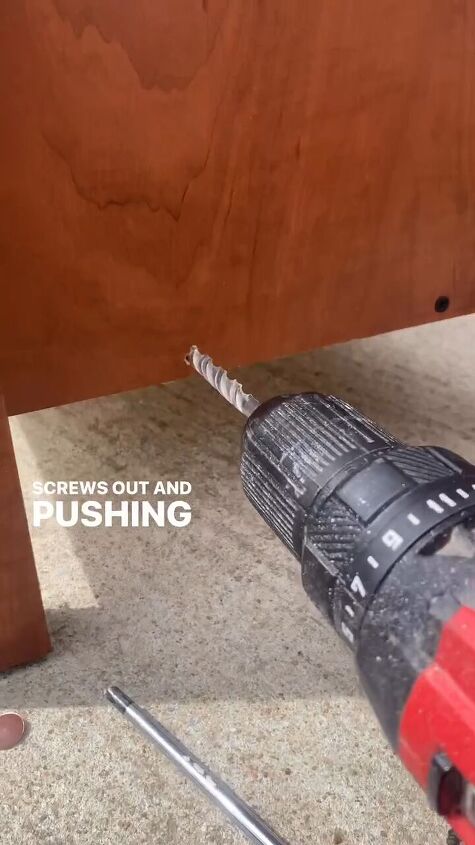
Step 2: Conceal Screws and Bondo Application
Remove screws from the sides where the shelf connects. Use a drill to create a slight indentation for the screws and then Bondo over the area. This ensures a smooth finish, making the screws practically invisible from the side view.
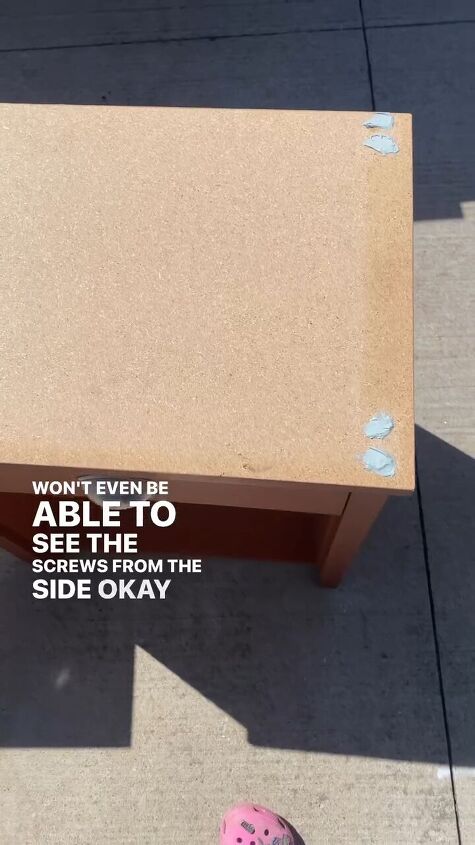
Allow the Bondo to dry completely before moving on to the next step.
Step 3: Sanding for a Smooth Finish
Once the Bondo is dry, grab your sandpaper and smooth out any rough edges or imperfections. Sand the entire nightstand surface to create an even and clean base for the upcoming painting process. Take your time to achieve a polished result.
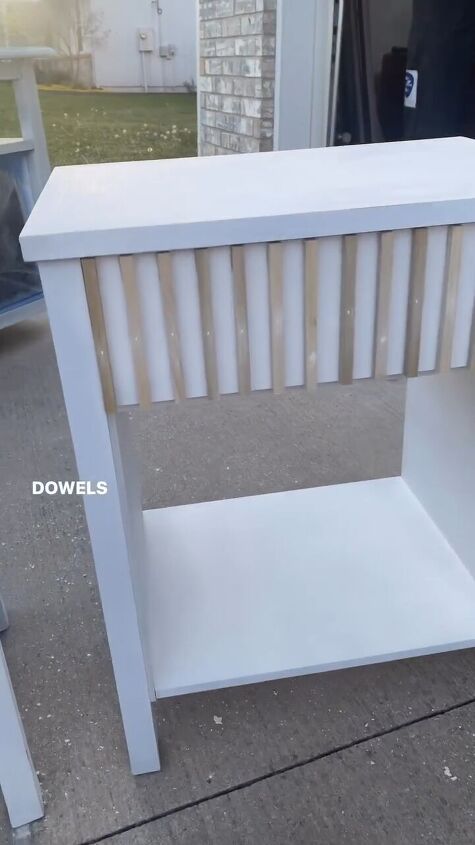
Step 4: Adding Decorative Elements
For a touch of elegance, attach square dowels to the nightstand. These can be easily found at Lowe's or your local hardware store. Nail them securely in place, ensuring they complement the overall design.
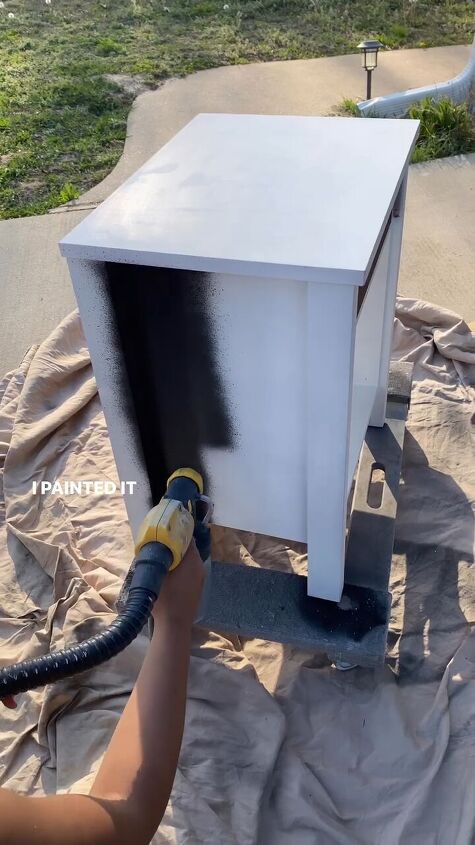
Step 5: Painting and Finishing Touches
With the prep work done, it's time to paint! Apply a coat of black paint to the entire nightstand, including the added square dowels. Let it dry completely between coats. Once satisfied with the black base, carefully attach gold handles to elevate the nightstand's aesthetic. Allow everything to dry thoroughly.
Check out these before and after nightstand makeover pictures:
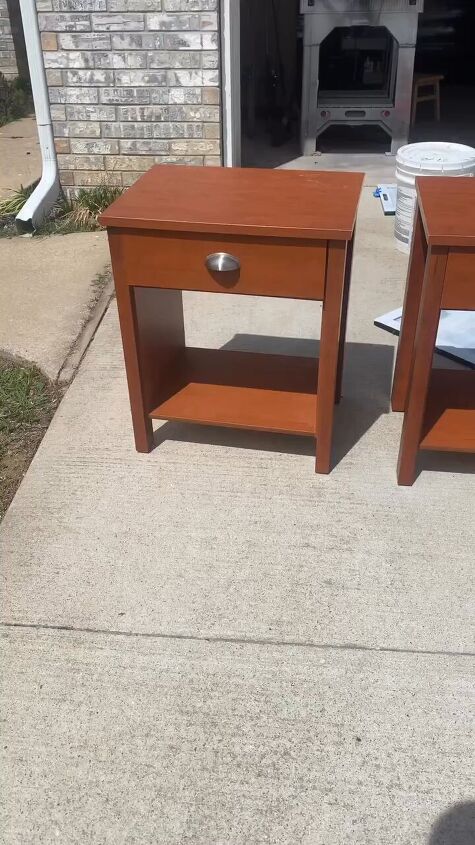
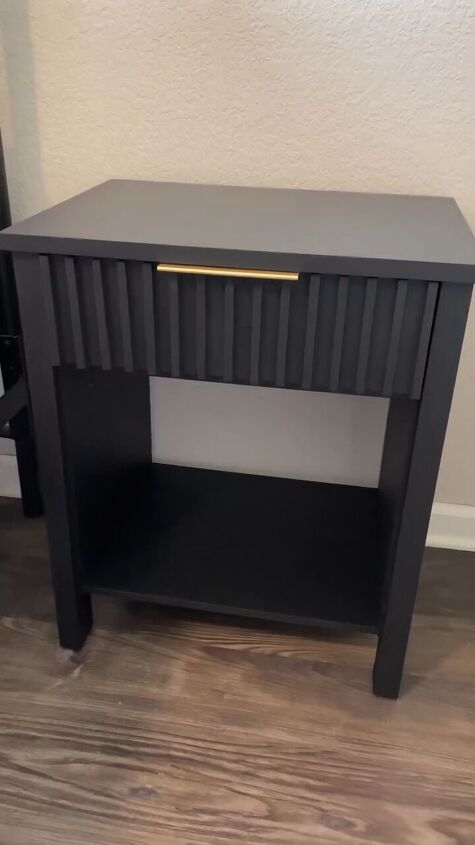
Black and gold nightstand makeover
And there you have it – a stunning black and gold nightstand makeover! With a bit of effort and creativity, I turned my worn-out particleboard nightstands into a stylish addition to my bedroom.
Feel free to experiment with different color combinations or finishes to match your personal style. Leave me a comment to let me know if you like this DIY nightstand makeover idea. Happy DIYing!
Follow @flippedbyfaith_ on Instagram for more DIY ideas.


Frequently asked questions
Have a question about this project?