


DIY Dresser Makeover: How to Upgrade Your Furniture, Step by Step
Welcome to my DIY dresser makeover tutorial! Are you ready to take a tired, old dresser and turn it into a stunning piece of furniture that'll breathe new life into your space?
I'm excited to guide you through the step-by-step process of giving your dresser a makeover that's not only satisfying but also wallet-friendly. Let's roll up our sleeves and get creative!
Tools and materials
- Old dresser
- Easy Off spray
- Scrubbing brush
- Water hose
- Fine grit sandpaper
- Paint (color of your choice)
- Water
- Antique glaze
- Satin Polyurethane
- Clean cloth
- European Gold Rub N Buff
- Hardware
- Drawer liners
Steps
Step 1: Preparing the Dresser
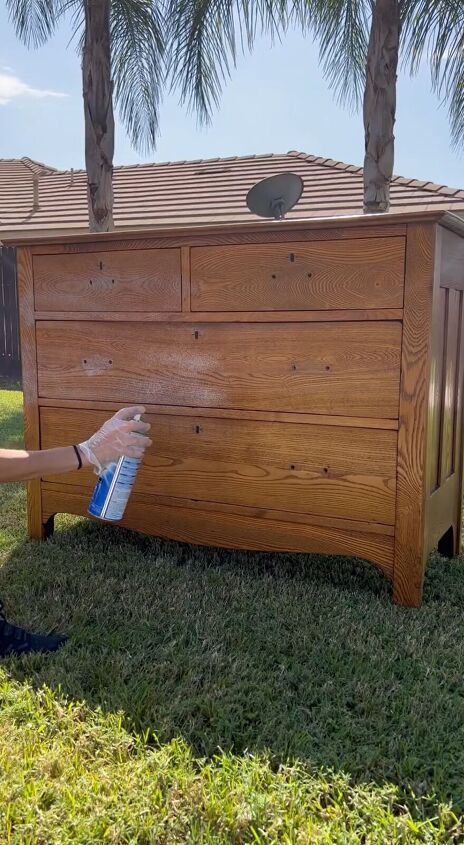
Start by giving your dresser a good clean. Spray two coats of Easy Off on its surface and let it sit for about 30 minutes. This will help remove any old finish and grime.
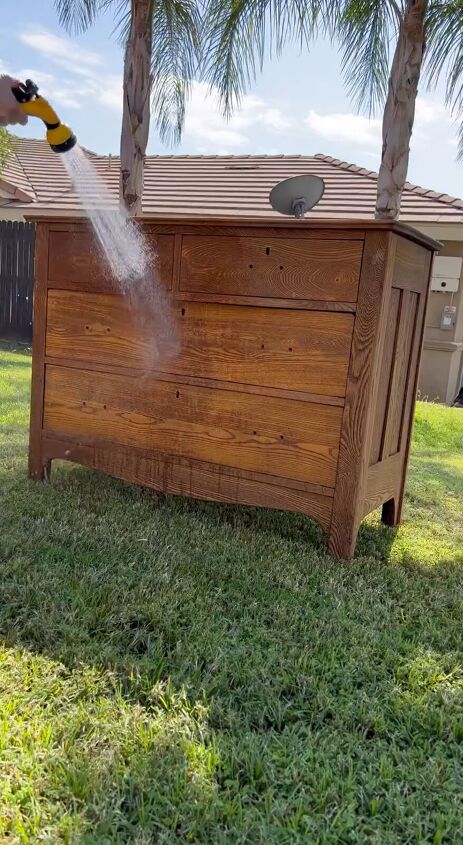
After the waiting period, scrub off the residue using a scrubbing brush, and then rinse the dresser thoroughly with a water hose. This will create a clean canvas for your makeover.
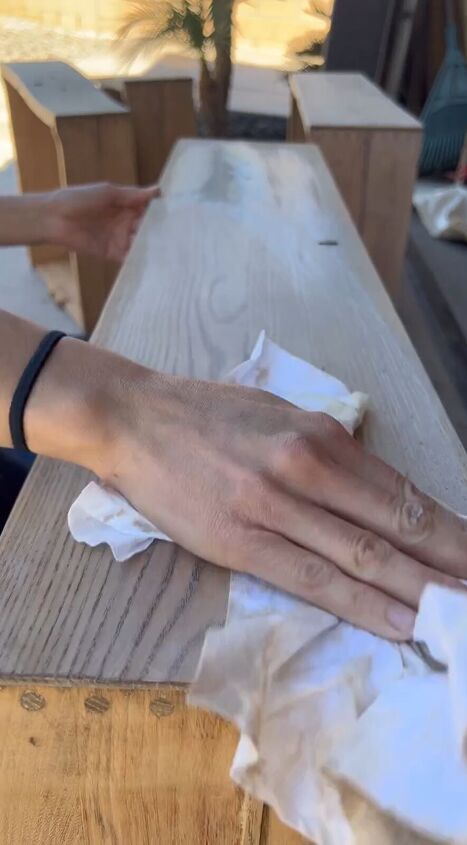
Step 2: Smoothing the Surface
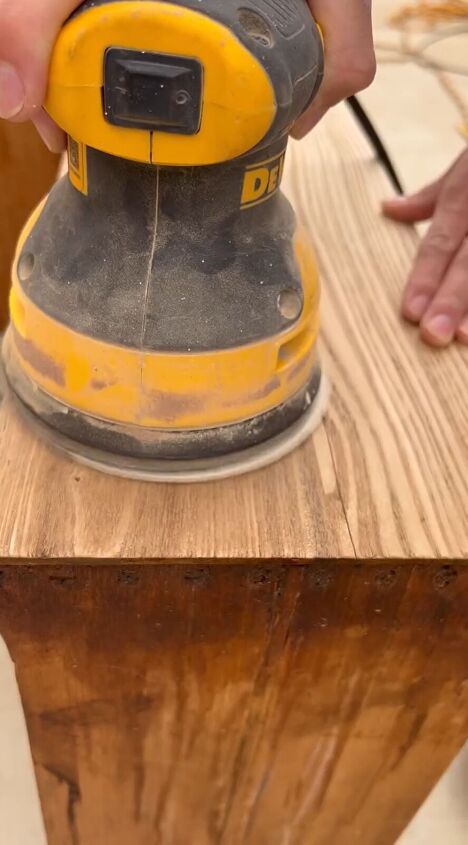
To ensure a smooth finish, sand the dresser with fine-grained sandpaper. This step helps even out any imperfections and prepares the surface for painting. Once you're satisfied with the smoothness, wipe away any sanding dust with a clean cloth.
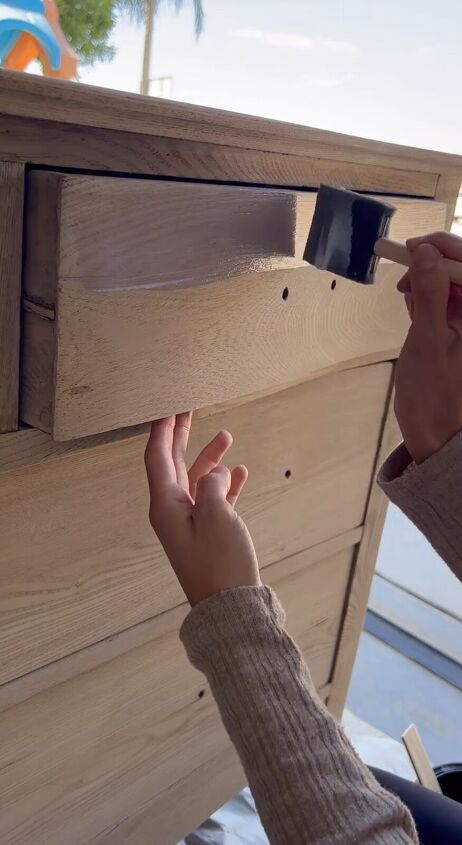
Step 3: Painting the Base
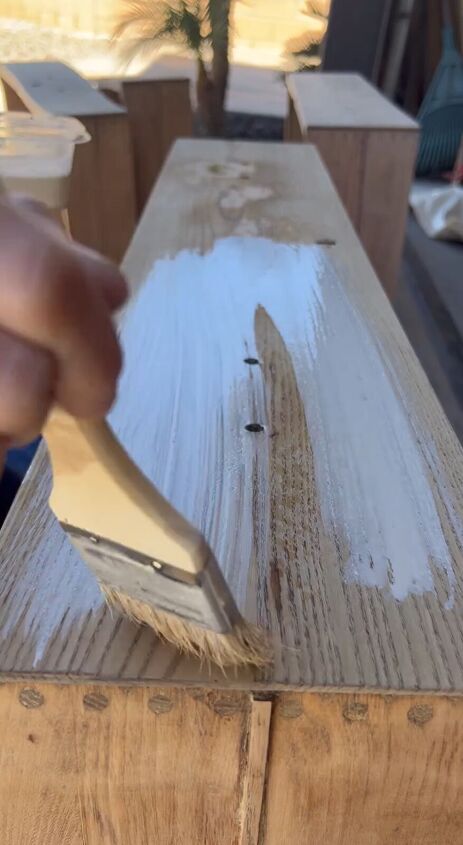
Now comes the fun part - painting! Mix your chosen paint with three parts water to one part paint. This creates a paint wash that allows the wood grain to show through, giving your dresser a rustic look.
Apply two coats of the paint wash, letting each coat dry before applying the next. Make sure to cover the entire surface evenly.

Step 4: Adding an Antique Touch
For a touch of vintage charm, apply a coat of watered antique glaze over the painted surface. This will give your dresser a subtle aged appearance.
Work in small sections, applying the glaze and then wiping away excess with a clean cloth. This step adds depth and character to your piece.
Step 5: Protective Top Coat
To protect your hard work and give the dresser a durable finish, apply a coat of satin polyurethane. This will not only safeguard the paint but also add a lovely sheen. Allow the polyurethane to dry as per the manufacturer's instructions before moving on to the next step.
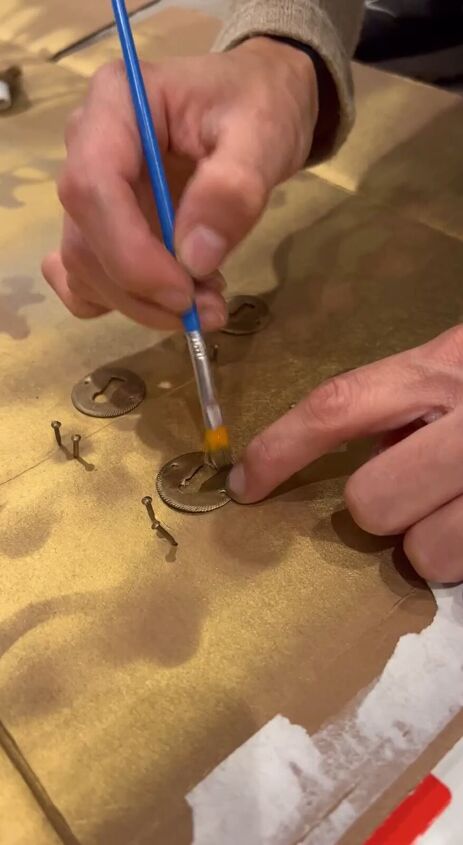
Step 6: Hardware Revival
Clean the dresser's hardware to remove any dirt or grime. Apply a touch of European Gold Rub N Buff to each piece of hardware to give it a luxurious and elegant look. Once the hardware has dried, reattach it to the dresser using a screwdriver.
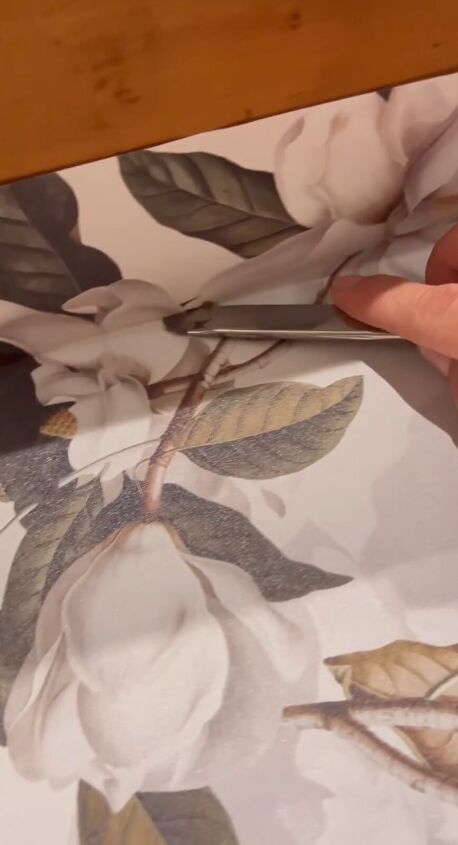
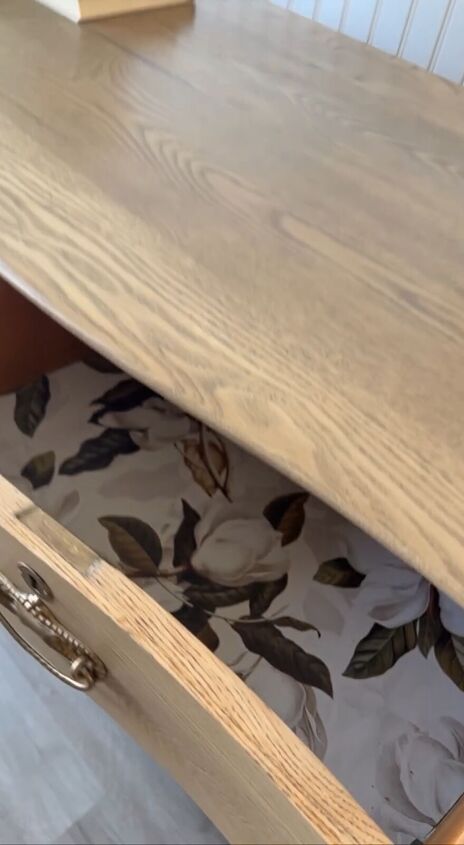
Step 7: Drawer Liners and Final Touches
For a polished interior, cut drawer liners to fit the inside of each drawer. These liners not only look great but also protect the dresser's contents. Place your items back into the drawers, and step back to admire your beautifully transformed dresser.
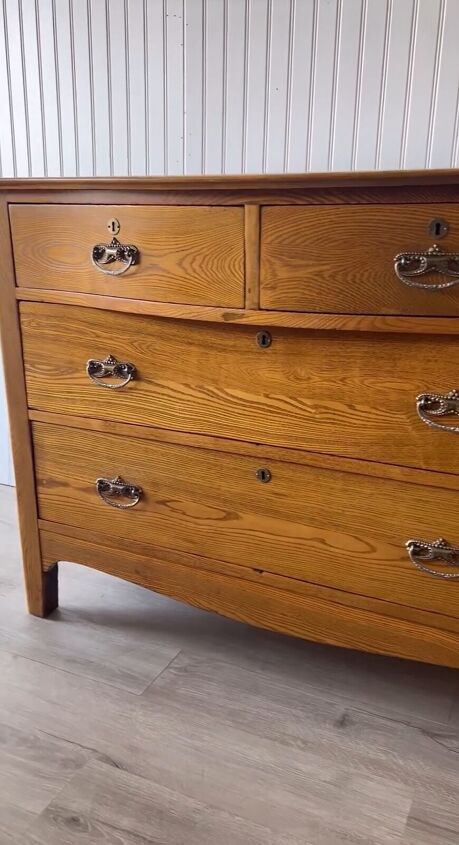
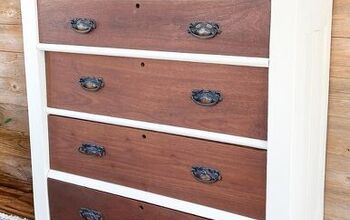
Before:
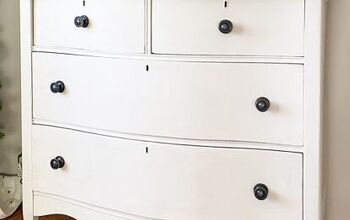
After:
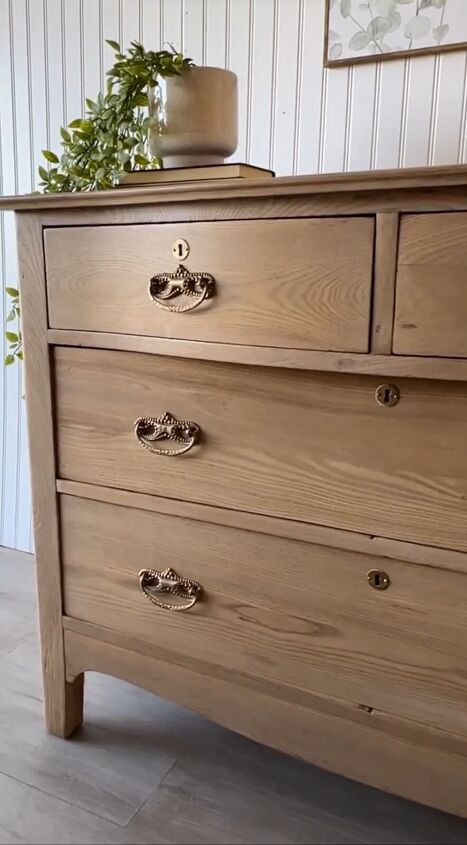
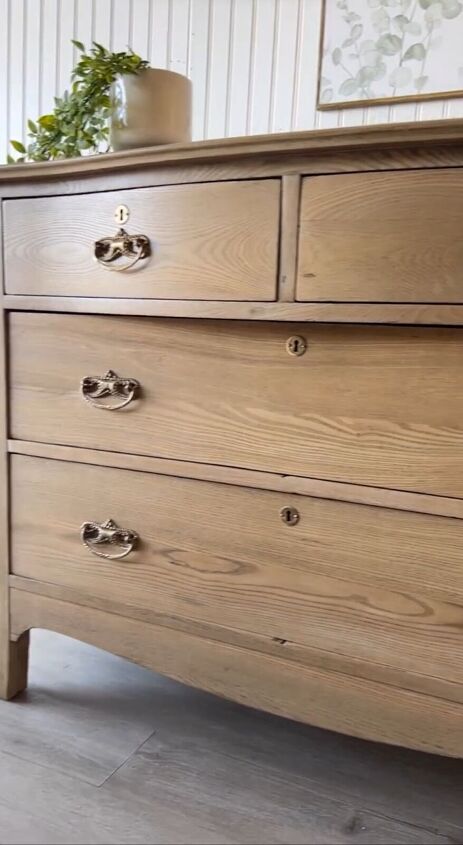
DIY dresser makeover
Congratulations, you've successfully transformed your old dresser into a chic and stylish piece that's sure to be the center of attention in your room! This project not only saved you money but also gave you the satisfaction of creating something unique with your own hands. Enjoy your revamped dresser for years to come!
Remember, every DIY project is an opportunity for self-expression and creativity, so feel free to adapt these steps to your personal style and preferences. Happy crafting!
Follow @moderntouchbyjanette on Instagram for more DIY ideas.


Frequently asked questions
Have a question about this project?