


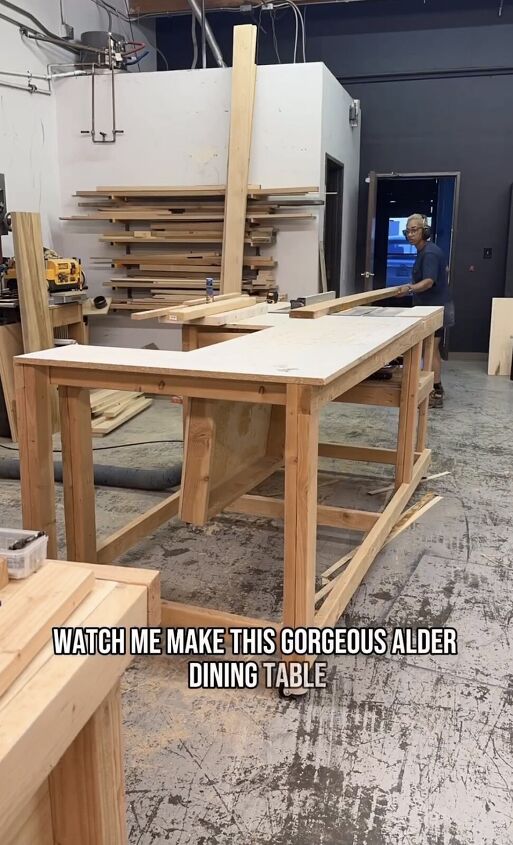
How to Build a Beautiful Alder Dining Table in 6 Simple Steps
Join me as I create a stunning alder dining table from scratch. It’s a project that will be used in your home for years to come. Follow along with these easy steps to make your very own.
Tools and materials
- Alder wood boards (for tabletop and apron)
- Table saw
- Sawhorses
- Wood glue
- Clamps (pole clamps and regular clamps)
- Sander
- Lex (varnish or finish)
- Pocket hole jig
- Screws
- Drill
- Paint sprayer
- Safety goggles and gloves
Steps
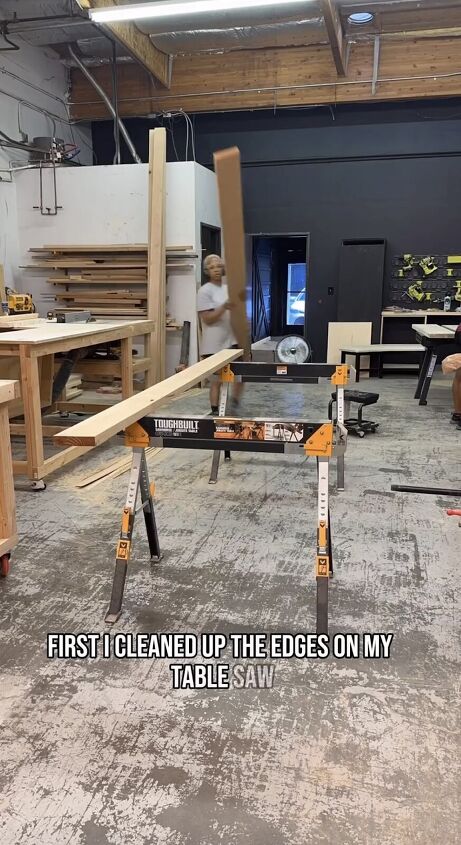
Step 1: Preparing the Alder Wood
Begin by cleaning up the rough edges of your alder wood boards using a table saw. Ensure they are straight and even.
Step 2: Cutting and Assembling the Tabletop
Lay the alder boards on your sawhorses and cut them to your desired length.
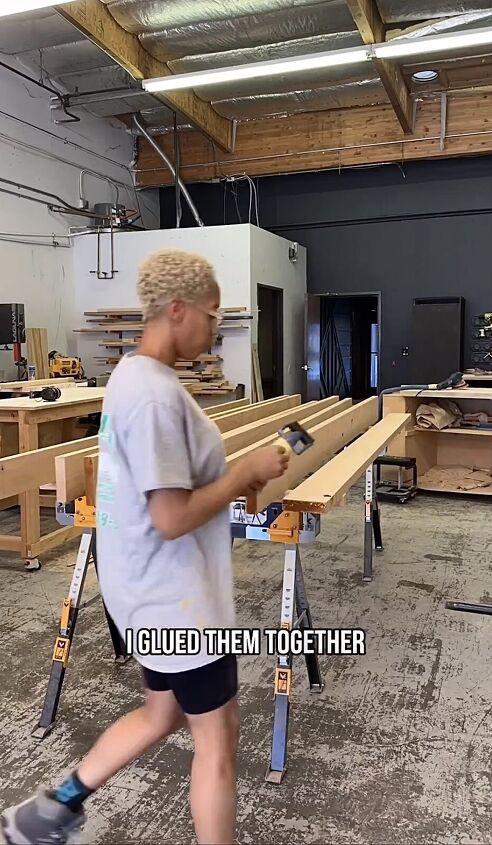
Apply wood glue to the edges and carefully align them together.
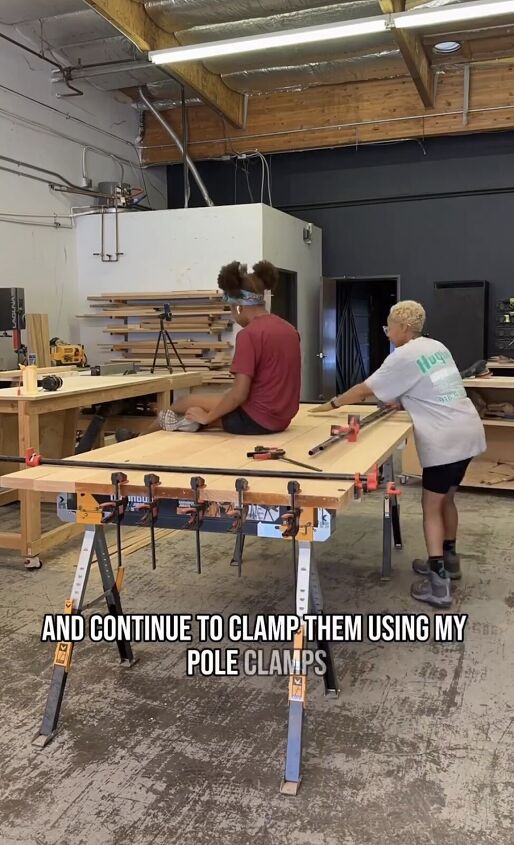
To ensure a flat surface, have some weight (like your baby girl) sit on high spots while you clamp the boards together using pole clamps.
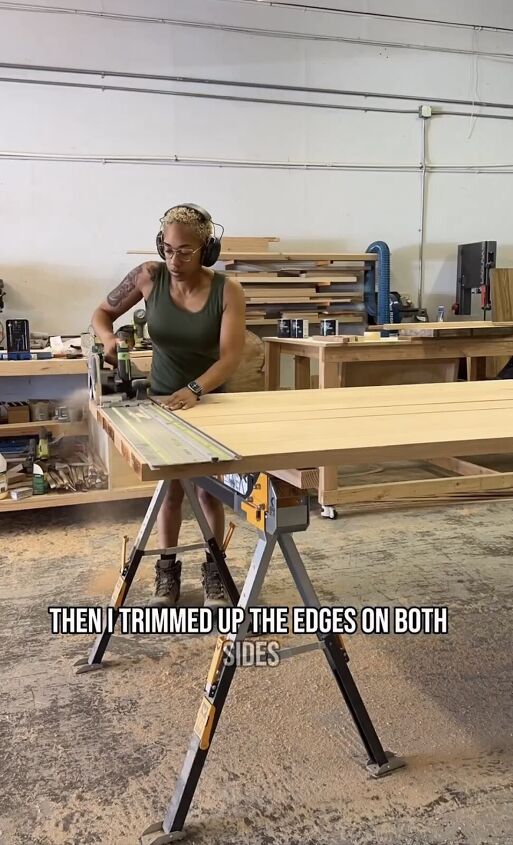
Step 3: Trimming and Sanding
After the glue has dried, trim any excess wood from the edges of the tabletop.
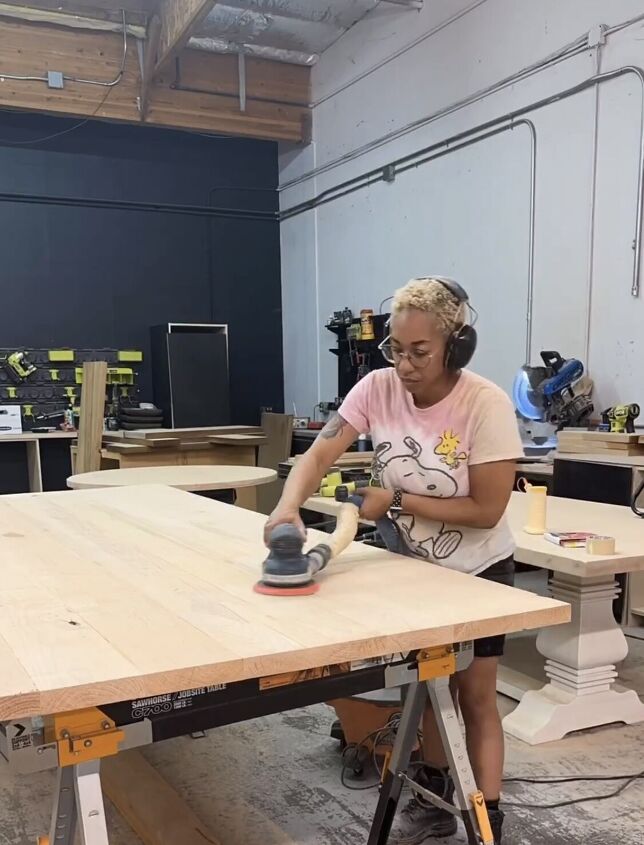
Give the tabletop a thorough sanding to achieve a smooth and even surface.
Step 4: Preparing the Apron
Cut down the alder boards for the apron and trim them to the required length.
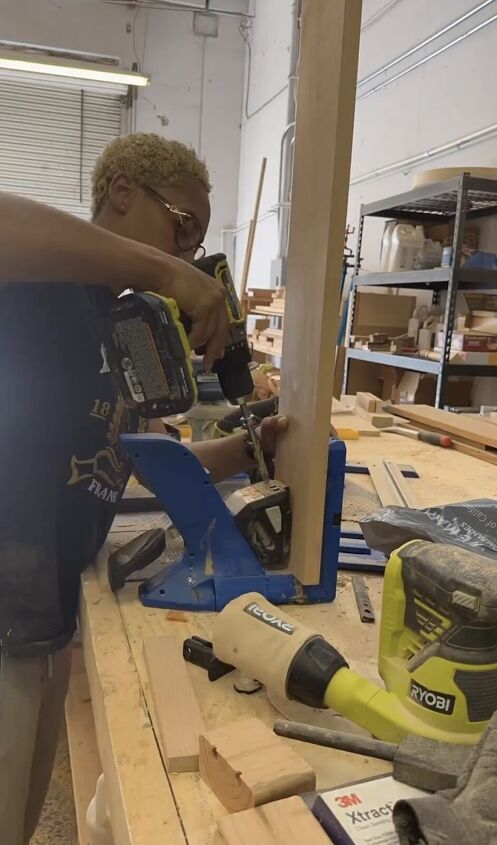
Utilize your trusty pocket hole jig to create pocket holes along the long and short sides of the apron boards.
Step 5: Attaching the Apron to the Table Legs
Now it's time to attach the apron to the table legs.

Secure the apron boards to the legs using screws and your muscles, as alder wood can be dense and sturdy.
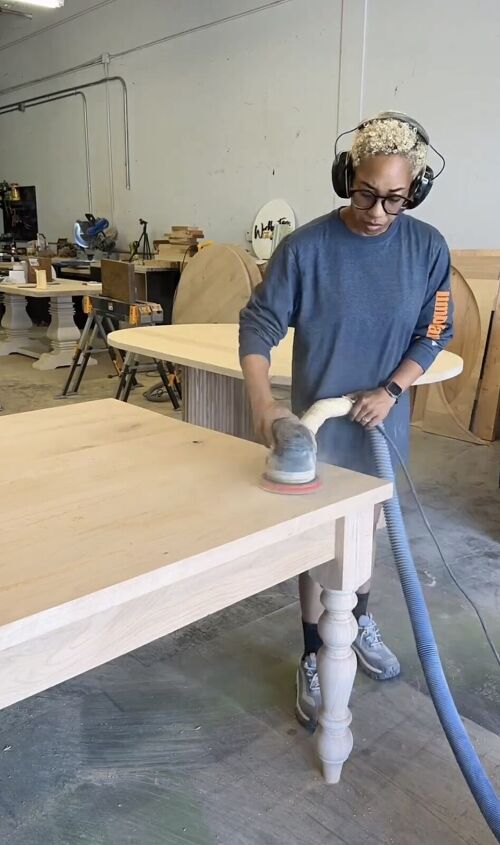
Step 6: More Sanding and Applying the Finish
Sand any rough edges or surfaces to achieve a smooth finish.
Prepare your finish and your paint sprayer. Begin by applying the finish to the legs of the table.
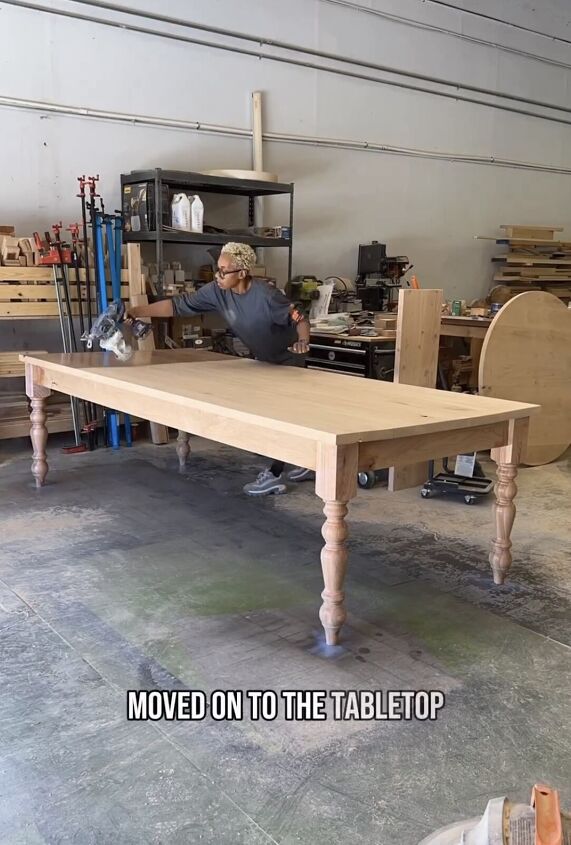
Move on to the tabletop, following a consistent pattern, just like Mr. Miyagi - up, down, up, down, until you've covered the entire surface.
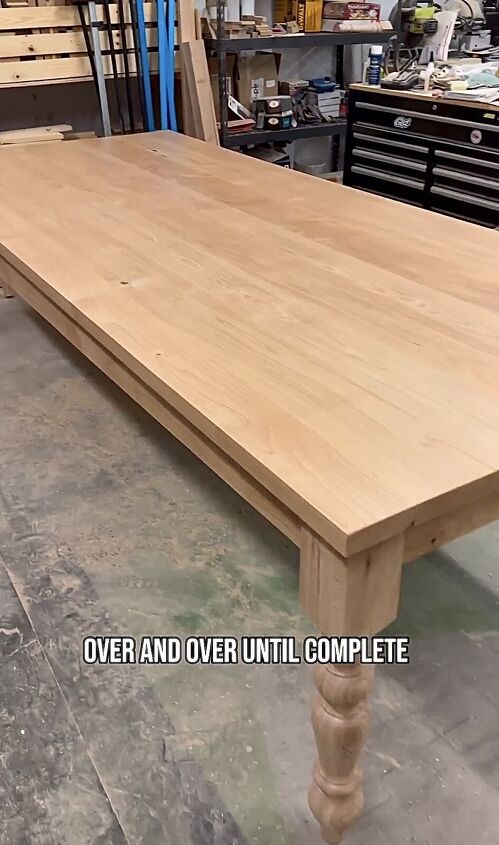
Let the finish dry thoroughly before using.
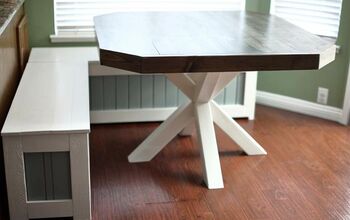
Alder dining table
Now that you’ve created a stunning alder dining table, enjoy your new piece of furniture with family and friends. This piece is perfect for family gatherings. Share your DIY journey with others in the comments below.
Follow @workbootsandglasses on Instagram for more DIY ideas.


Frequently asked questions
Have a question about this project?