


DIY Apothecary Cabinet

by
Making Stuff
3 Materials
$40
3 Days
Medium
I like to make projects that get rid of scrap wood and all of those pieces of leftover wood from past projects. I also like to make projects that make my wife happy. This project accomplished both. My wife had been asking for an apothecary cabinet for a while so I decided it was time to build one.
{
"id": "4099676",
"alt": "",
"title": "",
"video_link": "https://www.youtube.com/embed/XJDAqwMEfoY",
"youtube_video_id": "XJDAqwMEfoY"
}
{
"width": 634,
"height": 357,
"showRelated": true
}
Check out the video above to see how I built my apothecary cabinet, or you can just follow along in the step by step guide below.
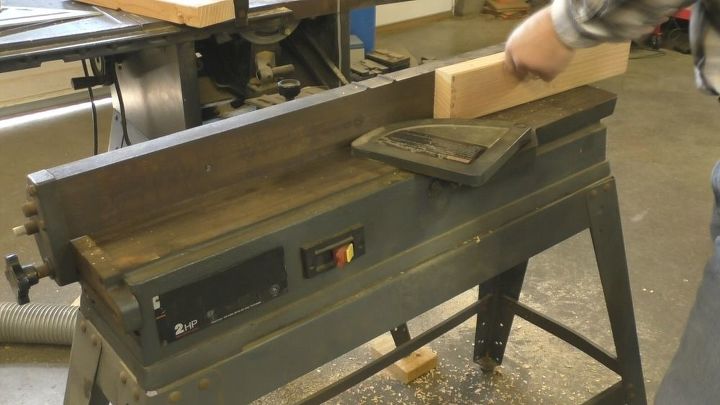
Planing 2 x 4's on the jointer.
To start the project off I decided to make my own tapered legs. Table legs of all sizes can be purchased at most big box stores for $10-$20 each. Purchasing $40 worth of legs was out of the question for me. I decided to make mine to save money. I used a 2x4 and cut the pieces to size. Then I ran the pieces through a jointer to square the edges and get rid of the rounded corners that are common on construction grade 2x4's. Don't worry if you don't have access to a jointer. This step can be done with a hand plane or table saw.
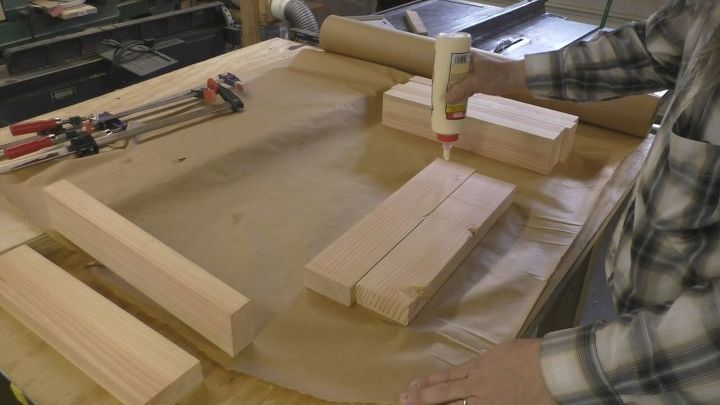
Gluing the pieces together.
I glued the pieces of wood together to make a thicker piece of wood for the tapered leg. Thicker pieces of quality wood are hard to find at the big box stores and this method is much more cost effective.
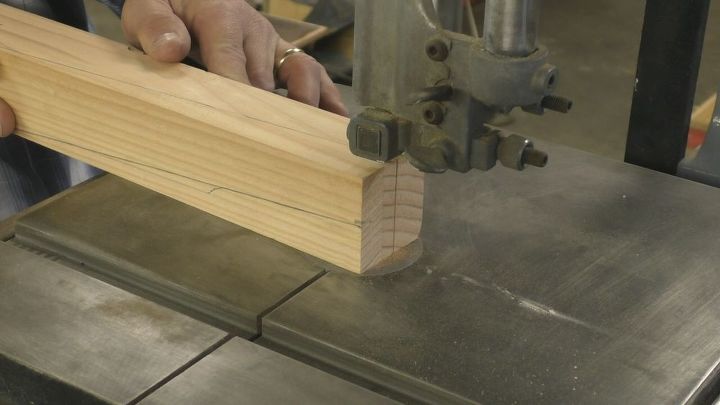
Cutting taper on the band saw.
After the glue dried, I cut the taper on the band saw then sanded them on a belt sander.
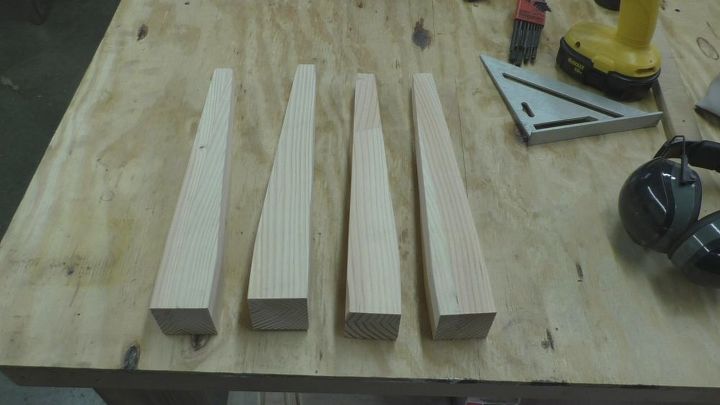
The finished legs.
Four nicely tapered legs for less than $5! Now on to the cabinet part of the project.
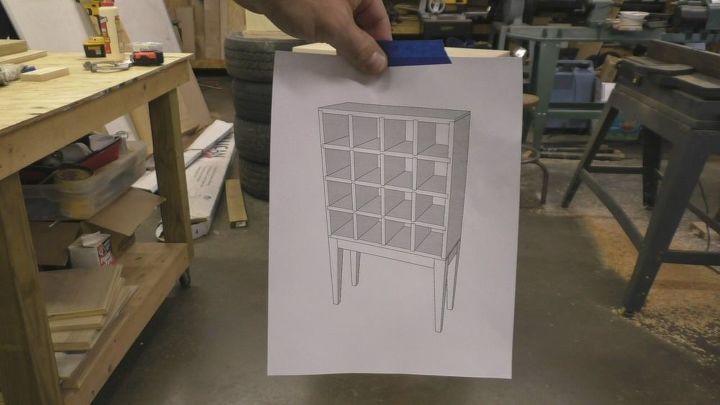
3D Project drawing.
I drew the entire project on the computer using a 3D modeling program called Sketchup which can be downloaded on the internet for free. This allows me to fix all of my mistakes before I cut the first piece of wood. This takes a little extra time up front, but it makes the project go much quicker and smoother overall. It also saves money because less wood is wasted from mistakes. Once the cabinet was drawn on the computer, I could got the dimension of each piece, where to cut dados and rabets and also the depth of the dados and rabets.
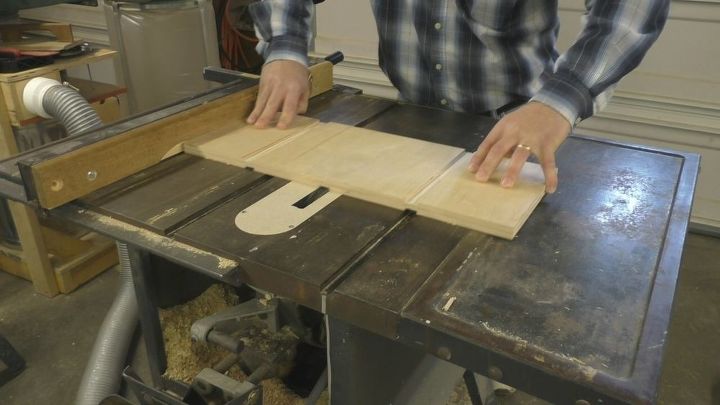
Cutting dados on the table saw.
The cabinet was built using 3/4" birch plywood from the big box store. I cut all of the pieces for the cabinet, shelves and dividers on the table saw. Once all of the pieces were cut to size, I used a dado stack on the table saw to cut the dados and rabets.

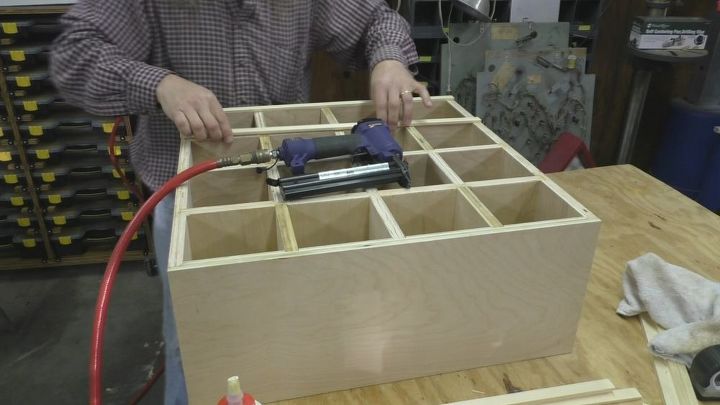
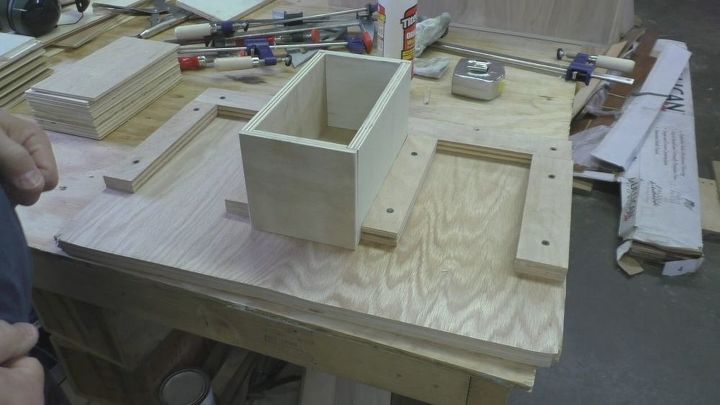
Gluing the shelves.
I assembled the outer sides and back of the cabinet and glued them into place. The shelves and dividers just slide in and are held in places with a little wood glue.The plywood edges are covered using some decorative strips that I cut on the table saw from the leftover pieces of 2x4. They are just glued and tacked into place with a finish nailer. The finish nails keep the pieces from moving while the glue dries.
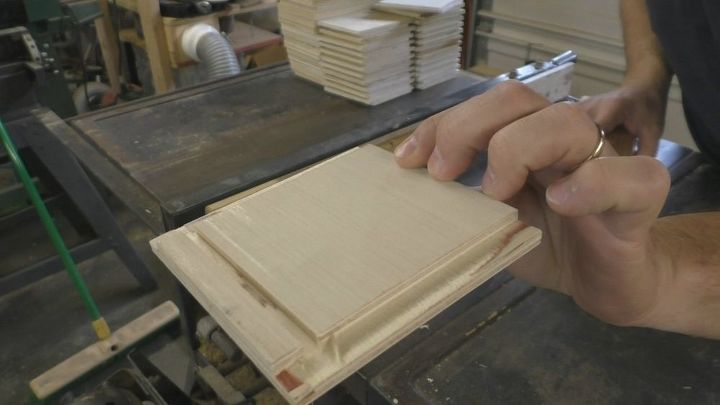
Decorative strips to cover plywood edges.
The plywood edges are covered using some decorative strips that I cut on the table saw from the leftover pieces of 2x4. They are just glued and tacked into place with a finish nailer. The finish nails keep the pieces from moving while the glue dries.
The drawer pieces are cut from 1/2" birch plywood. Rabets were used to hold the pieces together. A dado is cut to hold the bottom in place.
Jig for drawer assembly.
I made a jig to try and make the drawer assembly go faster. The idea was to make 3 drawers at one time and then clamp one piece of wood across the front of all 3 drawers to hold them in places while the glue dried. It was a good idea, but I was using scrap pieces of wood that came from different sources. The wood thickness was off just enough to cause the jig to not work very well. I was able to salvage the jig by using it to hold all of the pieces of one drawer together while gluing and then using 2 clamps to hold the pieces in place while the glue dried. I explain this in more detail in the video.
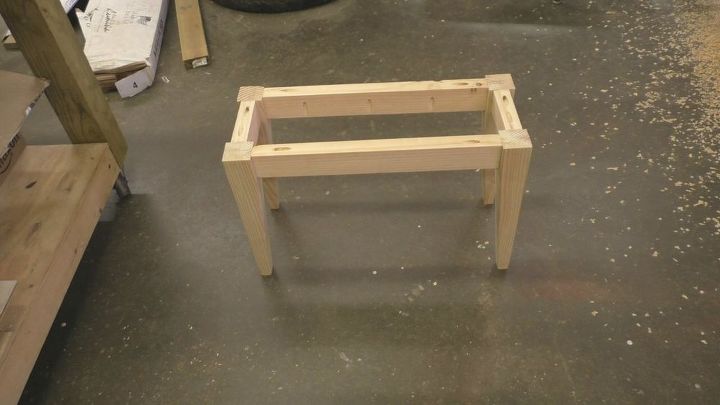
Leg and table assembly.
Waiting for the glue to dry on the cabinet and drawers is a good time to start building the lower table. This is the part the the cabinet will sit on.
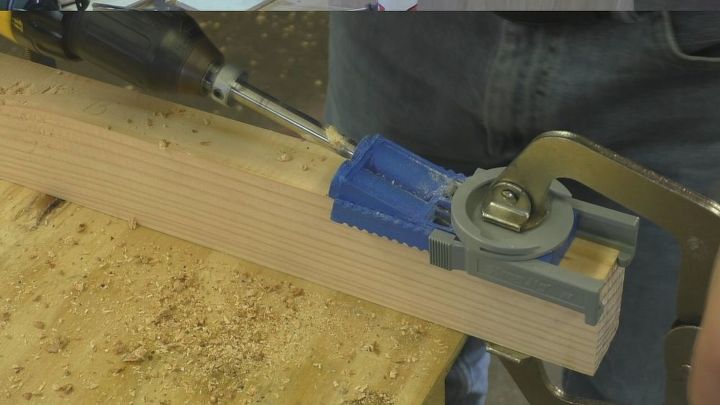
Pocket hole jig.
I used a pocket hole jig to drill the pocket holes on the pieces that hold the legs and table together. Once the holes are drilled screws are used to fasten all of the pieces together.
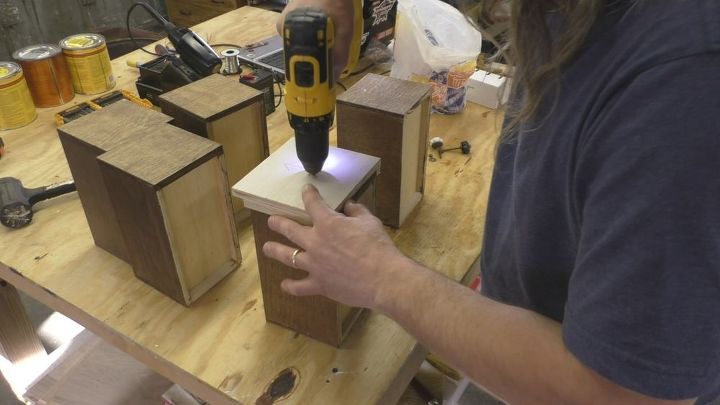
Drawer pull jig.
I made a drawer pull jig to drill the holes for each drawer. The jig just slides over the front of the drawer. This jig allows for all of the holes to be drilled in the exact center of each drawer.Here is the finished apothecary cabinet. I hope you enjoyed following me along in the shop while I built it.
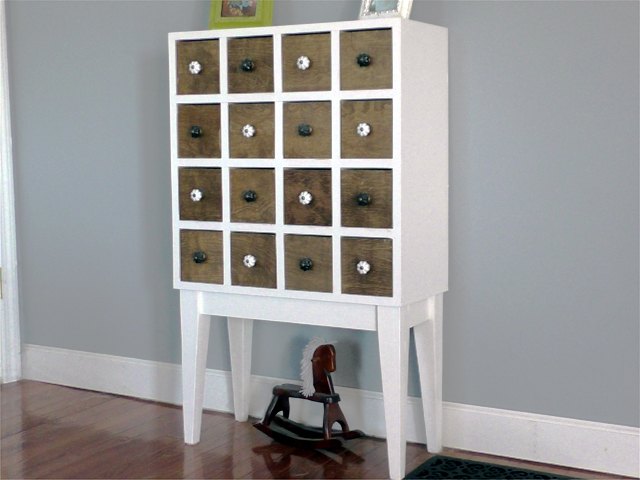
Here is the finished apothecary cabinet. I hope you enjoyed following me along in the shop while I built it. If you like this project be sure to check out my YouTube channel for more projects and be sure to subscribe while you are there.
Thanks for watching and/or reading!
Resources for this project:


Any price and availability information displayed on [relevant Amazon Site(s), as applicable] at the time of purchase will apply to the purchase of this product.
Hometalk may collect a small share of sales from the links on this page.More info


Frequently asked questions
Have a question about this project?