


How to Build a DIY Appliance Cabinet Using IKEA Kitchen Units

I decided to create a DIY appliance cabinet to keep everything organized and within easy reach. Are your kitchen appliances scattered everywhere, causing clutter and chaos in your cooking space?
In this step-by-step tutorial, I'll guide you through the process of building your own appliance cabinet using some basic supplies and a bit of creativity. Let's get started!
Tools and materials
- Two 39-inch Ikea kitchen units (22 inches deep)
- One 19-inch Ikea kitchen unit (22 inches deep)
- Four 2x4 lumber pieces (for the base and in-between supports)
- Plywood or lumber sheets (for the top and wooden boxes)
- Cabinet-grade hinges
- Cabinet handles
- Dowels (optional)
- Screws
- Wood glue
- Sandpaper (various grits)
- Primer
- Paint
- Lighting kit (with LED lights)
- Gas piston lift support (for the top)
How to build an appliance storage cabinet

Step 1: Plan Your Design
Start by planning the layout and design of your appliance cabinet. Measure the available space and determine the dimensions of your cabinet. Make sure it can accommodate your appliances comfortably.
I will use my measurements for this tutorial. Simply substitute your measurements when necessary.
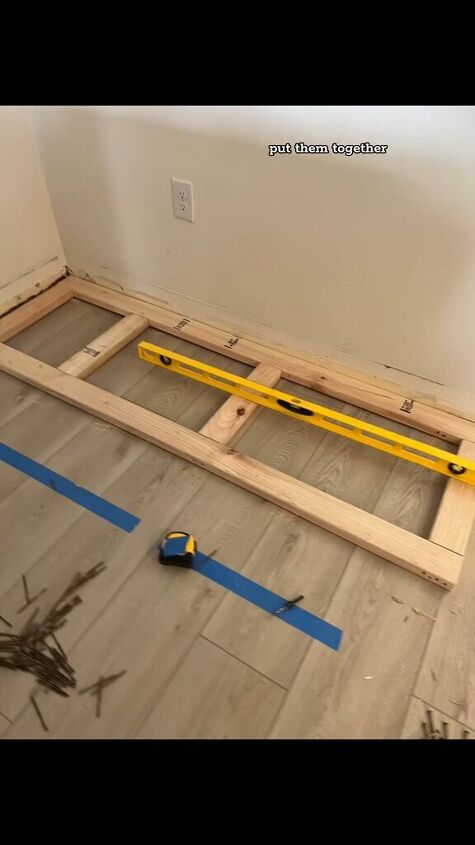
Step 2: Assemble the Base
Using the 2x4 lumber pieces, build the base for your cabinet. This will provide stability and support for the entire structure. Use screws and wood glue to secure the pieces together.
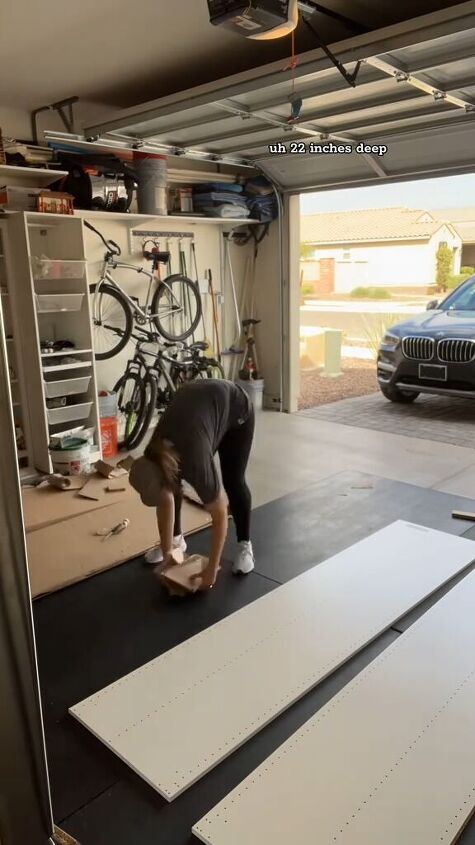
Step 3: Assemble Ikea Units
Assemble the two Ikea kitchen units: one 39-inch and one 19-inch (or the units that fit the measurements of your space). Follow the manufacturer's instructions for assembly. These units will serve as the main structure of your appliance cabinet.

Step 4: Attach the Ikea Units
Place the assembled Ikea units on top of the base you created in Step 2. Ensure they are aligned properly. Use screws to attach the units to the base securely.
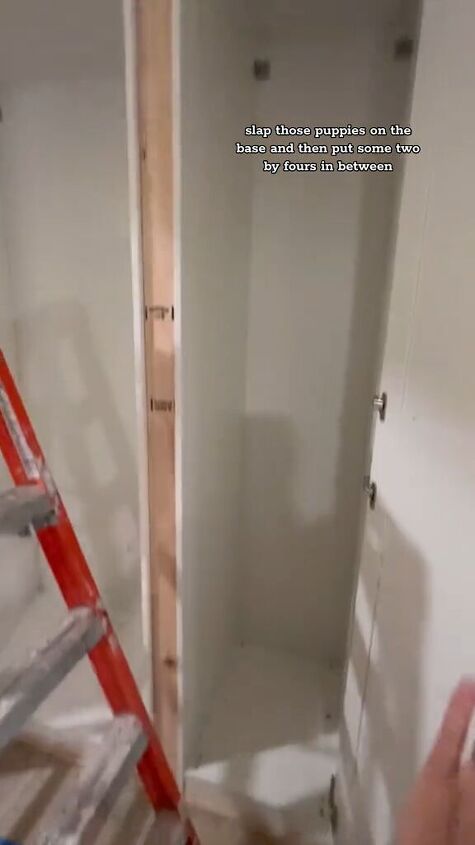
Step 5: Add Support
Install the remaining 2x4 pieces in between the two Ikea units to provide extra support. These supports will help distribute the weight.
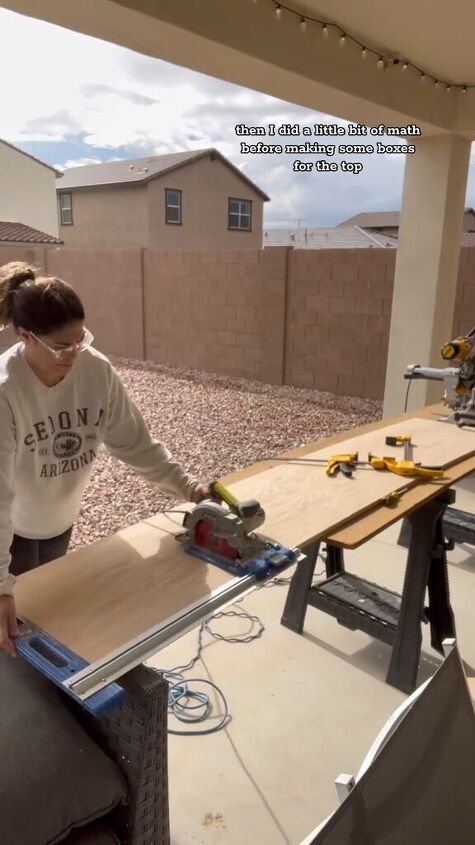
Step 6: Build Wooden Boxes
Measure and cut plywood or lumber sheets to create wooden boxes that will fit on top of the Ikea units. These boxes will serve as the storage space for your appliances. Apply some pre-stain conditioner to the wood. Assemble them using screws and wood glue.
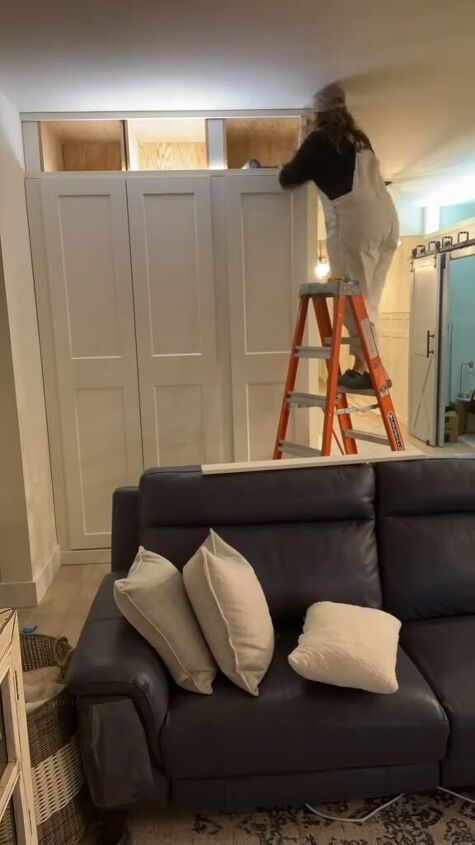
Step 7: Add Lighting
Install the LED lights inside to illuminate the cabinet's interior. This will make it easier to find your appliances, especially in low-light conditions.
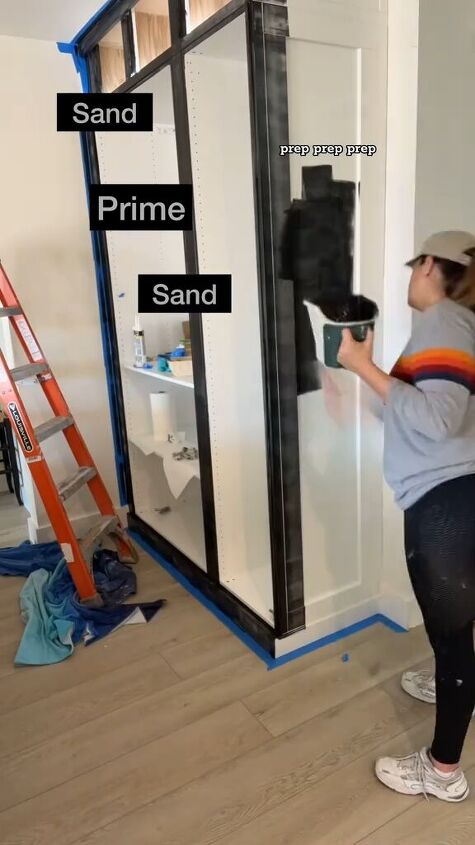
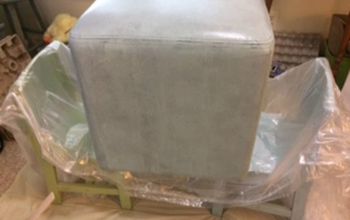
Step 8: Sand, Prime, and Paint
Prepare the wooden surfaces by sanding them smooth. Apply primer and let it dry. Then, paint the cabinet in your desired color to match your kitchen decor. You can add multiple coats for a smoother finish.
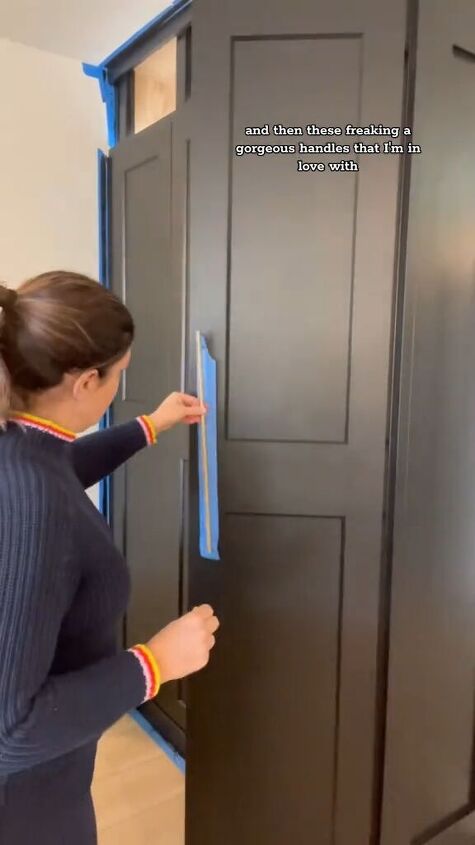
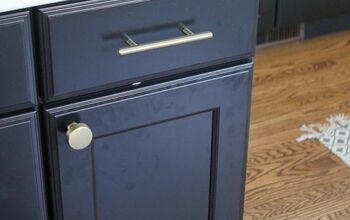
Step 9: Attach Handles and Optional Dowels
Once the paint is dry, attach cabinet handles for easy opening and closing.

You can also add dowels as decorative elements for an extra touch of detail.
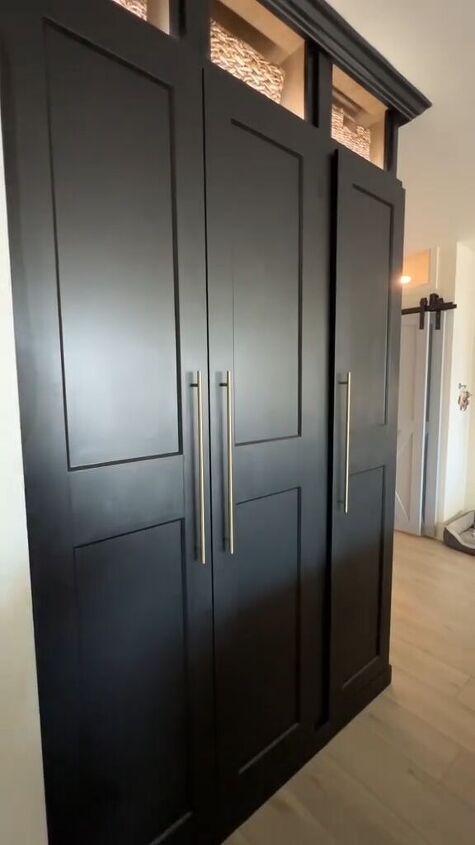
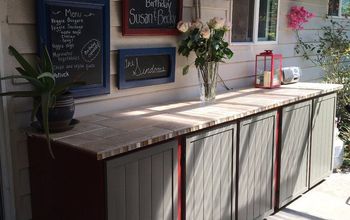
DIY appliance cabinet
Congratulations! You've successfully created your DIY appliance cabinet to keep your kitchen organized and stylish. Now you can enjoy a clutter-free cooking space with all your appliances neatly tucked away.
This project may take some time and effort, but the result is well worth it. Leave me a comment to let me know what you think. Enjoy your newly organized kitchen!
Follow @juliecarmonahome on TikTok for more DIY ideas.


Frequently asked questions
Have a question about this project?