


5 Quick Steps to a DIY Magazine Rack That Looks Professionally Made

Today, I’m making over my library and showing you how to make a DIY magazine rack in a funky industrial style. If you do not have a lot of space inside your apartment, but you still want to have your books, magazines, and plants displayed nicely, then this is the perfect tutorial for you. Let's get started
Tools and materials
- 3 thin pieces of plywood
- 13 pieces of wood
- Jigsaw or handsaw
- Measuring tape
- Marker
- Sandpaper
- Drill
- Screws
My three plywood pieces are 120cm x 60cm (47 x 24 inches) and my 13 wood pieces are 1m (40 inches) tall and 4cm (1.6 inches) thick, but 3 of them are only 3cm (1.2 inches) thick.
1. Cut the base shelves
To make the base of the magazine rack, take one of the wood pieces and cut it into four i.e. 25cm (9.8 inches).
Note that if you want to use this DIY magazine rack to hold old records or books, you may need to calculate the spacing differently.
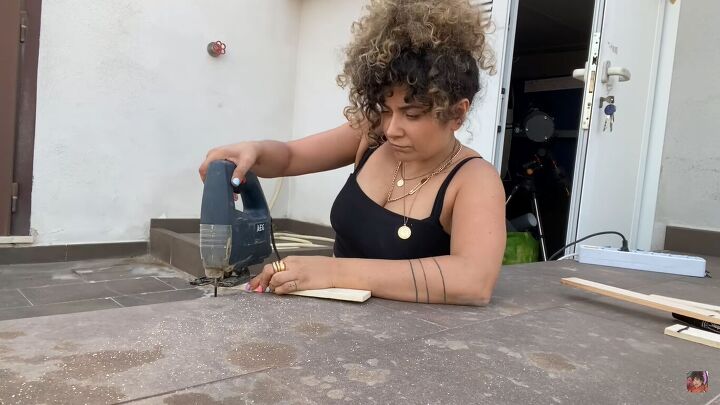
Sand the edge to make it cleaner.

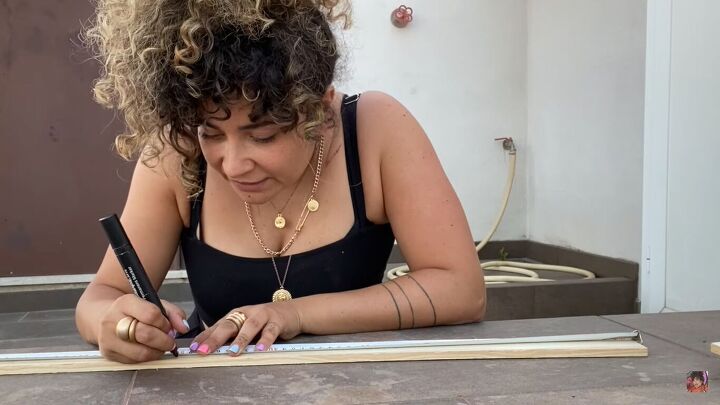
2. Cut the top shelves
Now we need 3 pieces measuring 50cm (20 inches) long. Cut and sand.
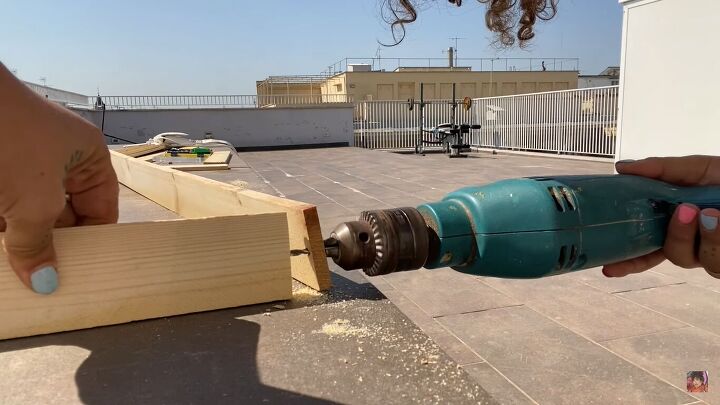
3. Screw the pieces together to make the shelves
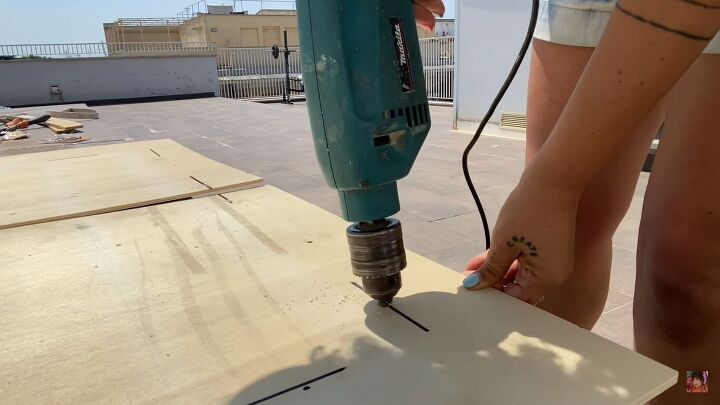
Pre-drill the holes before putting the screws in. Then, connect the pieces together.
You should have three shelves that look like this:
For the top, I made a different shape, more like a box:

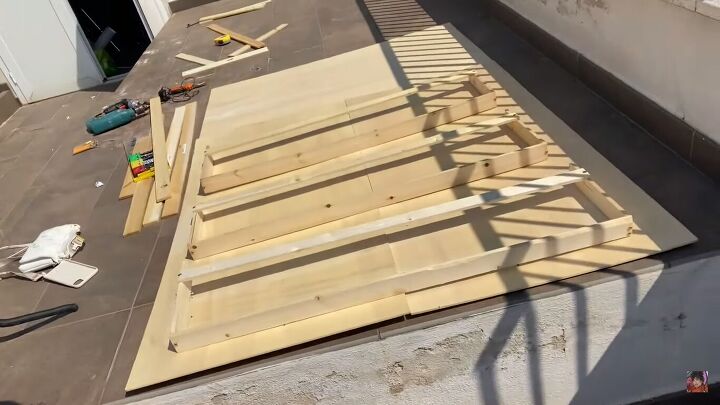
4. Attach the shelves to the back of the wood
Mark on the plywood pieces where the screws will go to attach the shelves, then pre-drill the holes. Line up the shelves to the holes and screw them in place.
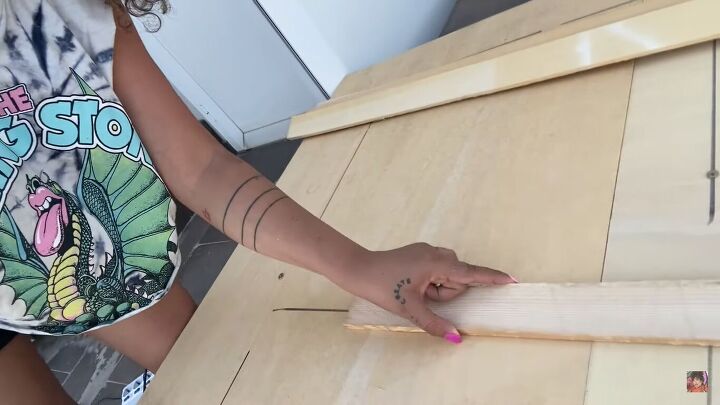
5. Connect the back pieces
To connect the back pieces of plywood together and make the DIY magazine rack stronger, attach the leftover smaller pieces of wood at the points where the plywood pieces meet. Use smaller screws to do this, so they don’t poke out the other side.
DIY magazine rack


DIY magazine rack tutorial
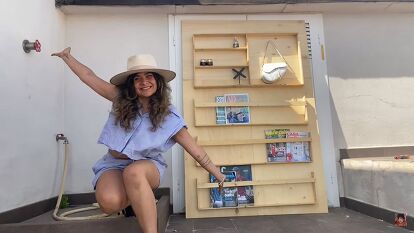
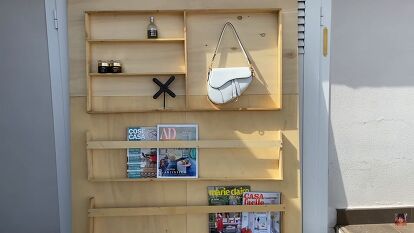
Here’s the finished DIY magazine rack! You could attach this to a wall, or just leave it standing if you prefer. Of course, you don’t just have to display magazines, but anything else that you like.
Let me know what you think of this simple magazine rack tutorial in the comments below.


Frequently asked questions
Have a question about this project?