


How to Make a Sturdy DIY Toy Box on a Budget

In this tutorial, I'll guide you through the process of creating a DIY toy box. It's a fantastic way to keep your space organized and add a touch of personal flair. I used basic materials to create a sturdy toy box on a budget.
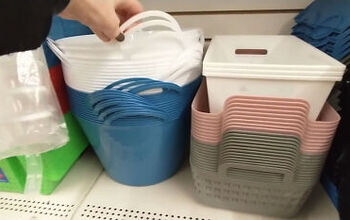
Tools and materials
- Frame pieces (wood)
- Nails and hammer
- Braces
- Plywood sheets
- Screws and screwdriver
- Feet and trim pieces
- Wood filler
- Sandpaper (various grits)
- Paint and brushes
- Fabric for cushion
- Hinges (seat top and opening/closing)
- Measuring tape
- Pencil
- Saw
- Drill
Steps

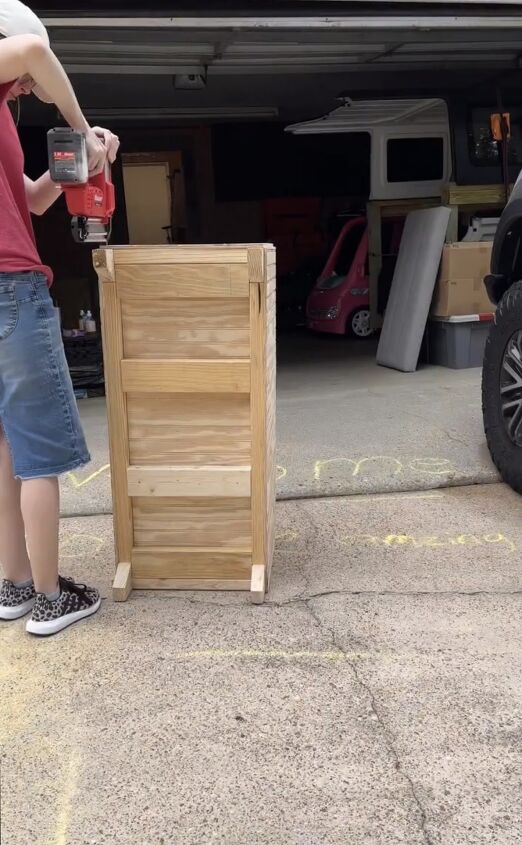
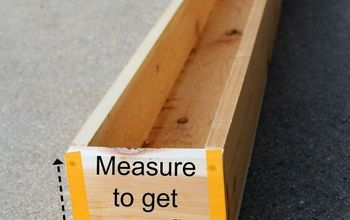
1. Building the Frame
Measure and cut your frame pieces to the desired dimensions for your toy box. Nail the frame pieces together to form the main structure of the toy box.
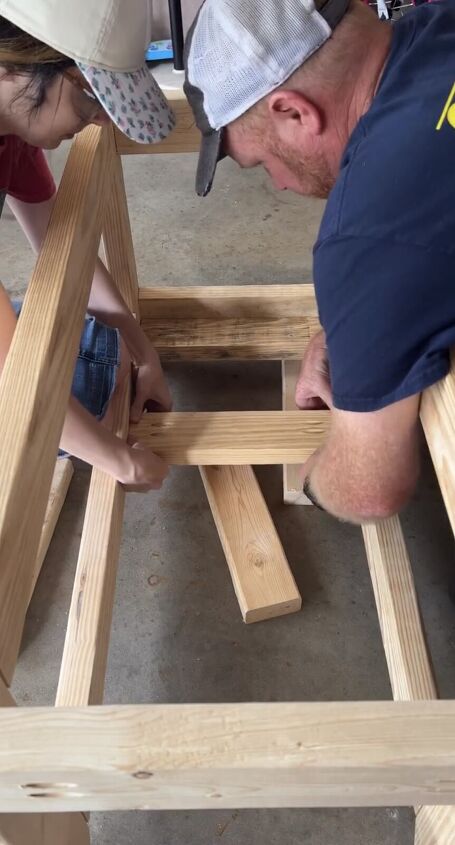
2. Adding Braces
Attach the braces to the bottom of the frame. These will provide extra support and stability to your toy box.
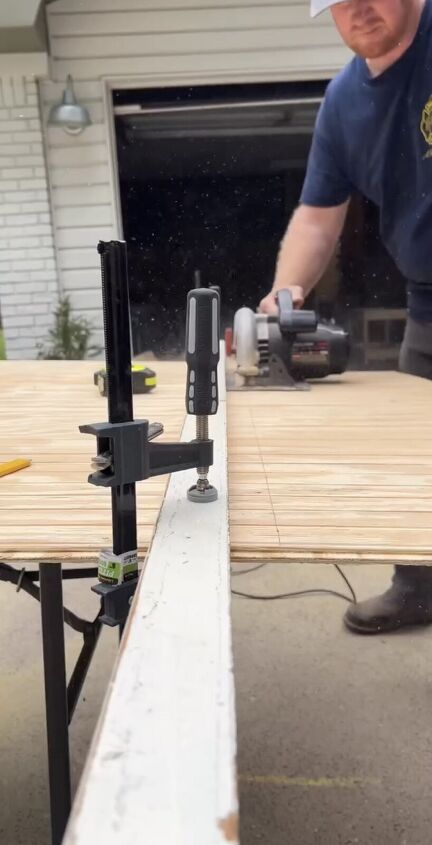
3. Preparing the Plywood
Mark and measure the sides and bottom of the toy box on the plywood sheets. Carefully cut out the marked plywood pieces using a saw.
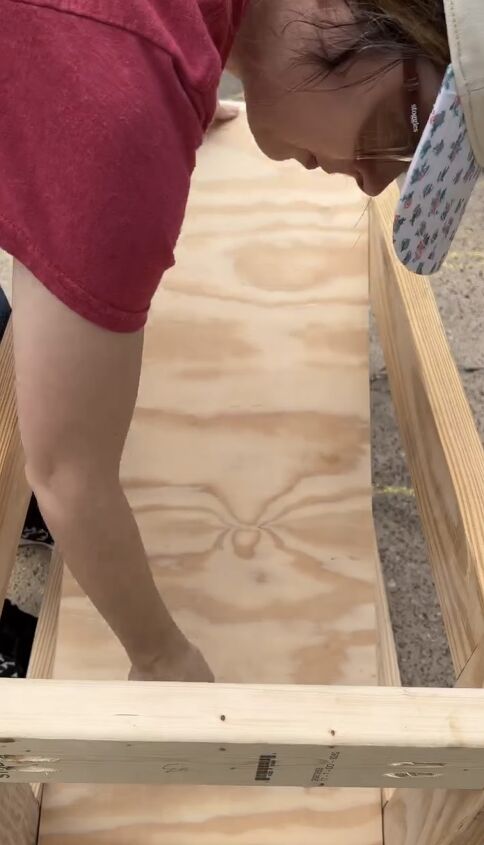
4. Assembling the Toy Box Base
Place the bottom plywood piece into the frame you've created. Make sure it fits snugly. Screw the plywood to the frame to secure it in place.
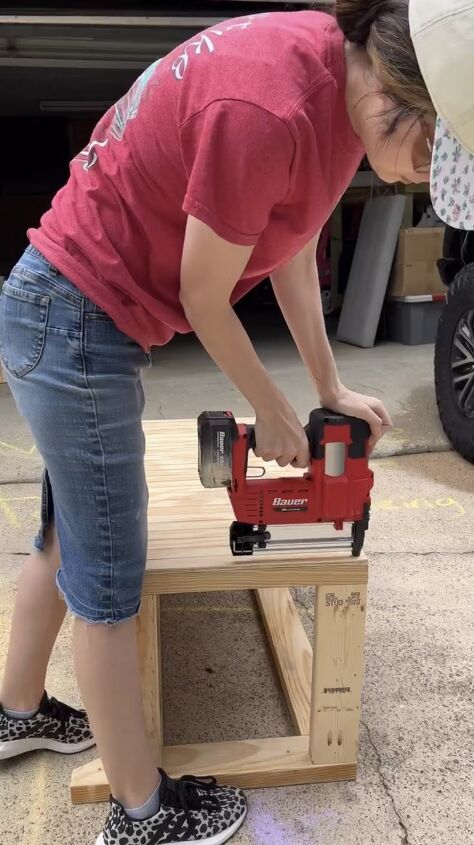
5. Attaching the Sides
Align the cut plywood sides with the frame and bottom piece. Use screws to attach the sides to the plywood frame, ensuring everything is securely fastened.
6. Adding Feet and Trim
Attach the feet to the bottom of the toy box. These will elevate it slightly and prevent direct contact with the floor. Add trim pieces to the edges of the toy box to enhance its appearance.
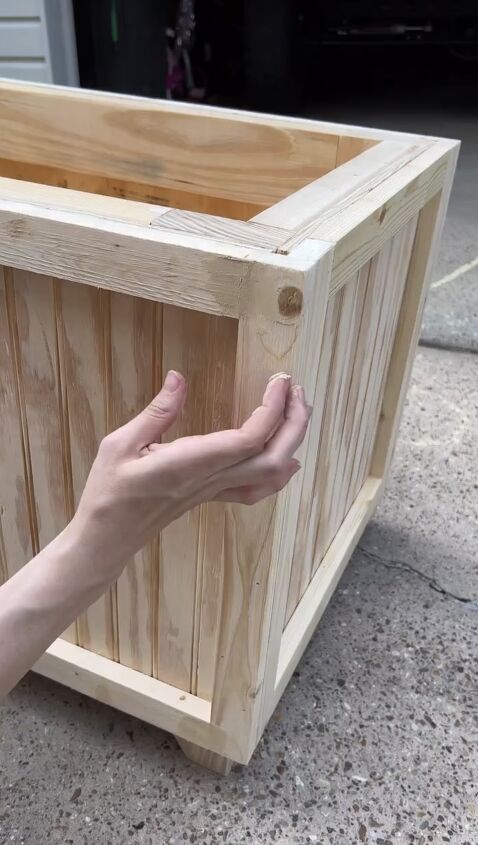
7. Filling Holes and Gaps
Inspect the toy box for any holes or gaps in the wood. Fill these imperfections with wood filler, smoothing the surface for a seamless look.
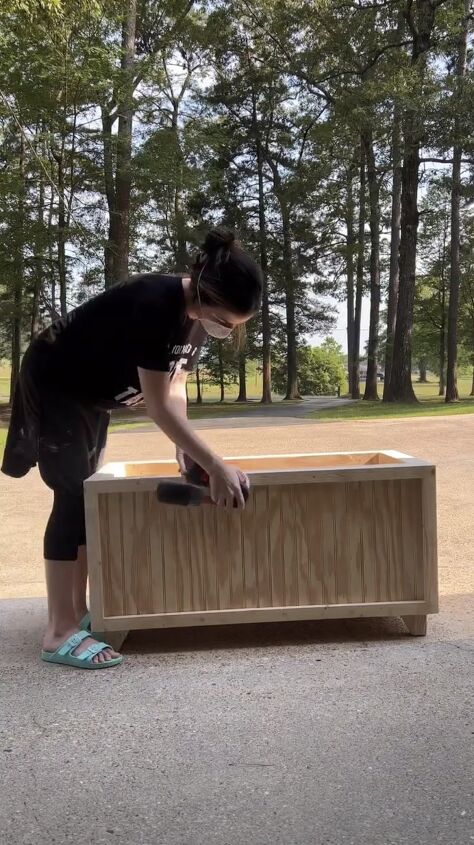
8. Sanding
Use sandpaper of various grits to sand down any rough edges, creating a smooth and safe finish.
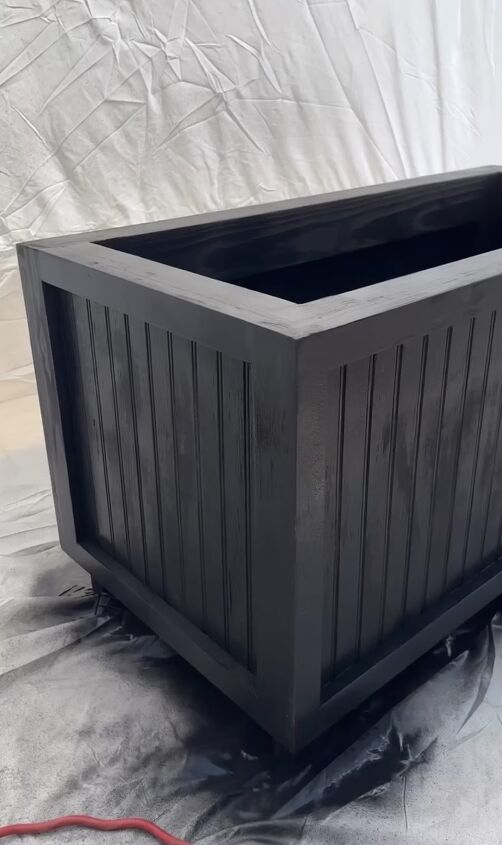
9. Painting
Apply your chosen paint color to the toy box. You may want to apply multiple coats for an even finish. Allow each coat to dry before applying the next.
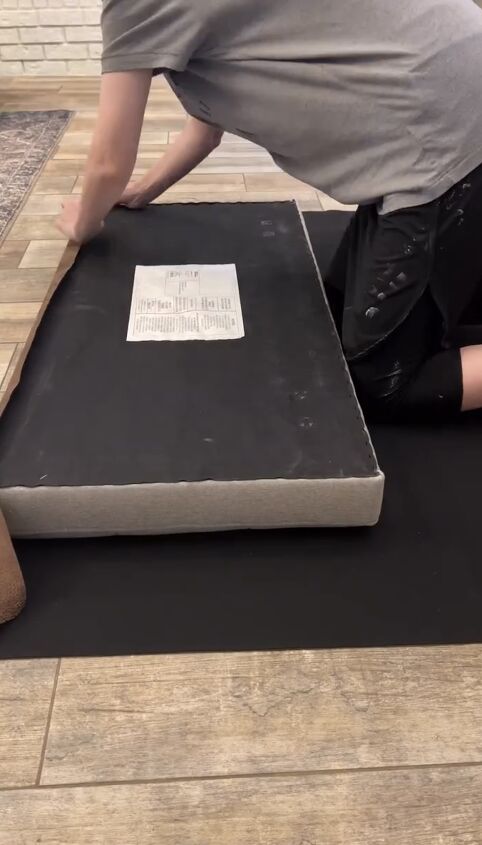
10. Adding a Cushioned Seat
Wrap a cushion in your preferred fabric. This will serve as a comfortable seat for the toy box. Place the cushioned seat on top of the toy box to ensure it fits properly.

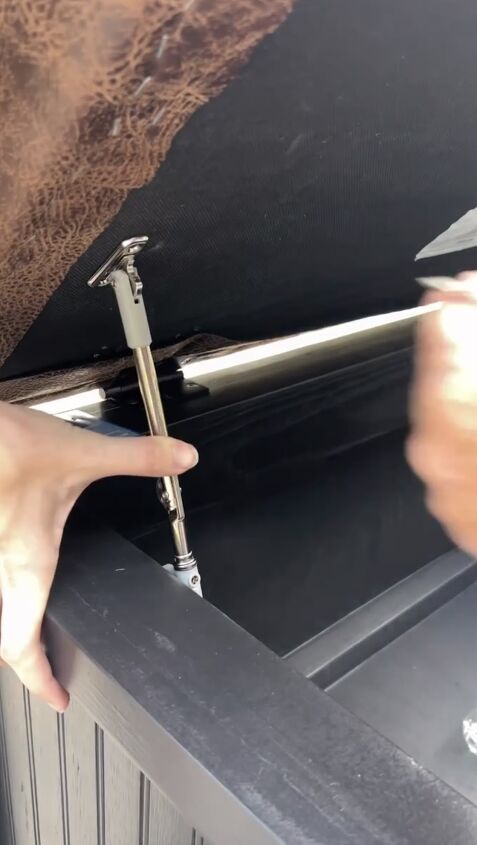
11. Attaching Hinges
Attach hinges to the underside of the cushioned seat. These will allow the seat to open and close smoothly. Attach the other end of the hinges to the back of the toy box's top edge.
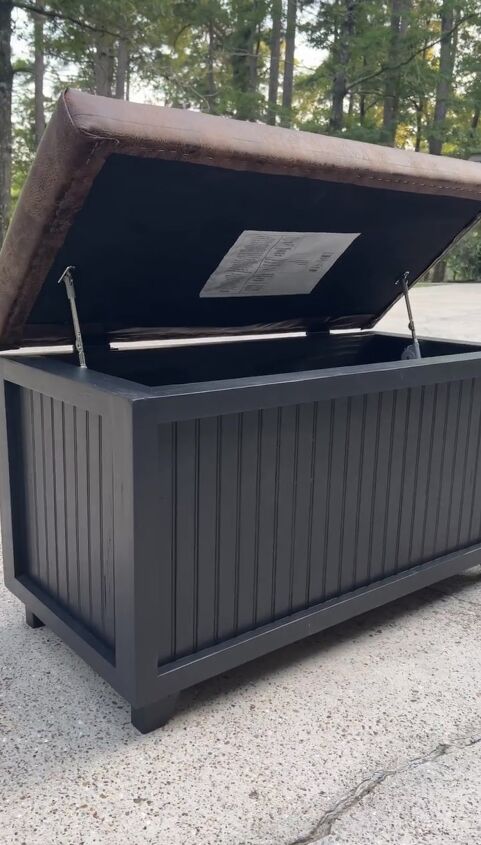
12. Final Touches
Test the opening and closing mechanism to ensure everything works correctly.
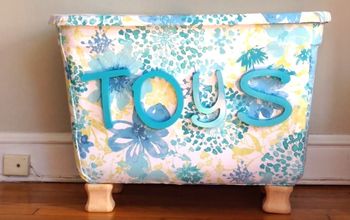
DIY toy box
Congratulations, you've successfully created a stylish and functional DIY toy box that will keep your space tidy and organized. What recent DIY projects have you created? Share in the comments below.
Follow @hannah.is.home on Instagram for more DIY ideas.


Frequently asked questions
Have a question about this project?