


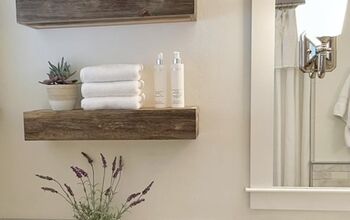
How to Build Floating Shelves in 6 Simple Steps

We built these easy DIY floating shelves in place even though our alcove was a very tight space. We’ll take you through the steps for how to build floating shelves. Floating shelves can be expensive but we saved a lot of money making them ourselves.
Tools and materials
- 4 1x10 boards (pine)
- 2 1x3 boards (pine)
- Metal brackets
- Wood glue
- Brad nails
- Wood stain (we used Minwax Early American)
- Sealer (we used matte Minwax Polycrylic)
- Wood filler
- Table saw
- Brad nailer
- Orbital sander
- Drill
How to build floating shelves
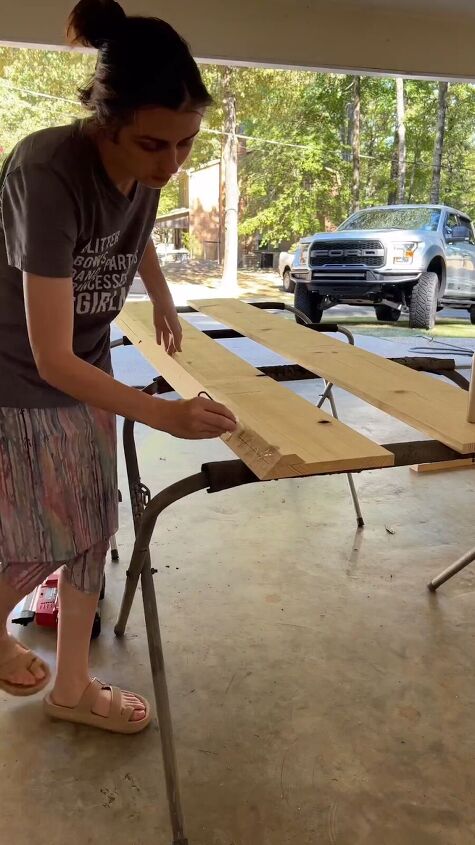
Step 1: Measure and cut the boards
Measure and mark the desired length for your shelves on the 1x10 boards. Using a table saw, carefully cut the boards to the measured length.
Step 2: Create angled edges
Set your table saw to a 45-degree angle. On one edge of each 1x10 board, make a 45-degree cut. For the 1x3 boards, make 45-degree cuts on both sides.
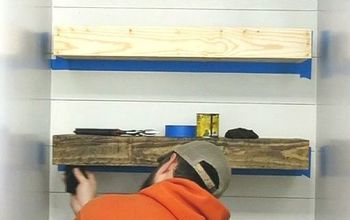
Step 3: Assemble the shelf sides
Apply wood glue to the 45-degree cuts of the 1x10 and 1x3 boards. Fit these angles together to create the sides of your shelves. Secure the boards by using a brad nailer to attach them. If you prefer, you can wait to do this step until after the next one.
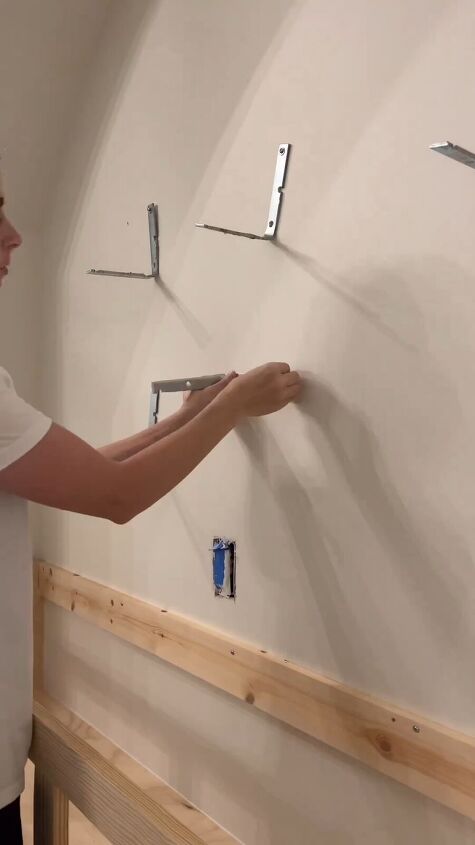
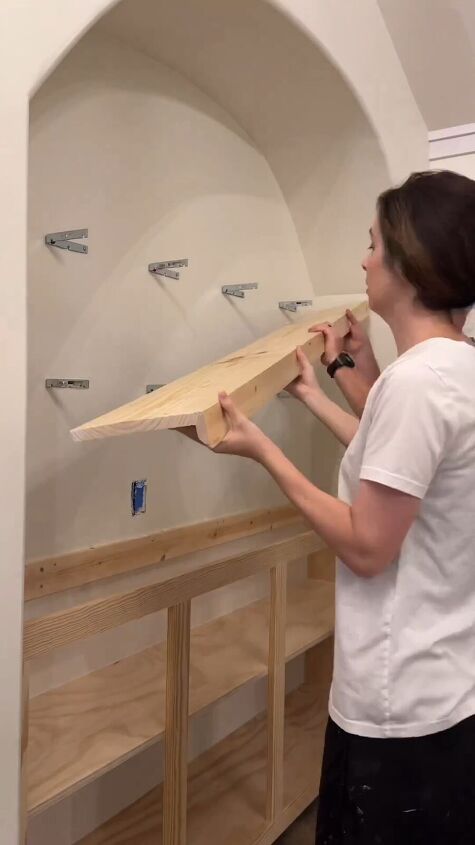

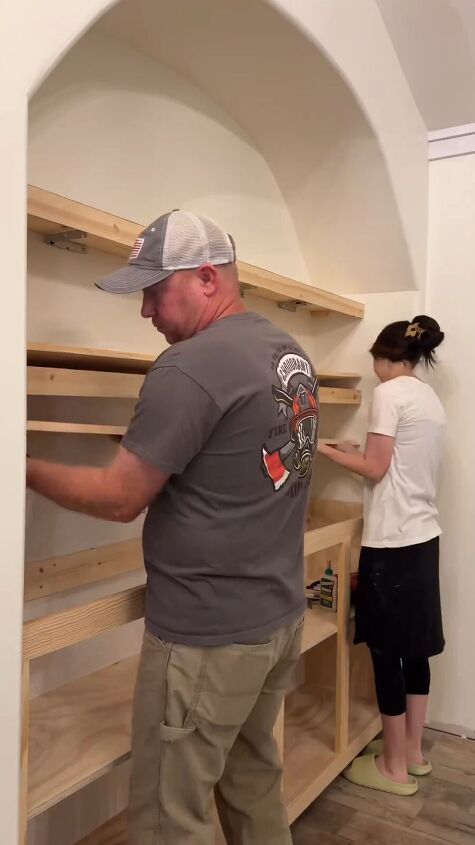
Step 4: Attach brackets and wall anchors
Use L brackets to support your shelves. Try to anchor them into wall studs. If not possible, use heavy-duty wall anchors. Secure scrap wood to the sides of the L brackets to provide a surface for attaching the shelves with a brad nailer.
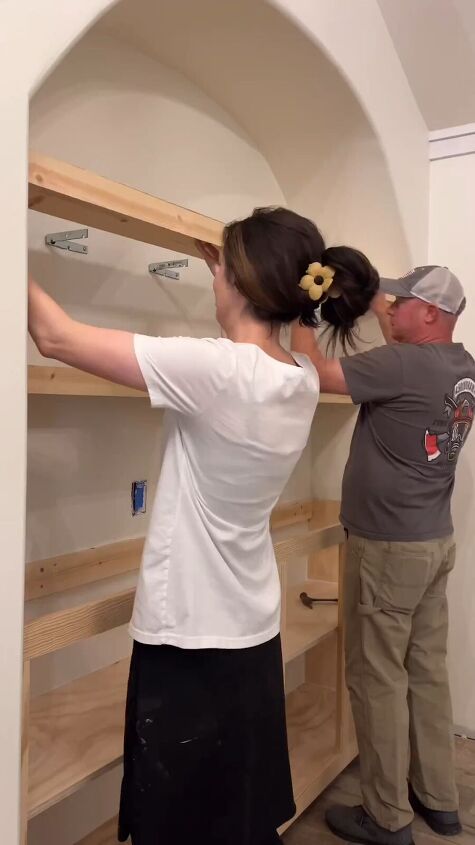
Ensure the bottom part of the vertical lip of the shelf conceals the brackets. To completely hide the brackets, add wood to the bottom of the shelves to box in the brackets.
Step 5: Wood filler and sanding
Fill any nail holes and gaps between the joined boards with stainable wood filler. Allow the filler to dry. Use an orbital sander to smooth the edges and prepare the surface for staining.
Begin with 120-grit sandpaper and finish with 220-grit for a smooth finish. Use the orbital sander to round off the corners for a seamless look. The shelf will begin to look like a solid piece of wood.
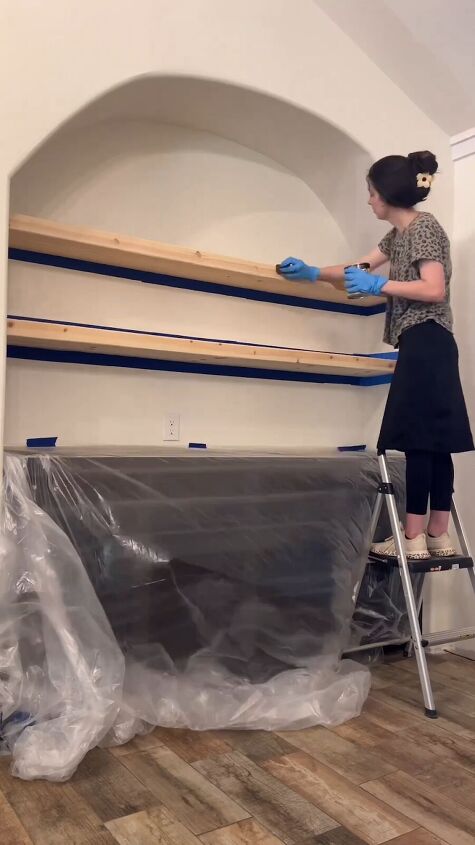
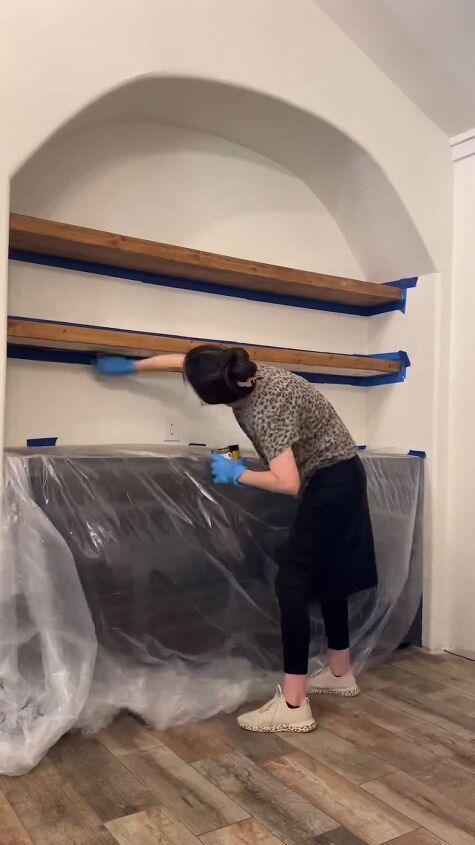
Step 6: Stain and seal
Apply the wood stain of your choice. In this tutorial, we used Minwax Early American stain. Allow the stain to dry completely. Seal the shelves with matte Minwax Polycrylic. Apply at least three coats for durability.
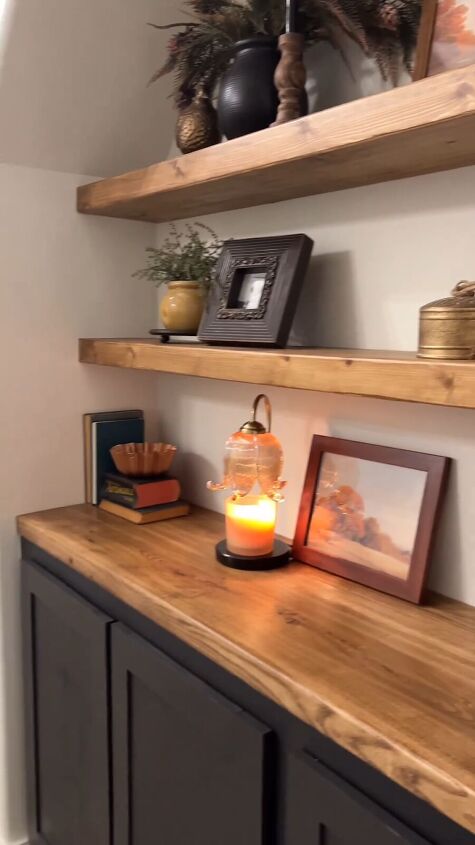
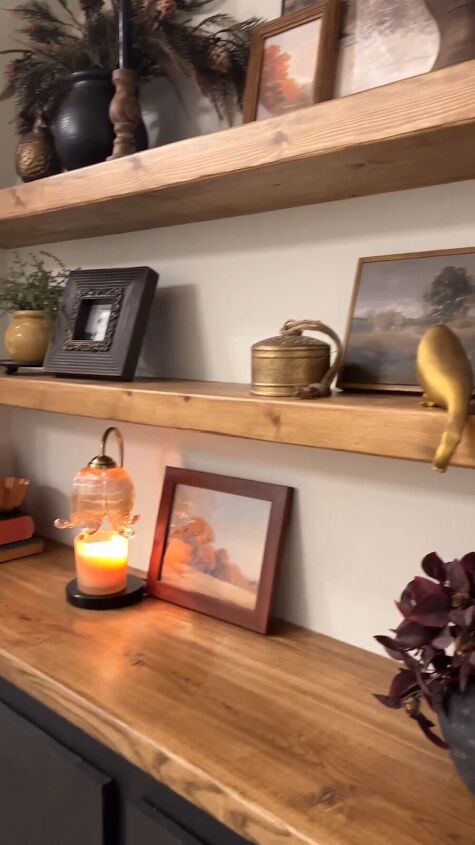
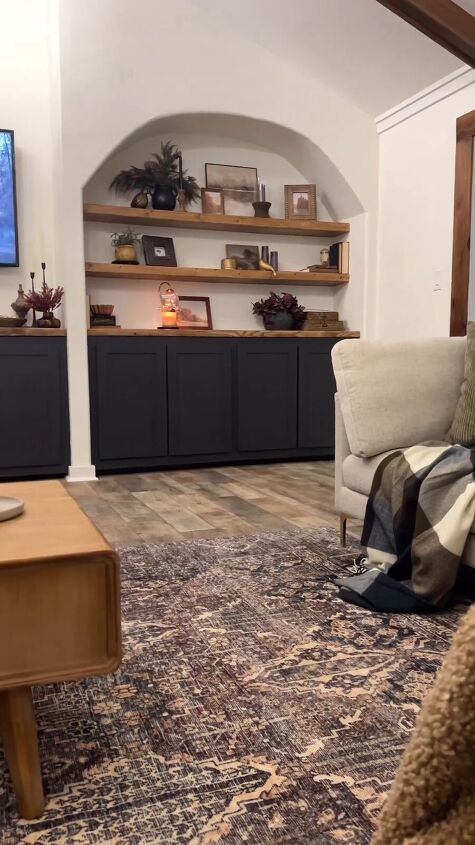
DIY floating shelves
I hope you were able to learn how to build floating shelves that you can use in your home, too. It was easier for us to build them in place. Let us know how your DIY floating shelf project turns out by leaving us your comments.
Follow @hannah.is.home on Instagram for more DIY ideas.


Frequently asked questions
Have a question about this project?