


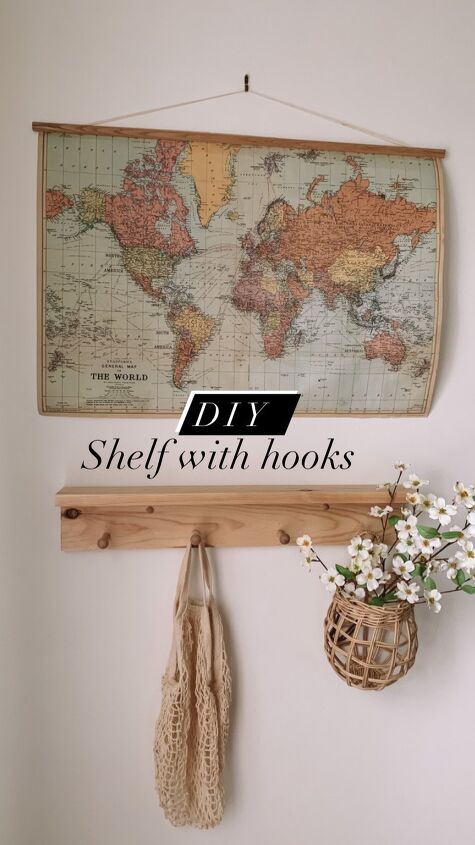
Shelf With Hooks
If you are new to the DIY world then this projects is definitely the right one for you! If you are a DIY pro, instead, I am pretty sure you'll love it as well and you could also add your personal touch to it.
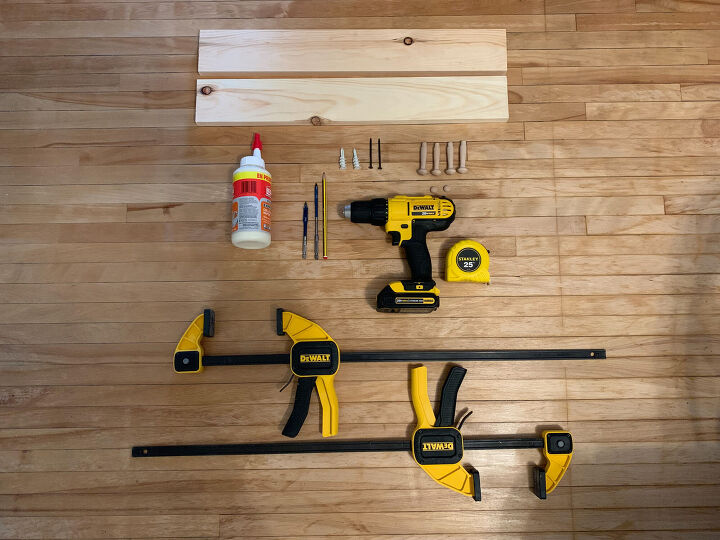
We bought a 1"x4"x8' common pine board and cut it to the desired length: 2 pieces of wood 24" long. If you don't have a miter saw, you can ask somebody at the lumber store to cut it, they will be happy to do it for you at no cost.
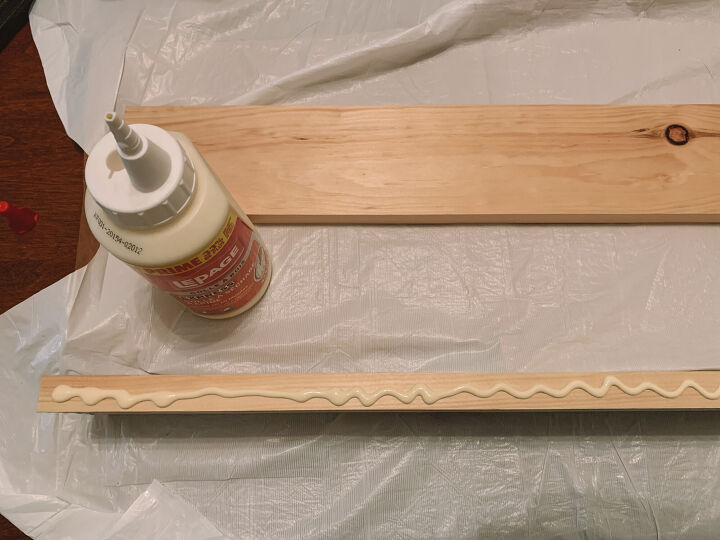
Now, we need to build the actual shelf: put some glue on one edge (long one) of the board. Since the two boards are exactly the same size, it doesn't matter which one you pick.
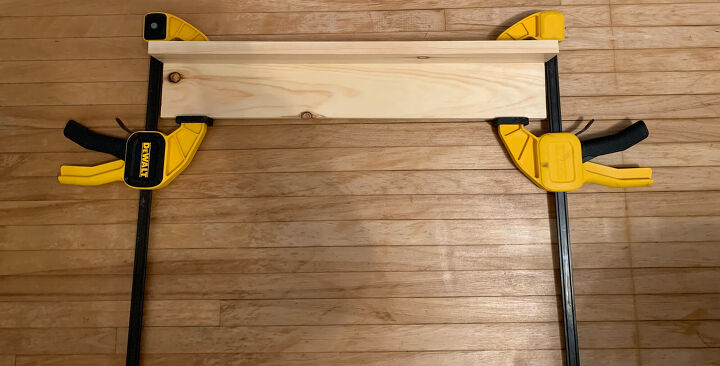
In order to make the shelf perfectly square, we need to clamp the two boards together and let the glue do the work. The glue dries pretty fast but I would suggest to let it dry for at least a couple hours.
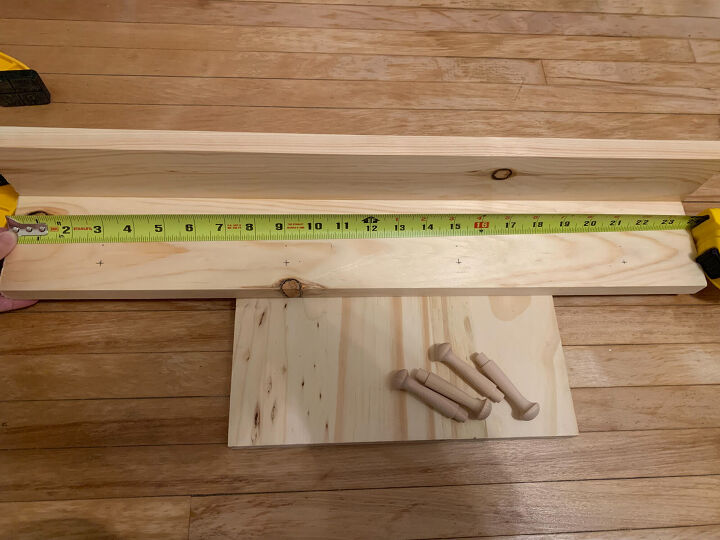
Once the glue is dry we can start working on the hooks. The space and the number of the hooks is totally up to you, depending on your needs. For example, I decided to build this shelf with 4 hooks and marked the holes as follow: 3", 9", 15", 21".
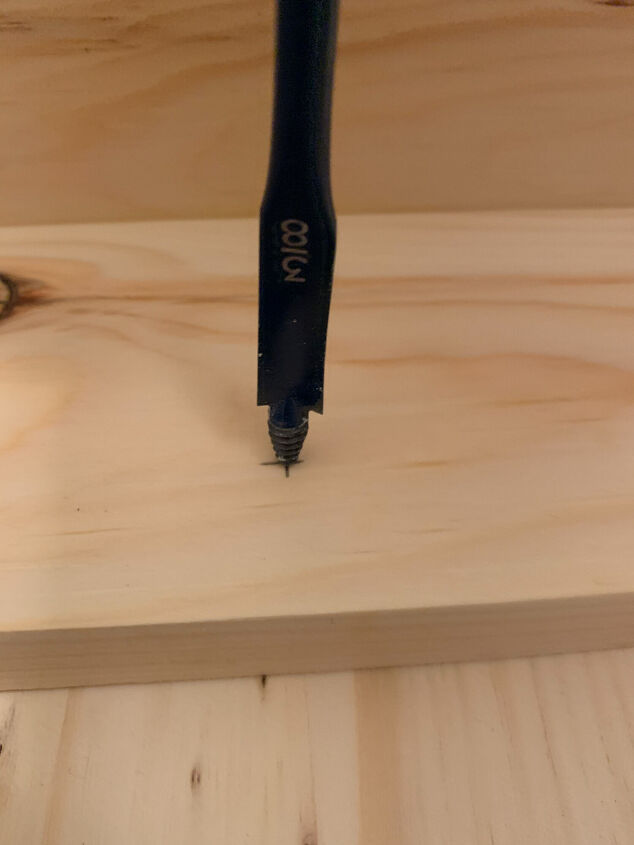
Now, using the 3/8" spade drill bit, we drill the holes for the hooks. Note: don't drill all the way through the wood otherwise you will end up with a hole on the other side of the board.
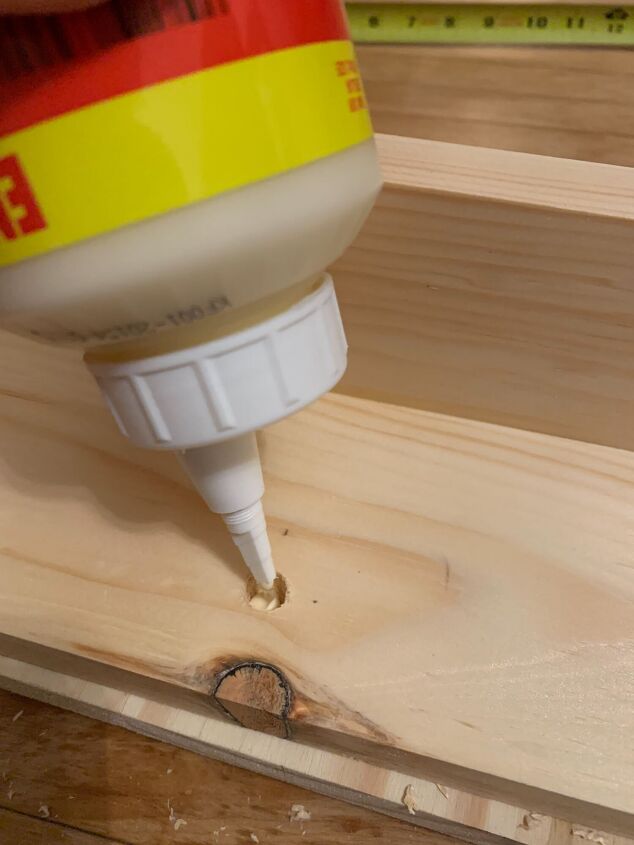
Add a tiny bit of glue in the four holes. This way the hooks will be even sturdier.
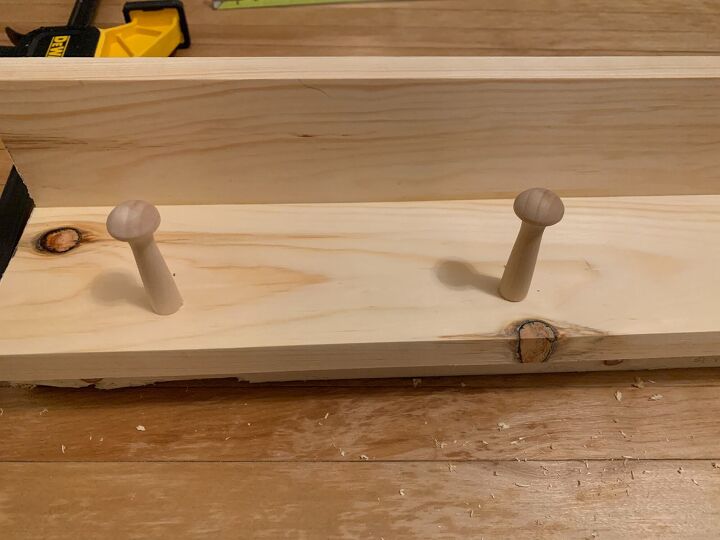
Place the hooks in the holes you just created and let it dry.
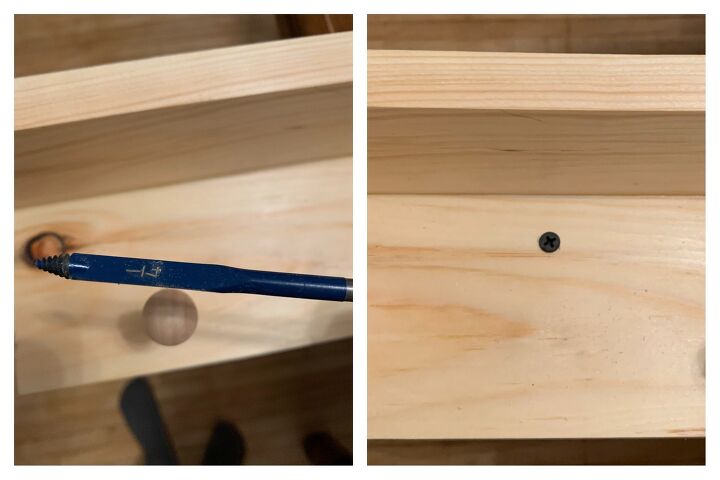
It is now time to drill two holes for the screws that will hold the shelf against the wall. We need our 1/4" spade drill bit and this time we will be drilling 2 holes all the way through the board. I like using 1/4" self drilling screw every time I need to hang something in my house.
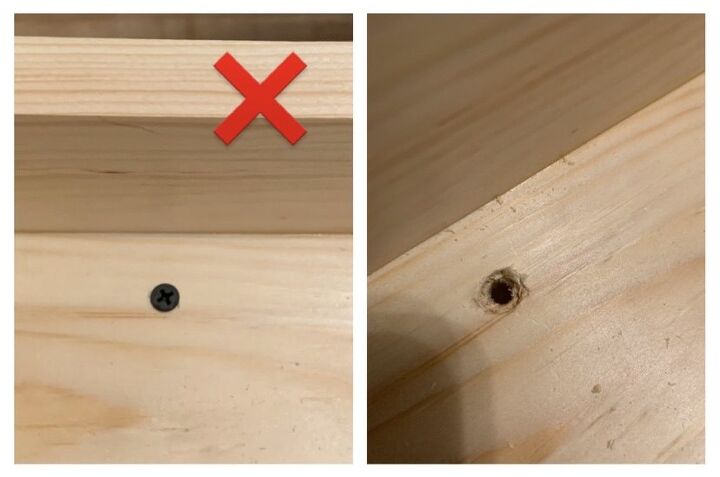
If you are a perfectionist just like me and if the idea of looking at your black screws sitting on the board drives you crazy (:D), this last part of the tutorial is definitely for you.
Grab the 3/8" spade drill bit we used for the hooks and drill a hole inside the hole we just made for the screw. Note: again, don't go all the way through the wood.
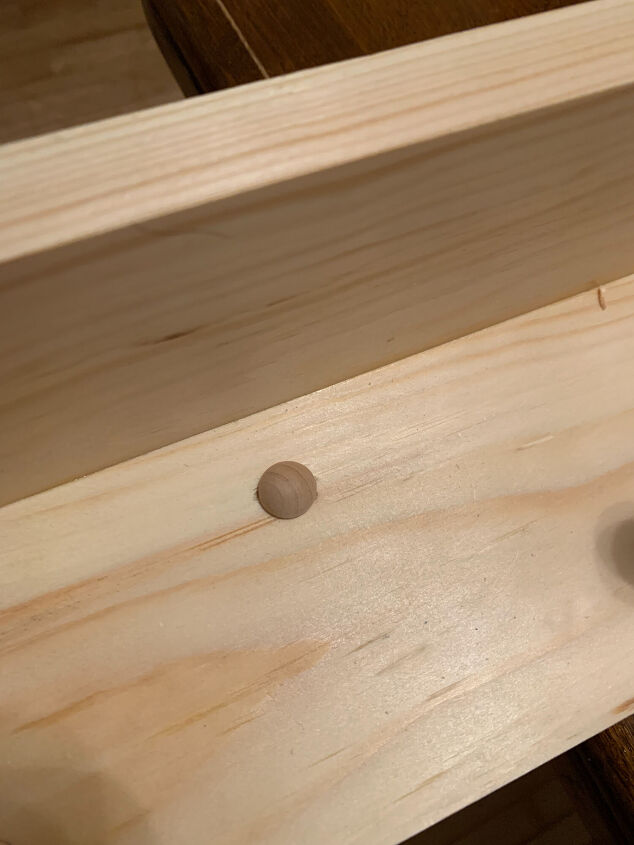
And here you go! The black screw now is sitting behind the wood plug.
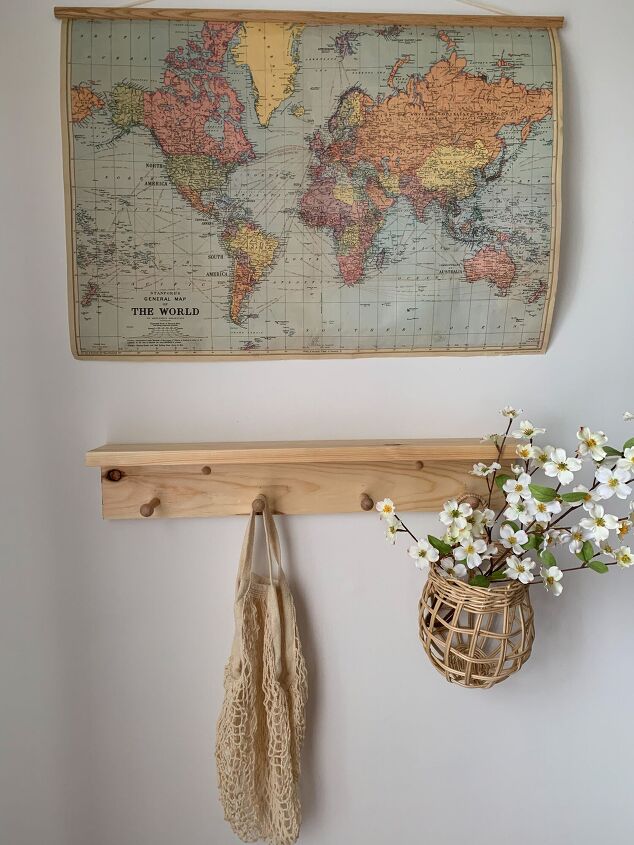
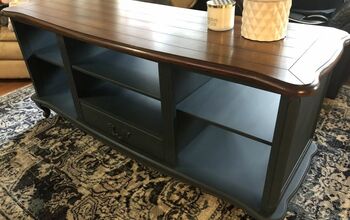
This is definitely my favourite type of shelf and the good thing is that once you learn these basic steps you can go ahead and customize it the way you like with stain, paint and so on. It is perfect for a nursery, a kitchen, an entryway!
Resources for this project:
See all materials


Comments
Join the conversation
-
Looks great!
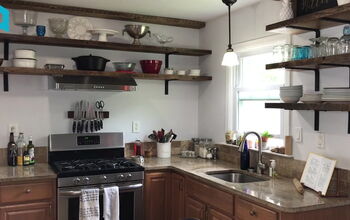
I love how it looks with your map and basket of flowers
-
Nice looking shelf. Good share


Frequently asked questions
Have a question about this project?
How did you hang it?