


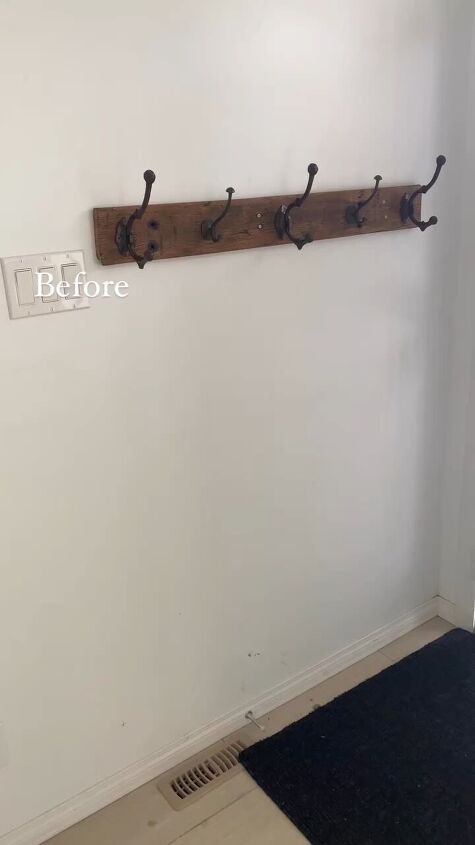
How to Make a DIY Shiplap Entryway in a Few Easy Steps

Our shiplap entryway wall is done! We are so happy with how it turned out. We are just in love with the color we used, called Pale Oak (OC-20) by Benjamin Moore.
Let’s take a look at the steps we took to create this vertical shiplap entryway wall with hooks.
Tools and materials
- Vertical shiplap boards (pre-cut or you can cut them to size)
- Trim piece to finish the top of the shiplap
- Trim for baseboard (optional)
- Level
- Stud finder
- Nails or screws (appropriate for your wall type)
- Hammer or screwdriver
- Scraper or pry knife (to remove the baseboard, optional)
- Measuring tape
- Pencil
- Primer
- Paint (Pale Oak OC-20, Benjamin Moore)
- Paint rollers/paint brushes
- Paint trays
- Painter’s tape
- Miter saw or hand saw (if cutting boards)
- Hooks and hardware
Steps
Step 1: Plan and measure
Measure the height of your entryway hall to determine how high you want the shiplap to go. Typically, shiplap is installed halfway up the wall, but you can adjust this to your preference.
Mark a level line around the entire room at the desired height. Use a level to ensure it's straight. This line will serve as a guide for the top edge of your shiplap boards.
Step 2: Remove baseboard trim
For a cleaner line when attaching the shiplap, remove the existing baseboard trim (you will reattach it later). If you prefer to leave it in place, cut it precisely down to the top. You can always add a small piece of trim to cover the edge.
Step 3: Locate and mark wall studs
Use a stud finder to locate the wall studs along the wall where you'll be installing the shiplap. Mark these locations with a pencil, as you'll want to secure the shiplap boards to the studs for stability.

Step 4: Cut shiplap boards (if needed)
Measure the width of your wall to determine the length of shiplap boards you need. If your boards aren't pre-cut to the right size, use a miter saw or hand saw to cut them to the correct length.
Step 5: Install Shiplap Boards
Starting in one corner, position the first shiplap board vertically, aligning it with the level line you marked earlier. Make sure it's flush with the corner of the wall.
Use a level to ensure the board is plumb (perfectly vertical). Once it's level, nail or screw it into the wall studs you marked. Place fasteners through the tongue of the shiplap board to hide them.
Continue adding shiplap boards one by one, ensuring they are tightly interlocked with each other. Use the level to check for plumb and secure them to the wall studs.
If you have any outlets or switches on the wall, you'll need to cut the shiplap boards to fit around them. Be sure to turn off the power to these outlets or switches before working around them.
Continue installing shiplap boards until you reach the opposite corner or desired stopping point.
Trim the final board to fit snugly into the corner, using a miter saw for precise cuts.
Add a top piece of trim to finish off the top of the shiplap. We made ours into a very narrow shelf using a wood board.
Replace your baseboard trim back onto the wall.
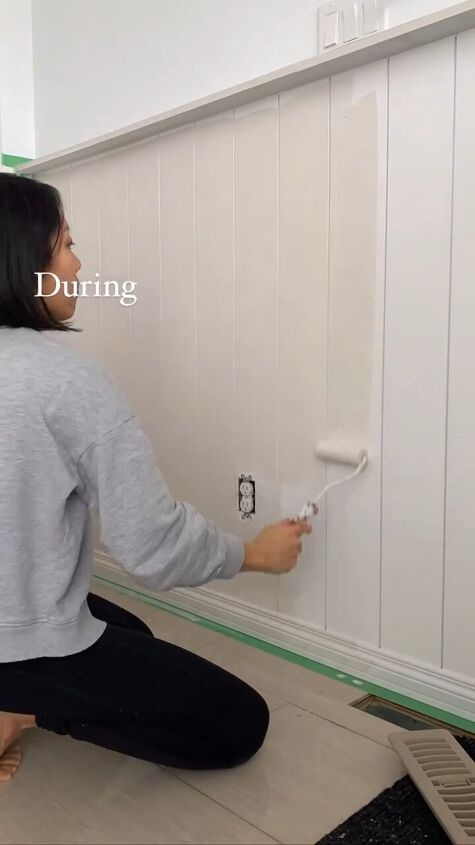
Step 6: Paint the boards
Fill any nail or screw holes and seams with wood filler and sand them smooth once it dries. Use painter’s tape to protect the wall before you paint the shiplap.
Prime and paint the shiplap in your desired color. We painted the shiplap and the baseboard in the same color paint to blend it all in better.
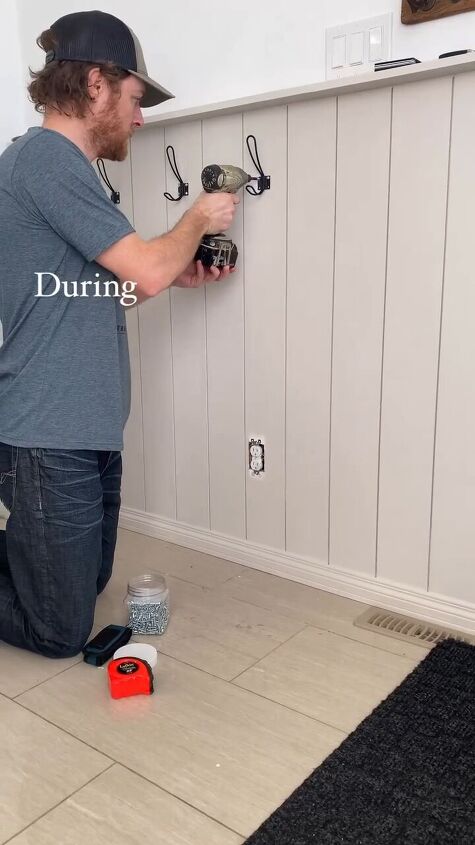
Step 7: Add hooks
The finishing touch will be your hooks. Add your style and space them how you would like them.
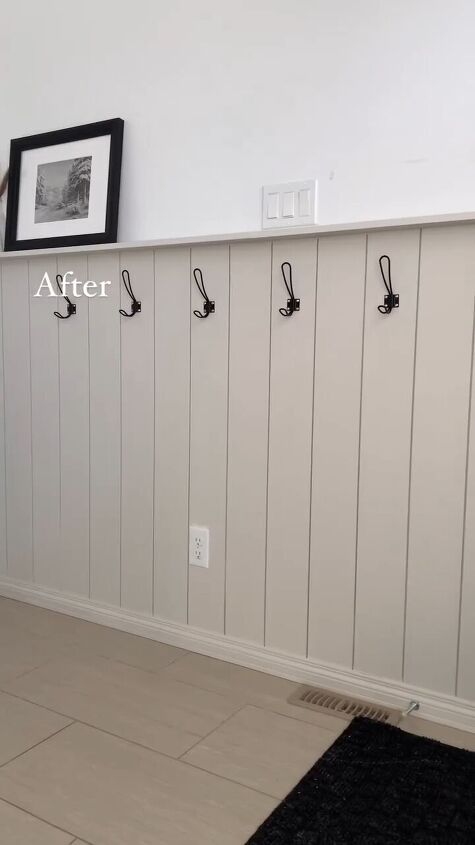
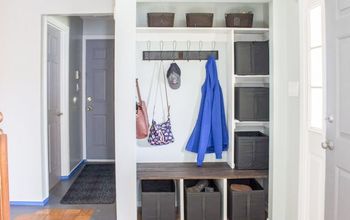
DIY shiplap entryway
Here is our finished vertical farmhouse shiplap entryway. This beautiful half-height shiplap wall adds character and charm to our space. Do you love shiplap? How have you used it in your home? Let us know in the comments.
Follow @home_ironandmaple on Instagram for more DIY ideas.


Frequently asked questions
Have a question about this project?