


DIY Custom Chargers for Your Next Luncheon With This Fun and Easy Tuto
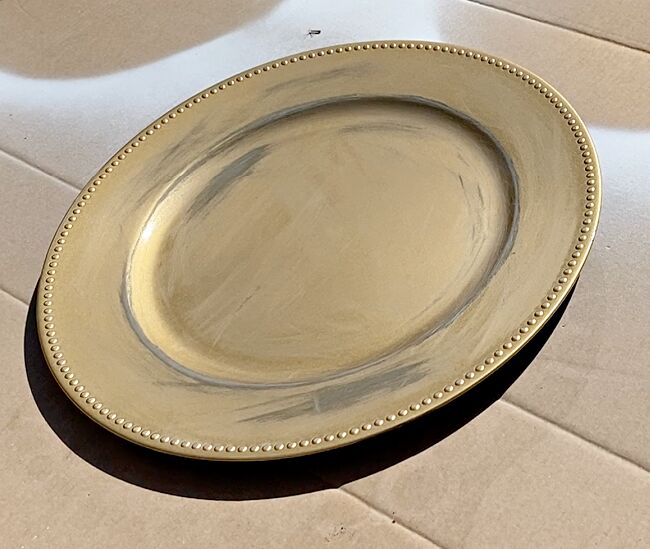
Sometimes you want to style a you table in a particular way, but alas, you cannot find the perfect (well perfect in my mind) …now fill in the blank, it could be linens, stemware, flatware, or in this case, chargers! Keep reading, I have the answer! Make your own!! This is one of those great ideas that you can use to incorporate like I have or create custom holiday charger plates. This is a perfect way to add a special touch to your tabletop!
Use some fine sandpaper to take the shine off of the chargers. This will make the paint adhere better.
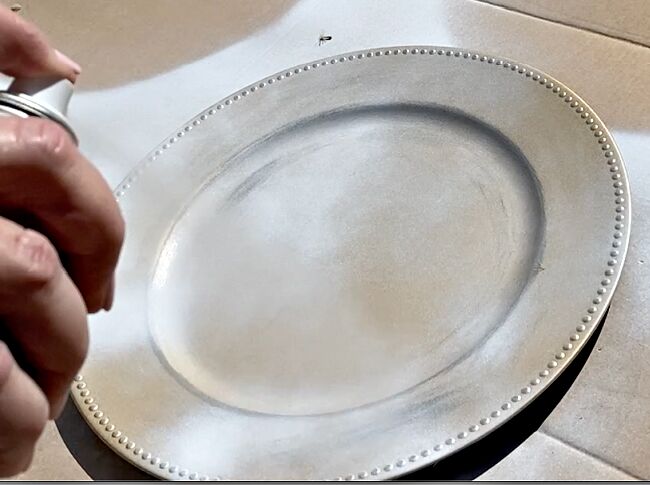
Spray paint the charger. For this project, I used white spray paint. Make sure you do this out of doors where there is plenty of ventilation. Protect any surfaces where you will be spraying the paint.
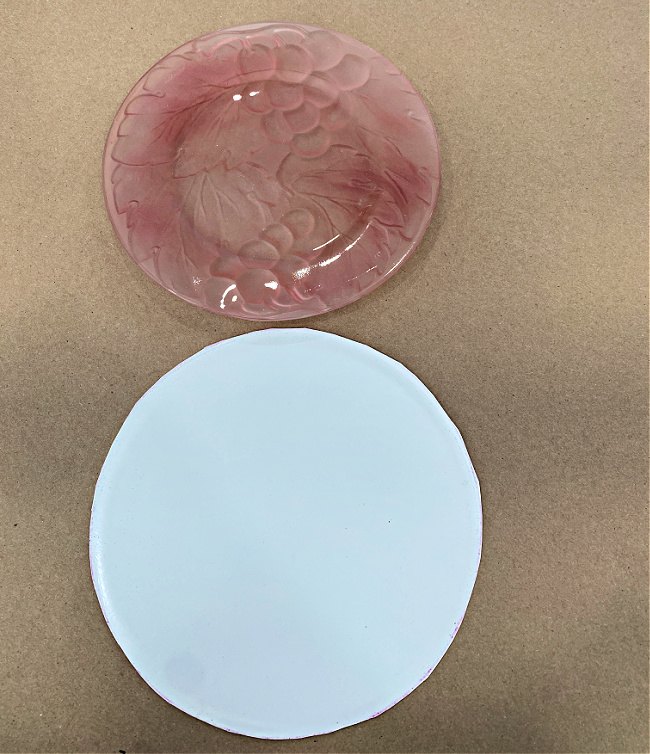
Find a plate that will fit inside the flat part of your charger. I used this pink salad plate. Set it down on a piece of stiff piece of cardstock, OR, since I had paper plates handy, I cut mine from a stiff paper plate. Trace the plate on cardstock and cut out the circle.
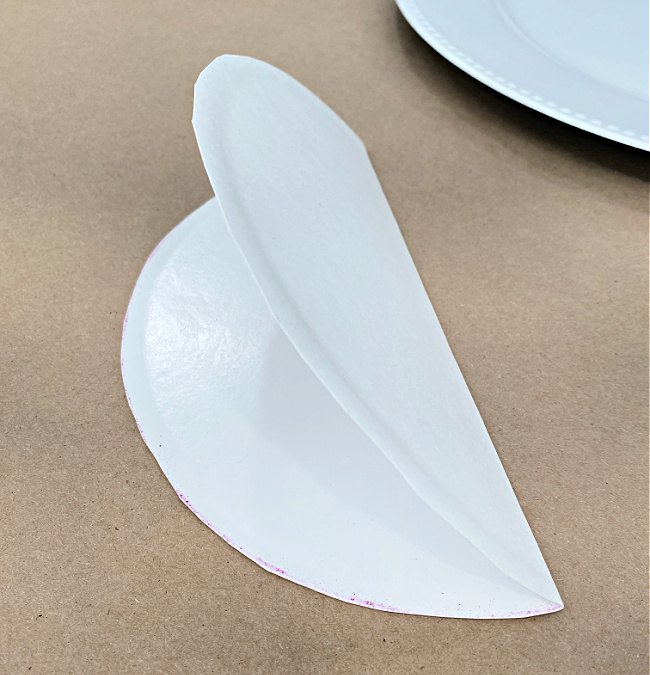
After you have cut out your circle, fold it in half as shown above.
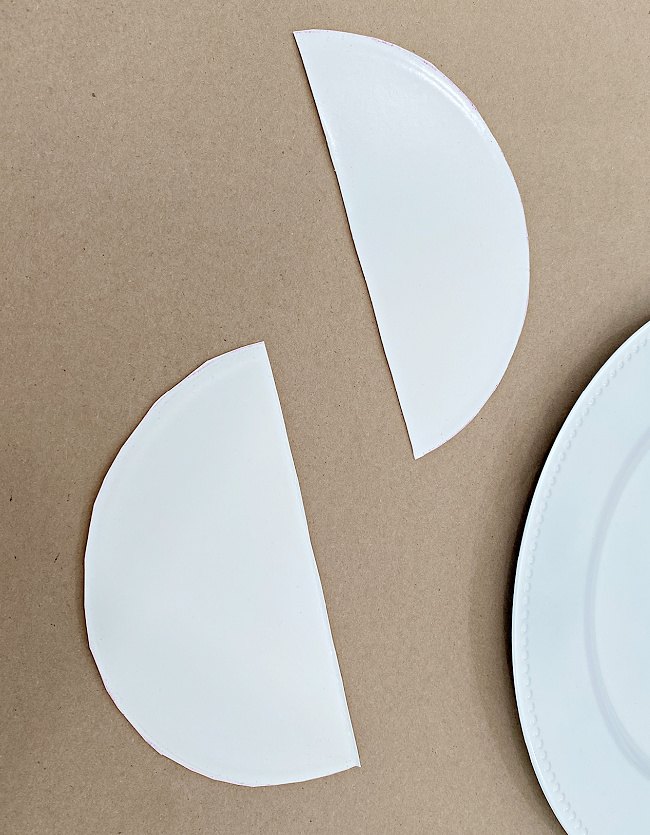
Cut the circle in half.
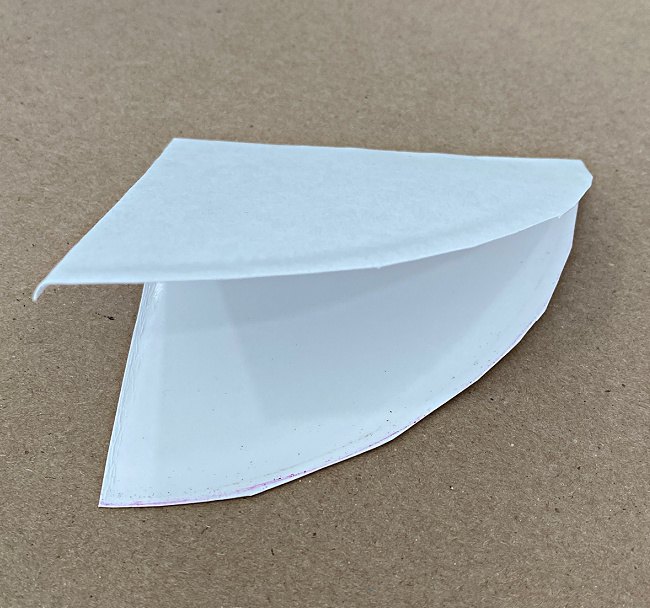
Fold each half in half again and cut down the fold.
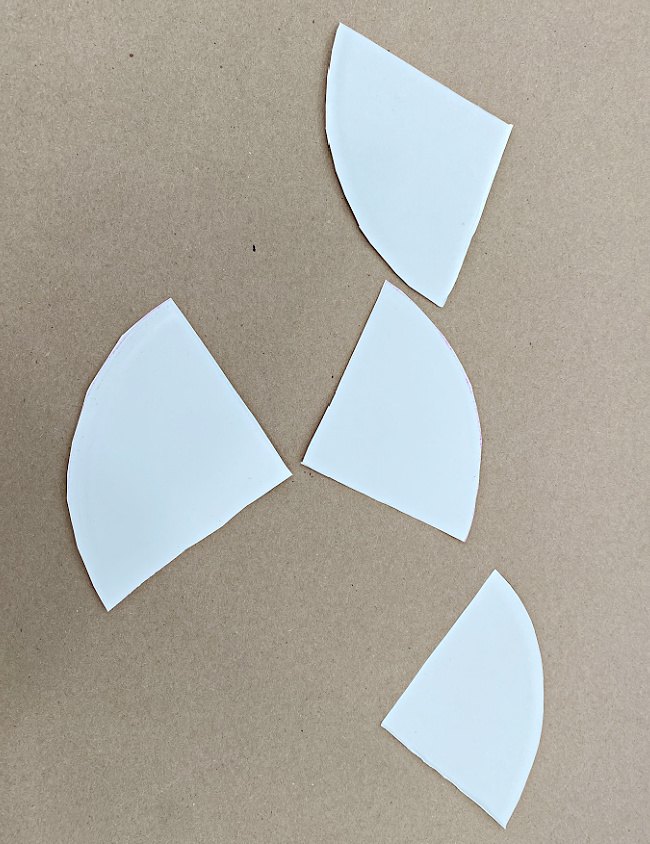
You will have four pieces. Fold each of these and cut them each in half. Depending how thick your cardstock or cardboard is, you may have some edges like I did that are not flat and crisp. You will want to trim those off so you have nice straight edges.
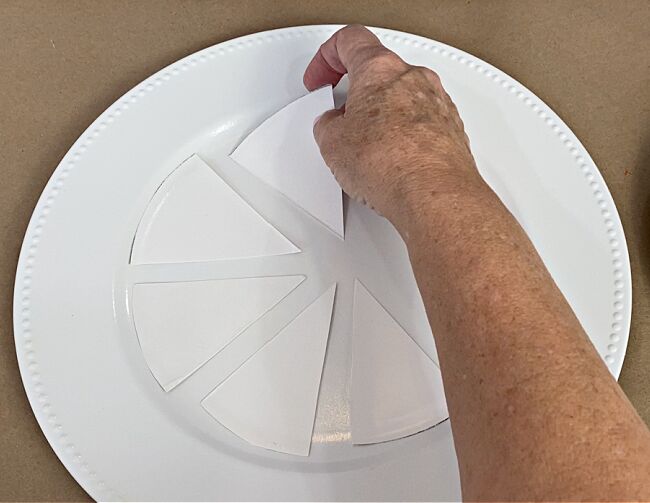
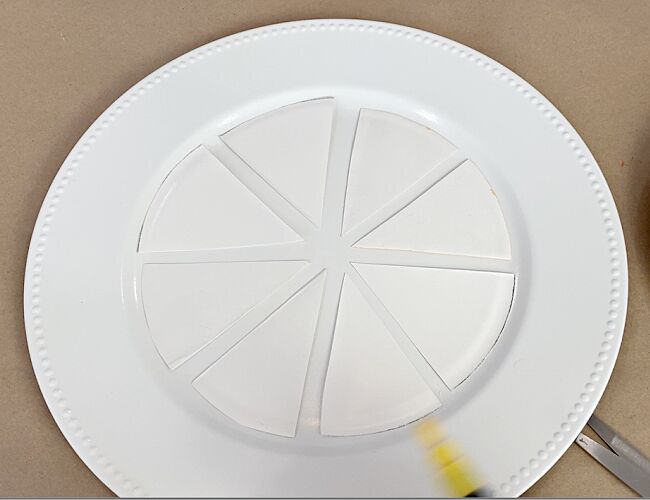
Place your eight pieces of paper down like slices of pie on a charger.
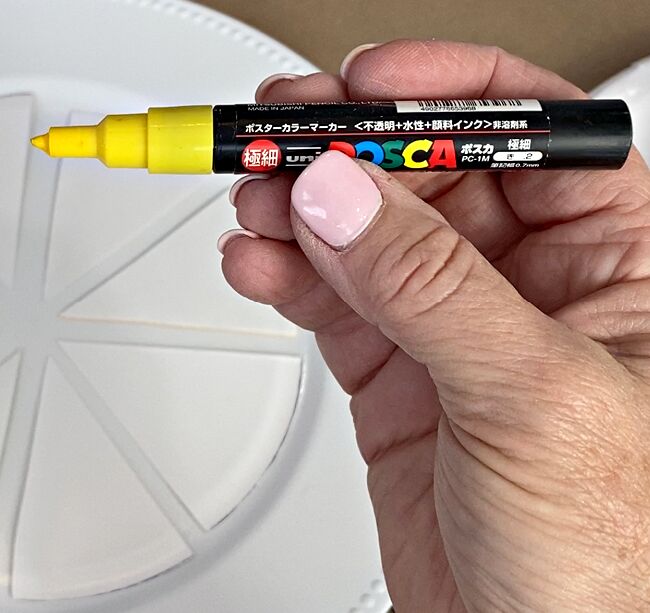
Use an acrylic paint pen in the color you are planning on painting.
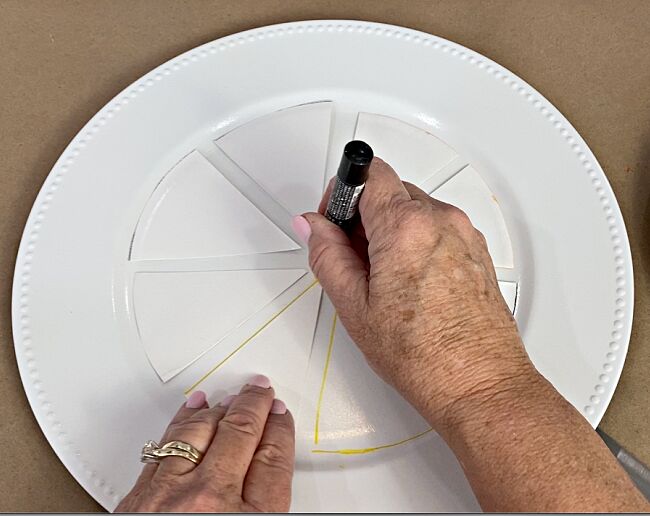
Trace around each ‘slice’ of paper with the paint pen.
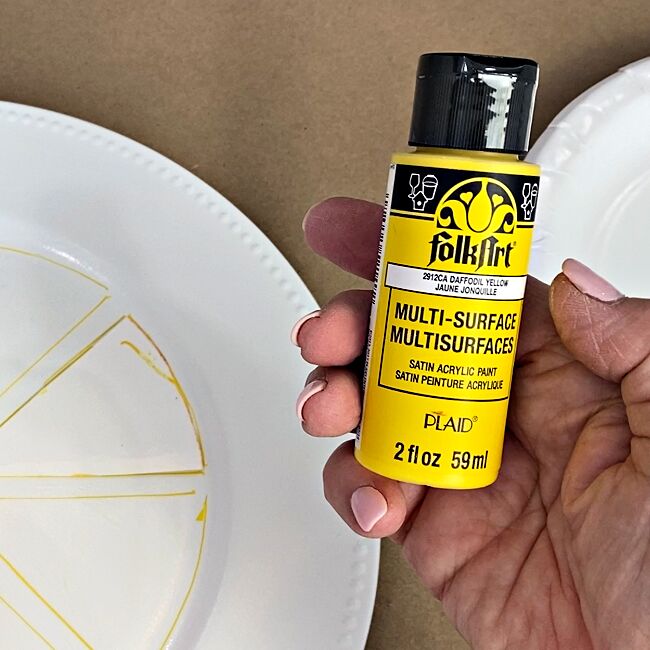
Select your choice of multi-surface acrylic paint.
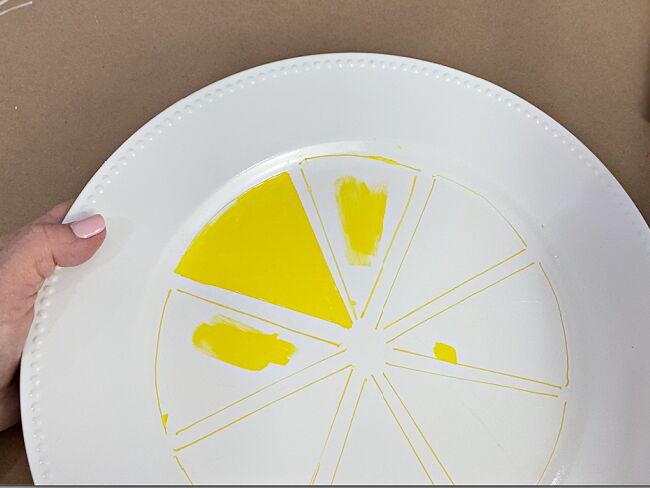
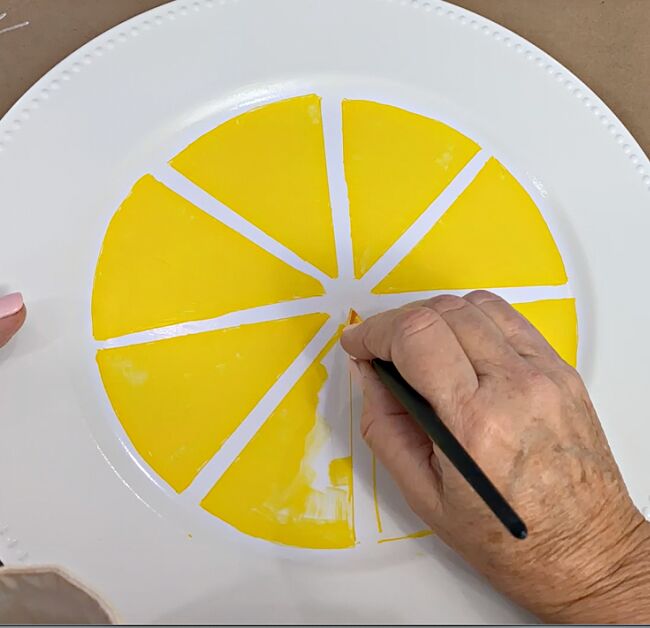
Use a good quality, small paintbrush and paint inside the sections of your triangles. After you have finished painting your chargers, you can always use Mod Podge to protect the surface.
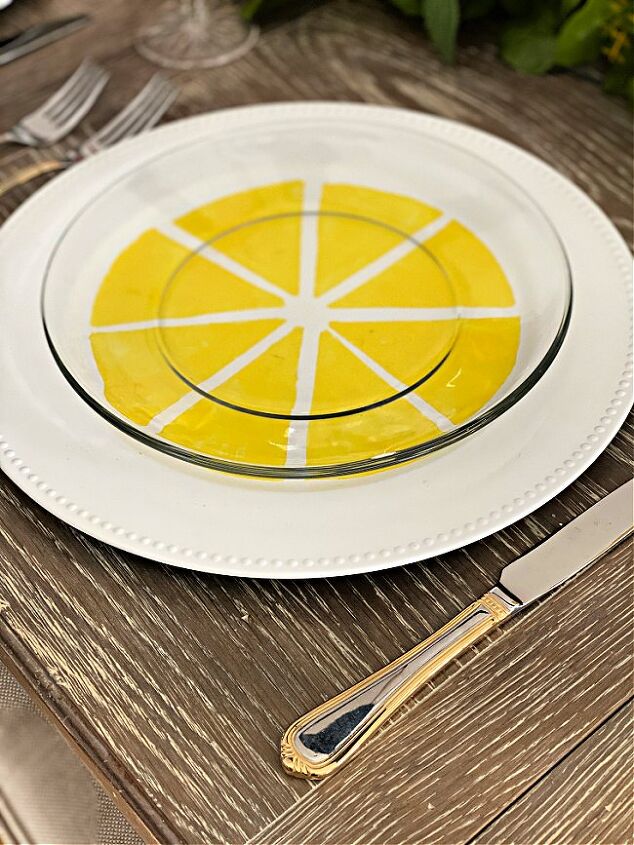
The best part of this is that you can impress your guests with your beautiful finished product!
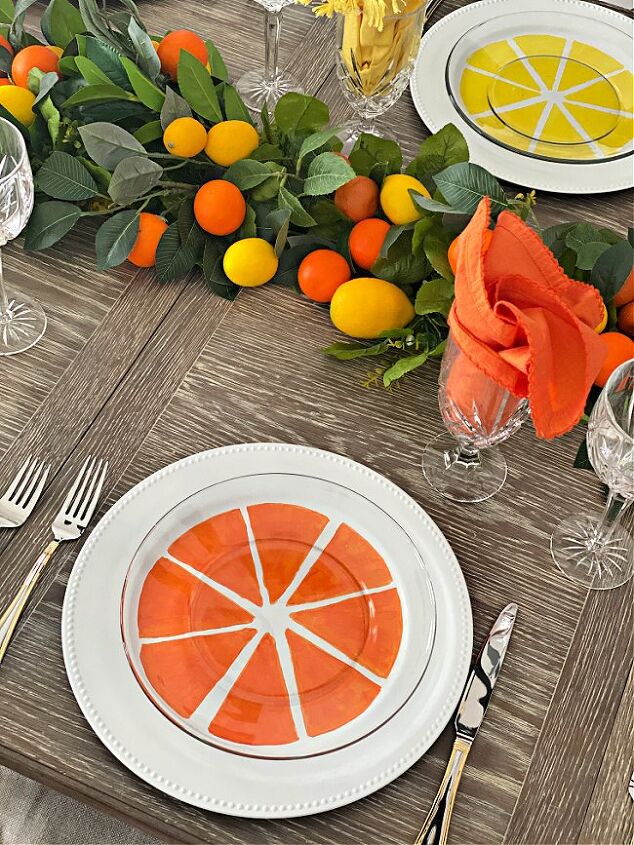
I used orange and yellow for an orange and lemon themed tablescape. Adding lemons and oranges to your centerpiece carries through the citrus theme of my tablescape!
Resources for this project:


Comments
Join the conversation
-
So, so, SO CUTE! What a vibrant way to brighten your setting!
-
where can I purchase the frayed yellow napkins for the lemon tablescape, thank you


Frequently asked questions
Have a question about this project?