


Halloween Sign With Mirrowed Image and Vintage Paint

If you are very patient and you like imperfection, then this idea might be something for you :)
We will do a wood sign, so you will need: piece of wood to use it as a sign, graphic with hallowen motive, vintage paint, waxes and water.

I hope you like this idea and hope to see you in my instagram account for more inspirations :)
LOVE from Switzerland
Silvia
First thing is: go to Google and type The Graphics Fairy, choose the Halloween graphic that you would like to use.
Karen has millions of beautiful graphics that you can use in your projects.
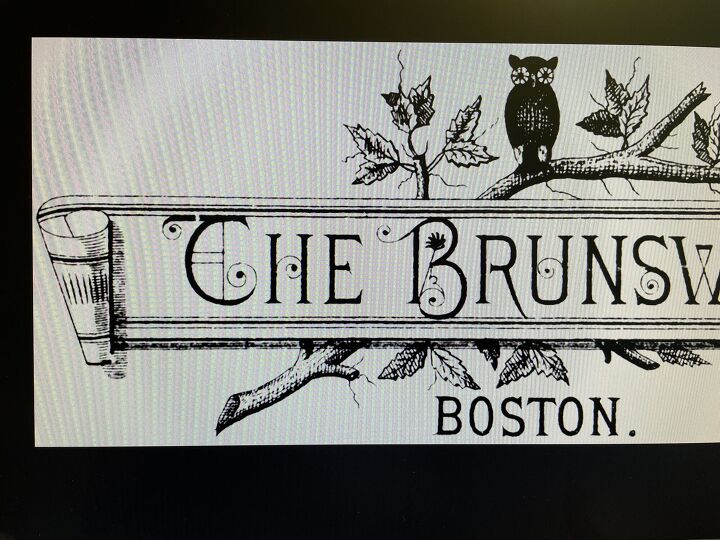
I choose this owl and I downloaded it to my computer and saved it on a word document.
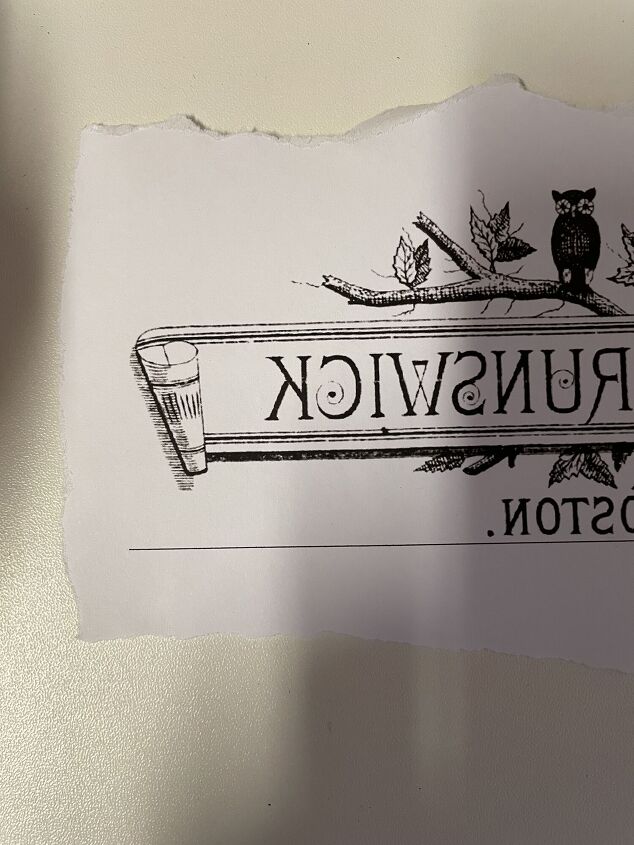
I turned the graphic so that it is mirrowed.
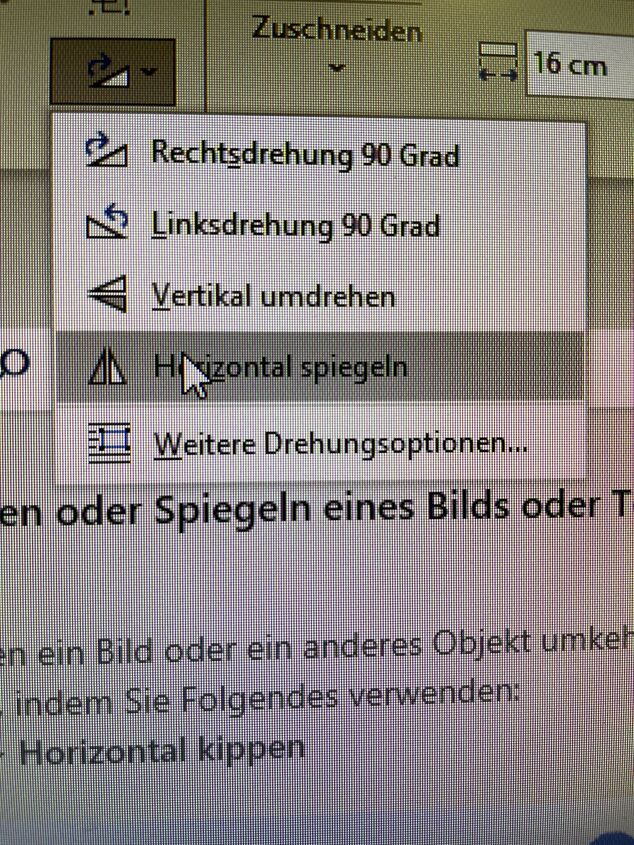
This is the option that my program offers me to turn the graphic mirrowed.
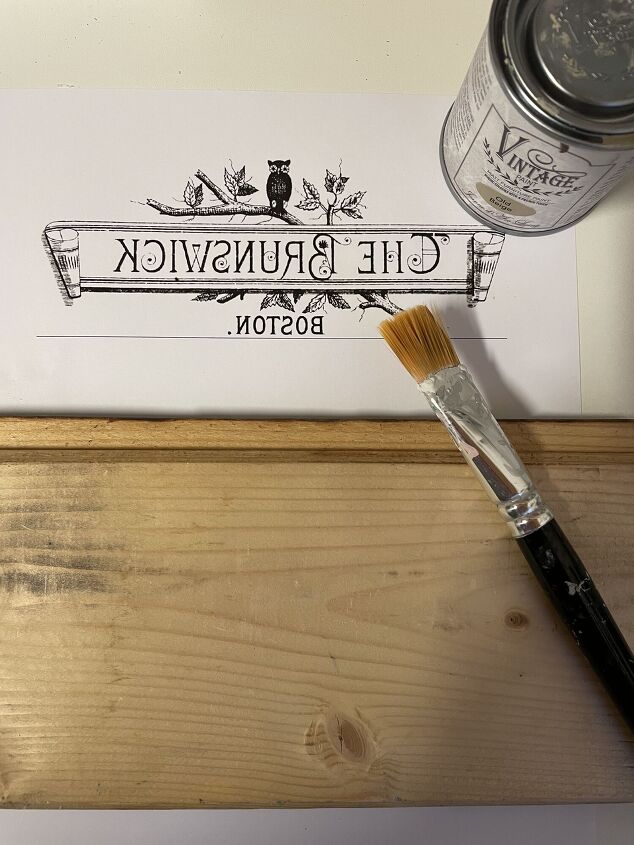
The graphic should be now mirrowed and you can now print it. I used a injekt printer.
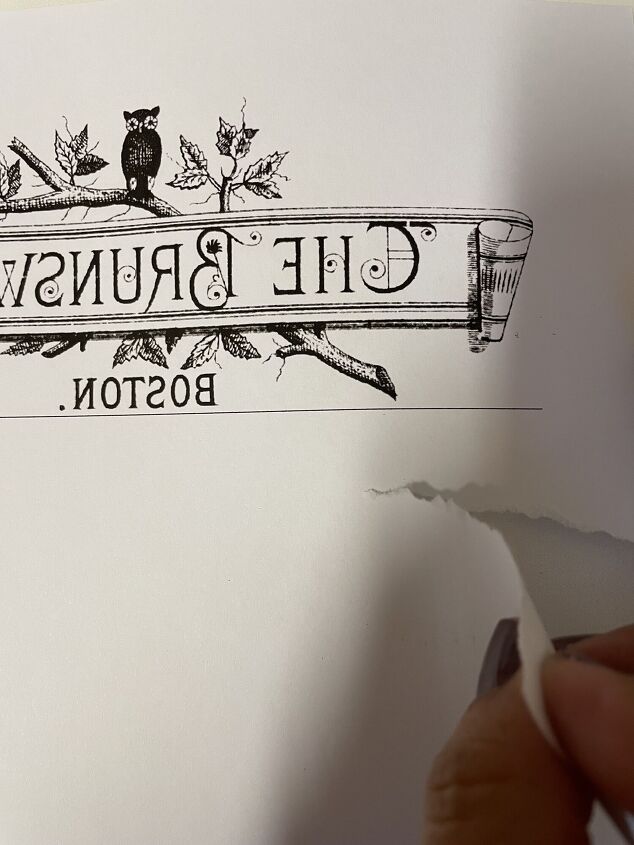
Tear the paper leaving a little margin around the graph.

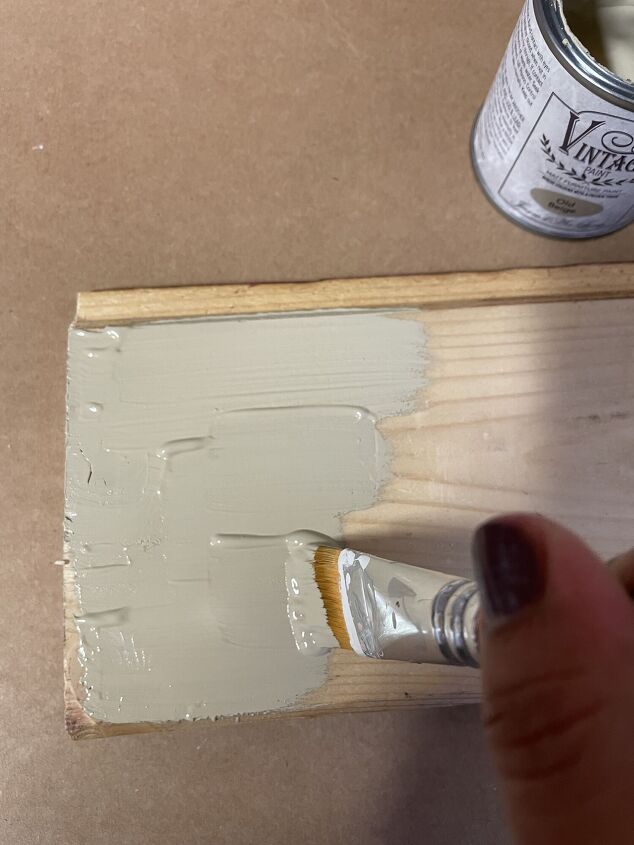
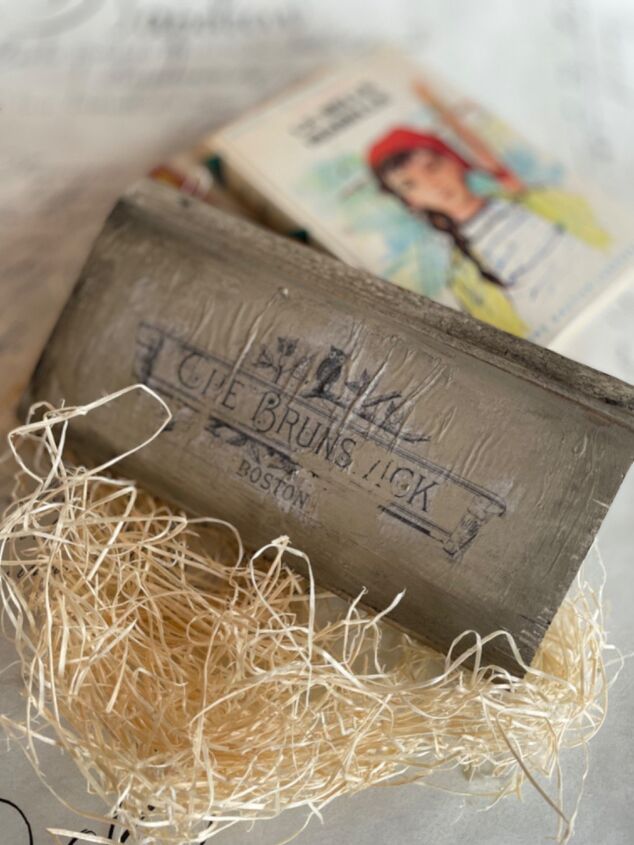
Paint your wood sign with Vintage Paint, I used Old Beige. It is important to work with a light color.
Be generous with the paint.
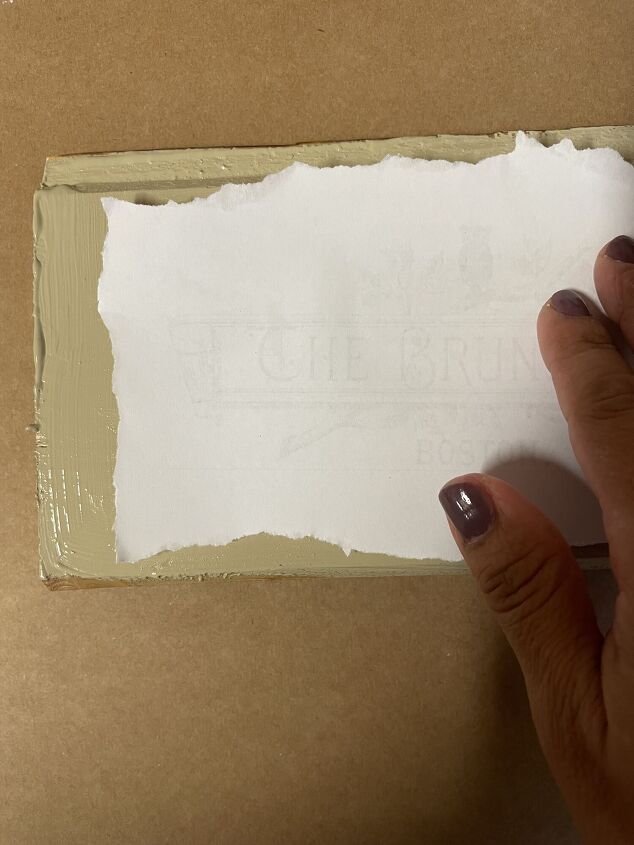
On the wet pait, place the graphic facing down.
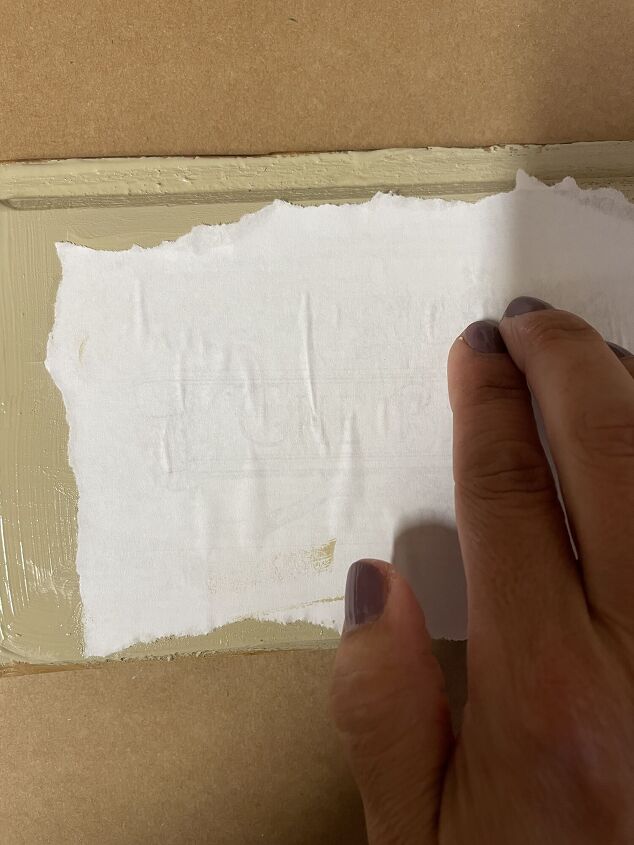
Make sure that the paper it is very flat. No paint should be on top of the paper. Let it dry over night for better results.
Most of the time I use a paper that it is 70grms, that means 10 grms less than the commom copy paper we use for the printer. But if you don't have it, it is not a tragedy, you can use the paper you have available. Today, I am using 80grms, because I don't have any more from the thinner paper.
Let it dry over night.
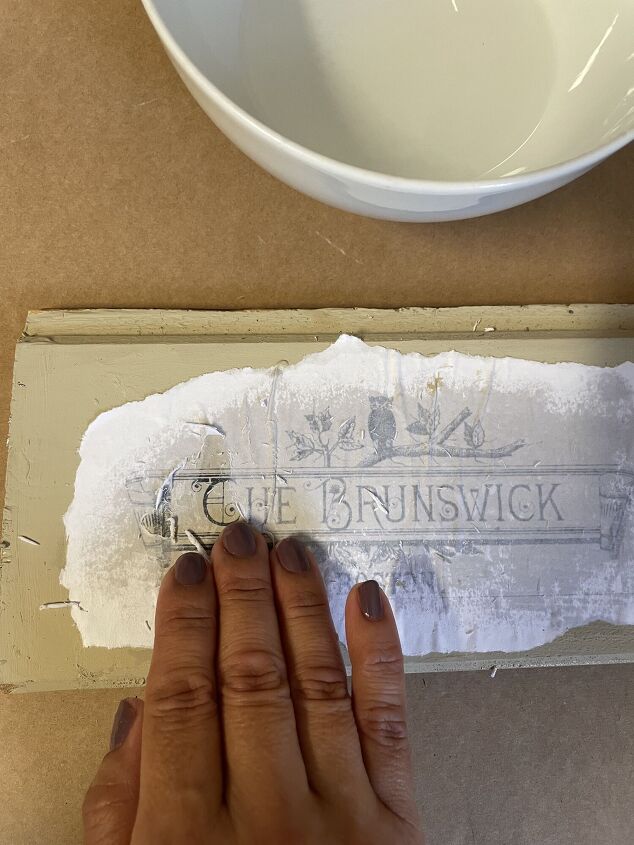
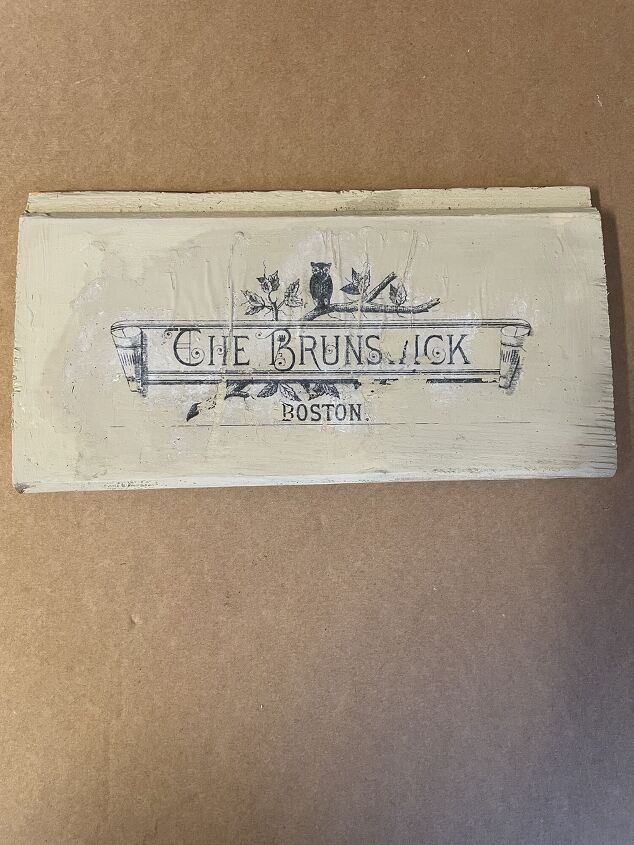
At the next day, you can start removing the paper with some water. Take some water on your fingers and giving gentle circular movements. Try not to take to much water, it is better to take of little bit of water each time, than to much water at once.
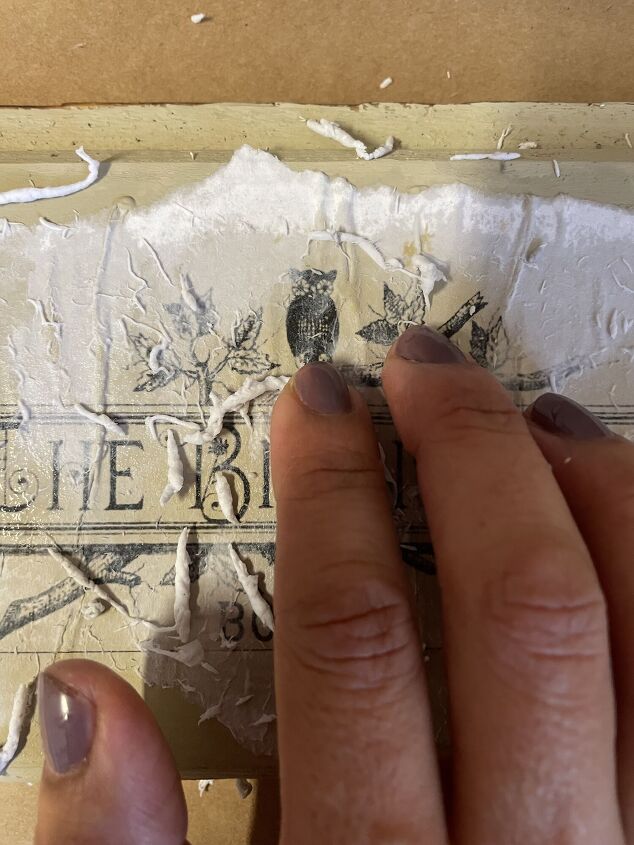
Remove carefully the paper.
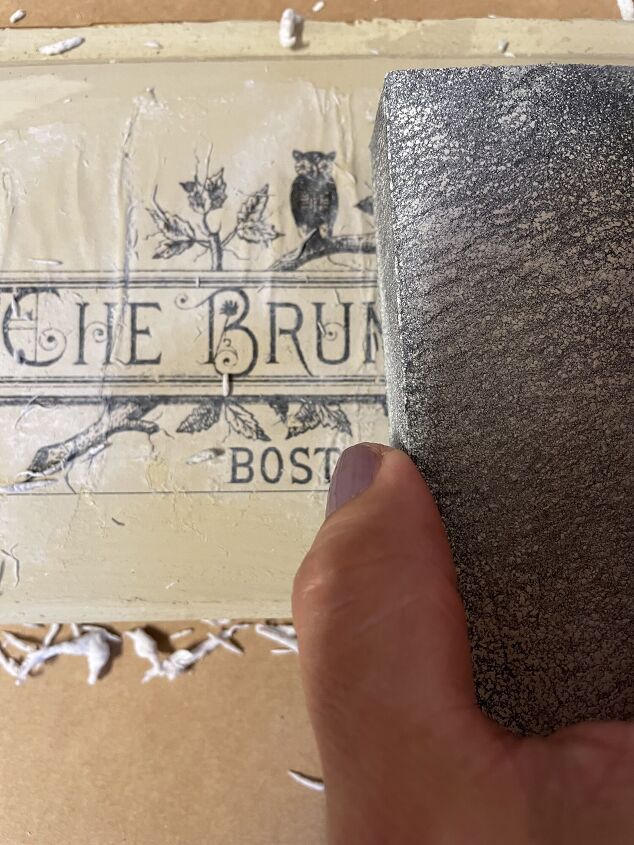
If necessary sand softly on top of the paper to remove as much paper as possible.
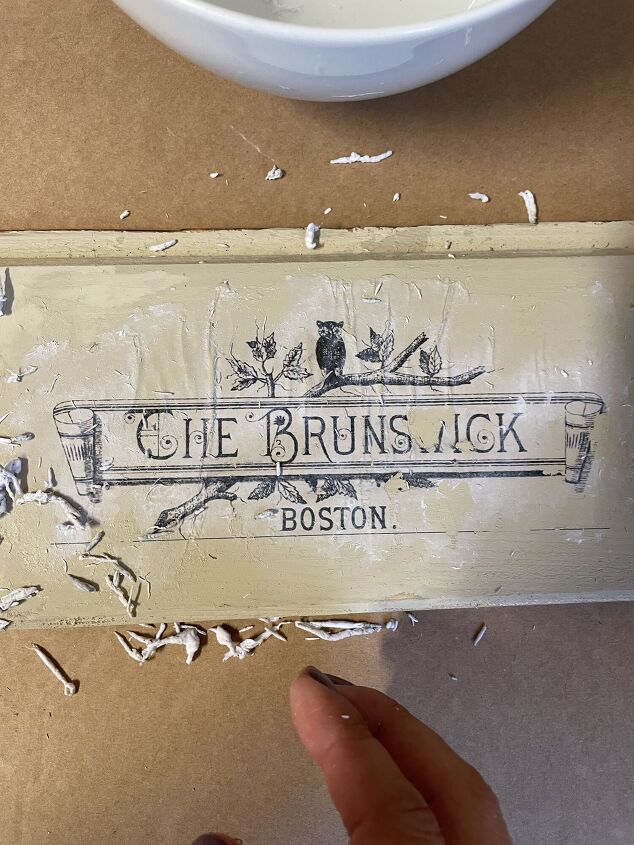
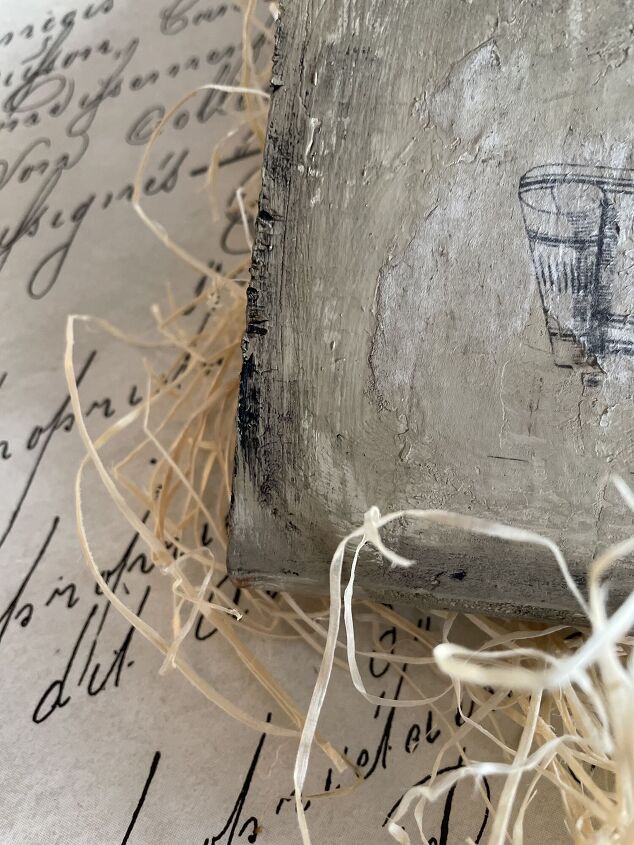
In this case you notice the paper edges because I used 80grms paper, if you take thinner paper, the edges will be less noticeable. You can also sand the edges to remove the paper as much as possible.
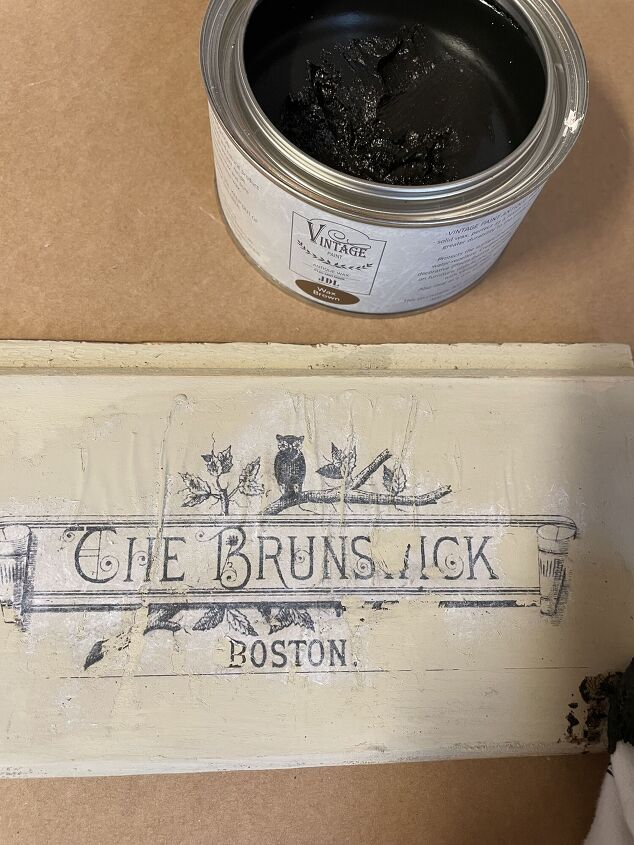
Now, let's protect the graphic with waxes. I used brow wax and black wax.
The brow wax I put is in the whole sign.
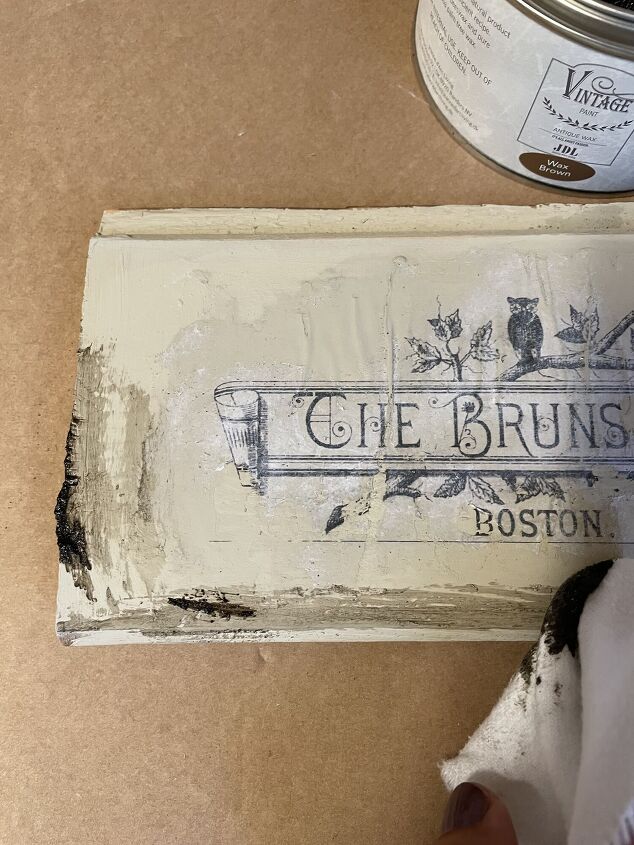
And the black wax in the edges of the sign.
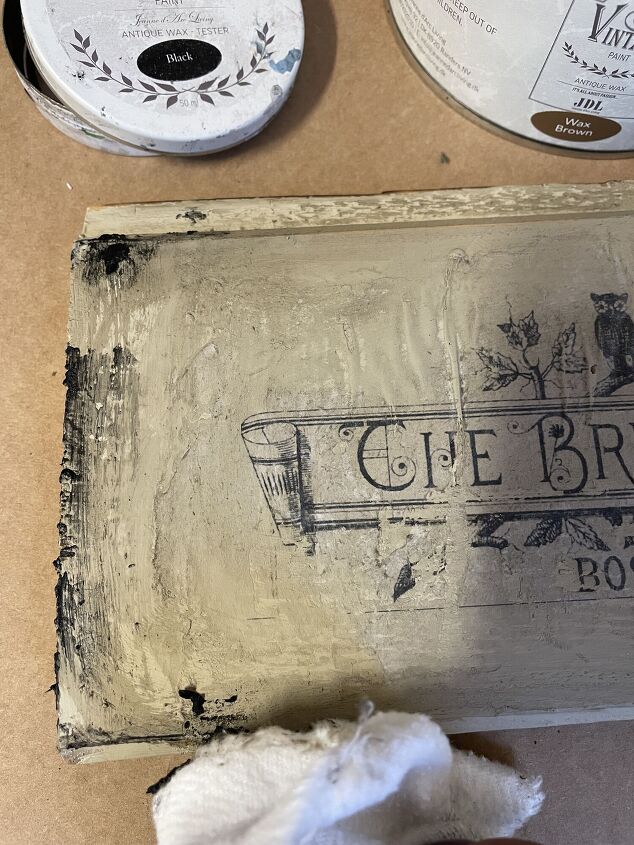
I wanted the black wax to match with the graphic.
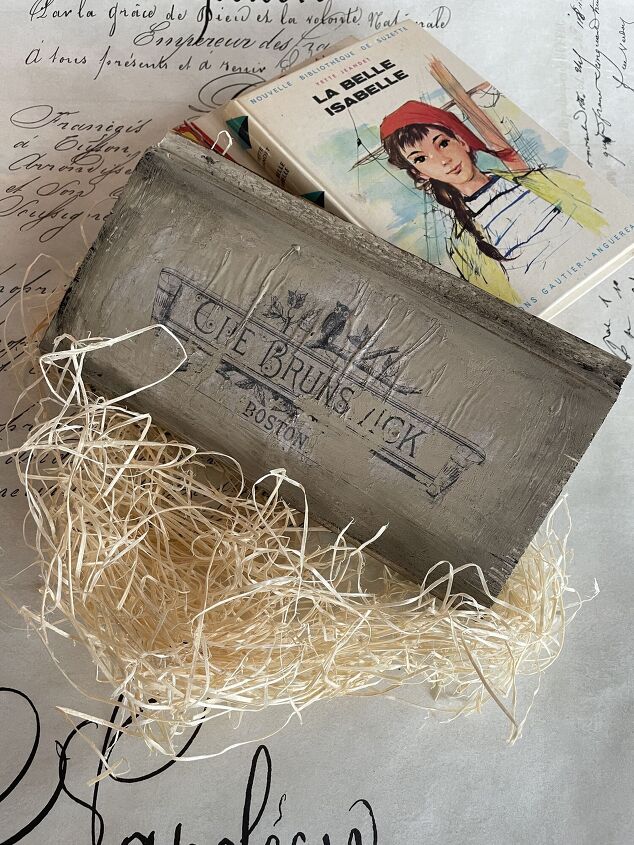
Keep in mind that there will always be some paper left on the wood, the graph will be visible but it will never be 100% perfect and clear, since a very light layer of paper will always remain on top.
But this is what makes the sign look aged and imperfect.
This method is inexpensive and also great for customizing projects.
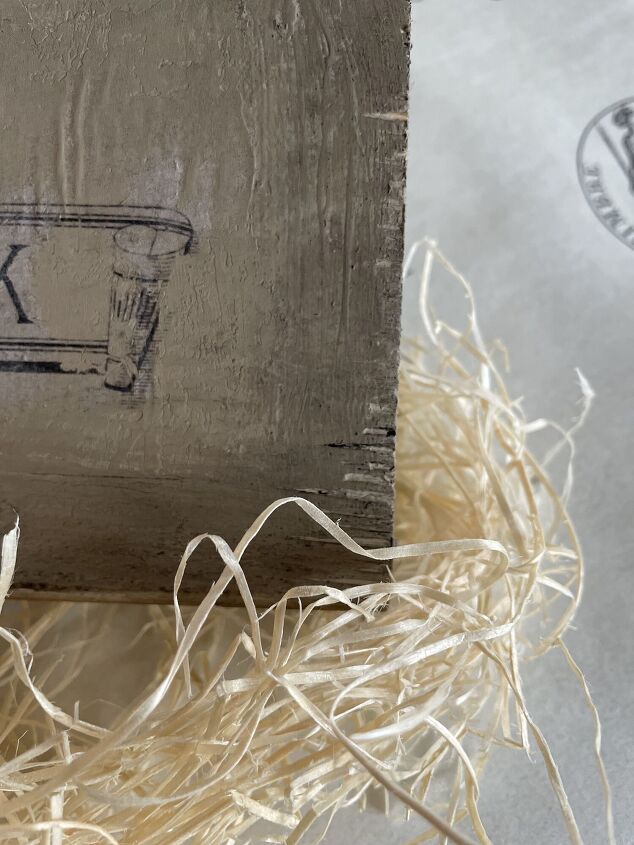
These are the edges of the sign.


Frequently asked questions
Have a question about this project?