


How to Make DIY Textured Ornaments With Epsom Salt

I recently embarked on a budget-friendly Christmas crafting adventure, creating my own DIY textured ornaments inspired by a pricey $60 set I stumbled upon. With just a few materials and a touch of creativity, I was able to replicate the look without breaking the bank.
In this step-by-step tutorial, I'll guide you through the process of making your own DIY textured ornaments, adding a touch of rustic charm to your holiday decor.
Tools and materials
- Clear plastic ornaments (or use ornaments you already have)
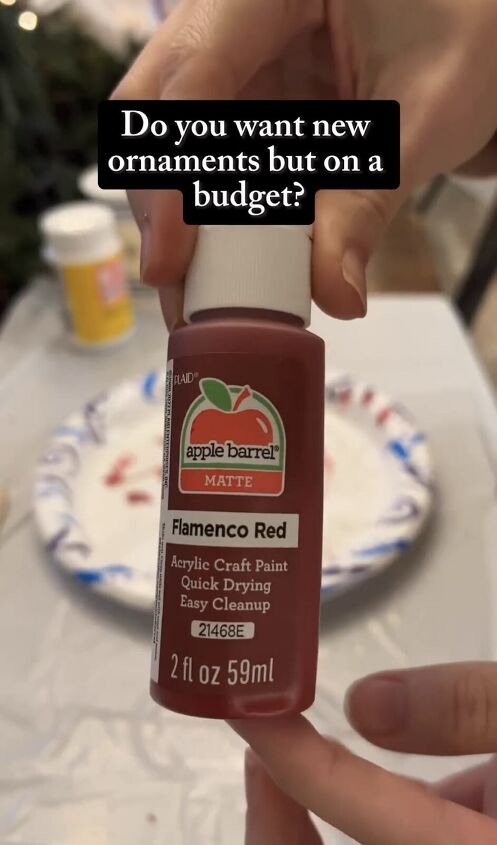
- Acrylic paint (for the base coat)
- Rub n Buff, spray paint, or gold metallic wax
- Mod Podge
- Epsom salt
- Paintbrushes
- Leather string (or your preferred material for hanging)
- Protective surface for crafting
How to make DIY textured ornaments
Step 1: Prepare your ornaments
Start by gathering your clear plastic ornaments. Alternatively, you can repurpose old ornaments you have lying around. Clean and dry them thoroughly to ensure a smooth surface for painting.
Step 2: Apply the base coat
Using acrylic paint in your chosen color, apply a base coat to the ornaments. This serves as the foundation for the textured effect. Allow the paint to dry completely before moving on to the next step.

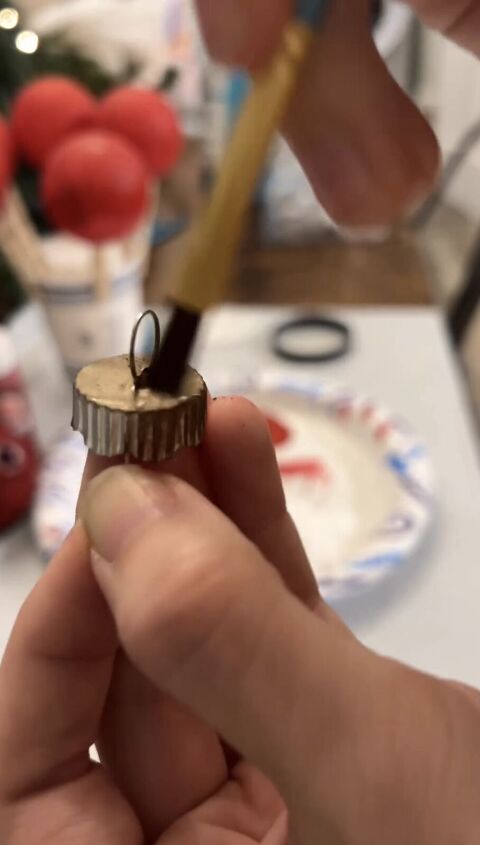
Step 3: Choose your top color
For the top of the ornament, you have a few options: rub n buff, spray paint, or a gold metallic wax. I opted for a gold metallic wax from Hobby Lobby to achieve an aged look rather than a bright, shiny silver appearance. Apply the paint evenly, covering the entire surface of the ornament top. Let dry thoroughly.
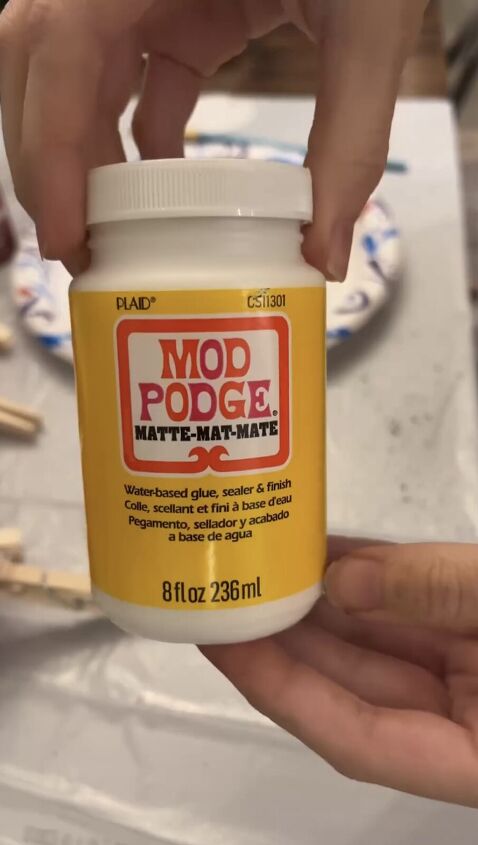

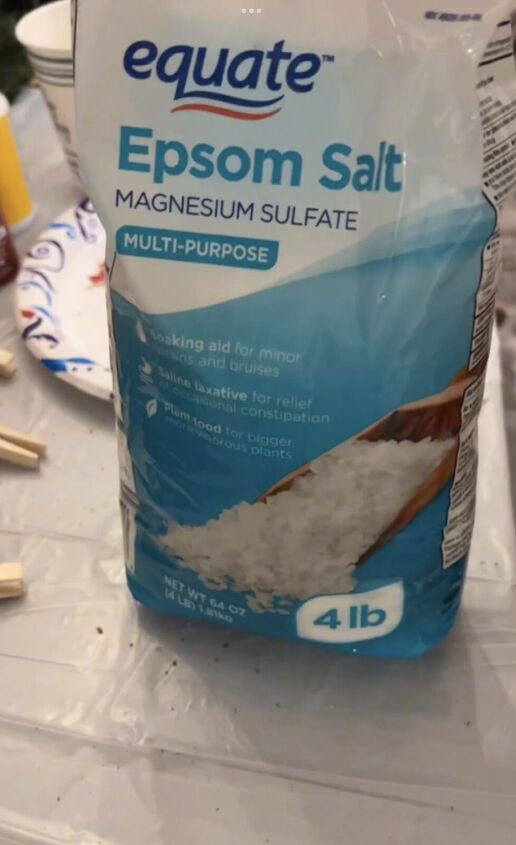
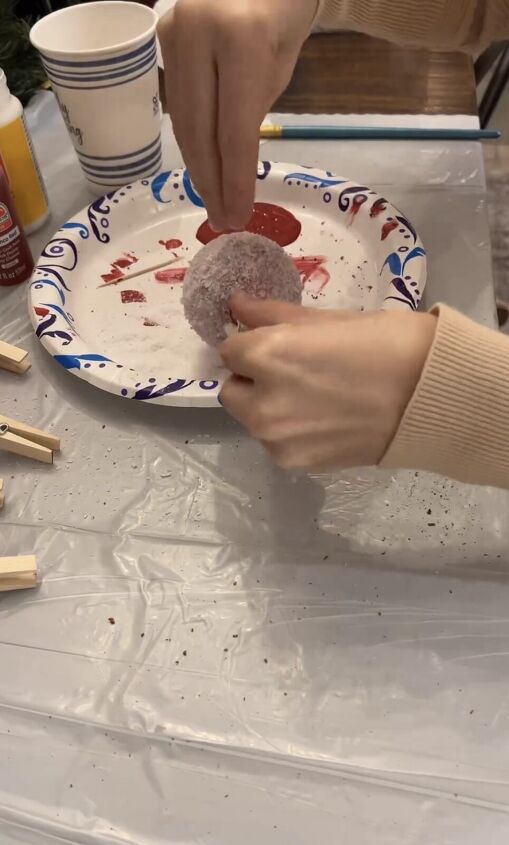
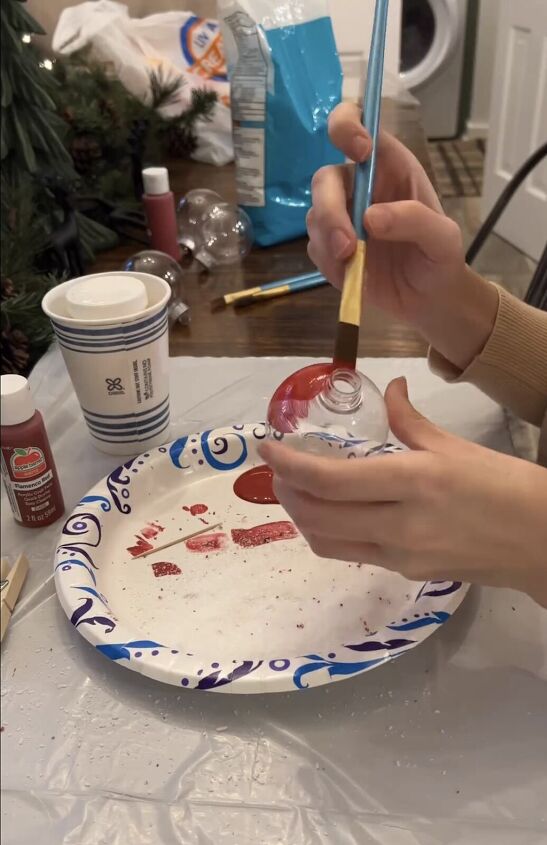
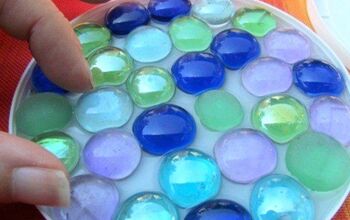
Step 4: Add texture with Epsom Salt
Once the top coat is dry, it's time to add texture. Using a paintbrush, apply a coat of Mod Podge to the ornament's surface. Immediately sprinkle Epsom salt over the Mod Podge, ensuring it covers the entire ornament. Allow it to dry completely.
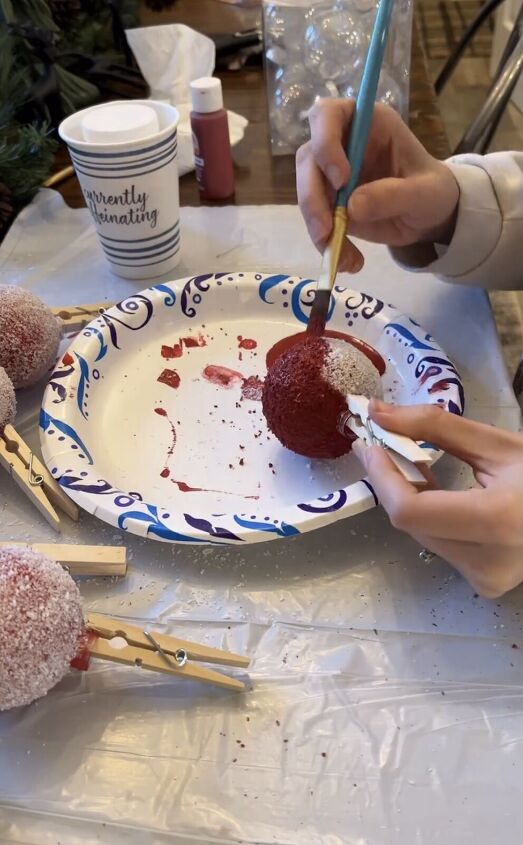
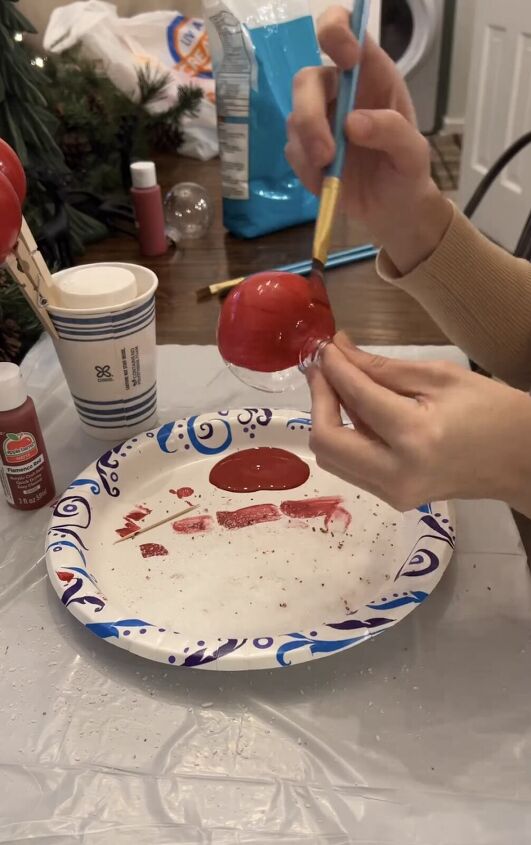
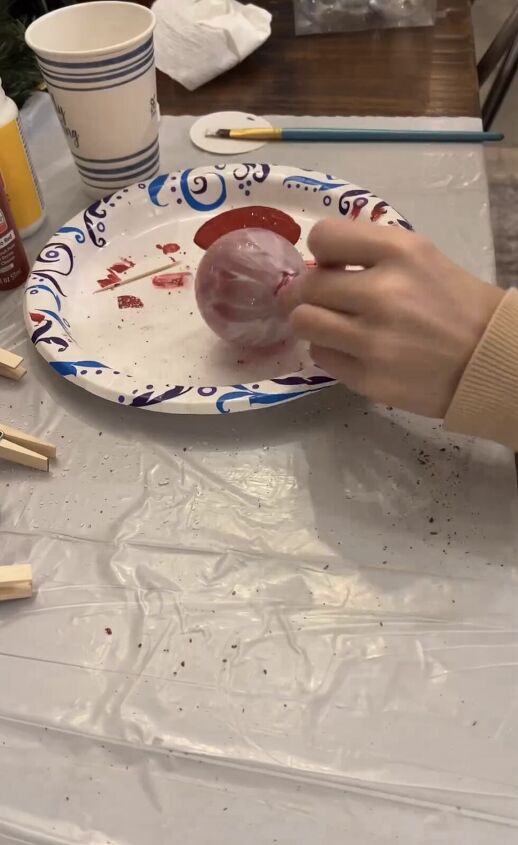
Step 5: Paint over the texture
After the Mod Podge and Epsom salt have dried, paint over the textured surface with your chosen paint color. Depending on the opacity of the paint, you may need to apply a couple of coats to achieve the desired result. Allow each coat to dry before adding the next.
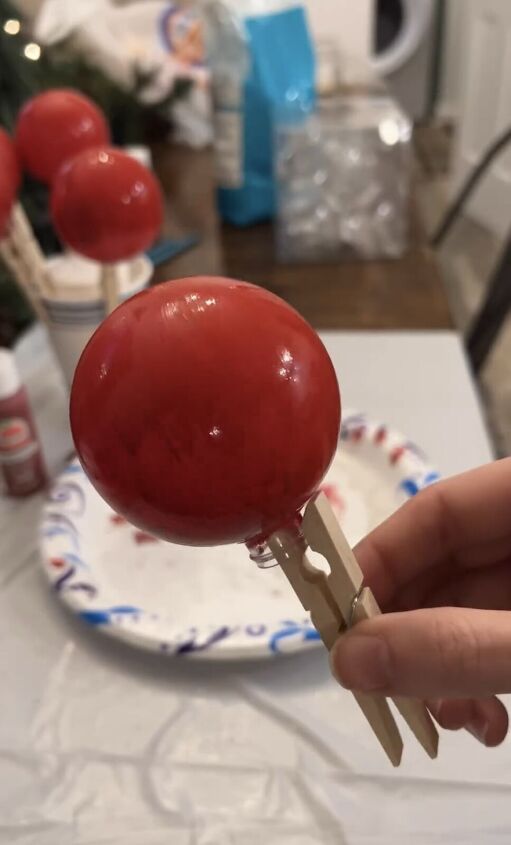
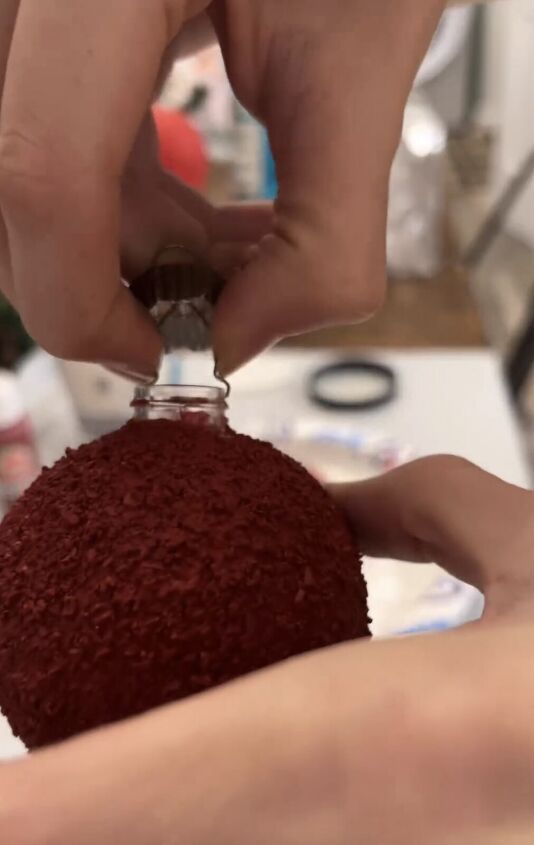
Step 6: Finishing touches
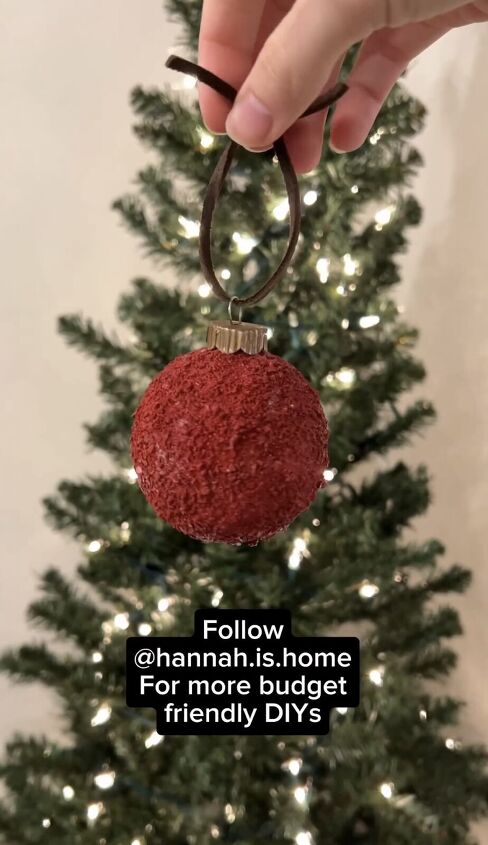
Once your textured ornaments are completely dry, add the finishing touches. I opted for a rustic touch with leather string for hanging, but feel free to use any material that suits your style. Ensure the hanging mechanism is secure.
DIY textured ornaments
You've successfully created your own budget-friendly DIY textured ornaments, adding a personalized and charming touch to your Christmas decor. Do you make homemade ornaments? Share your projects in the comments below.
Follow @hannah.is.home on Instagram for more DIY ideas.


Frequently asked questions
Have a question about this project?