


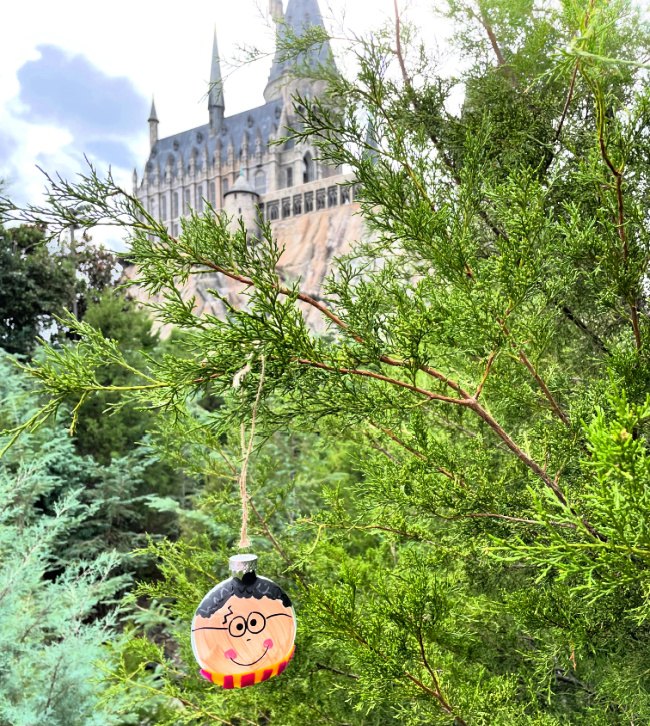
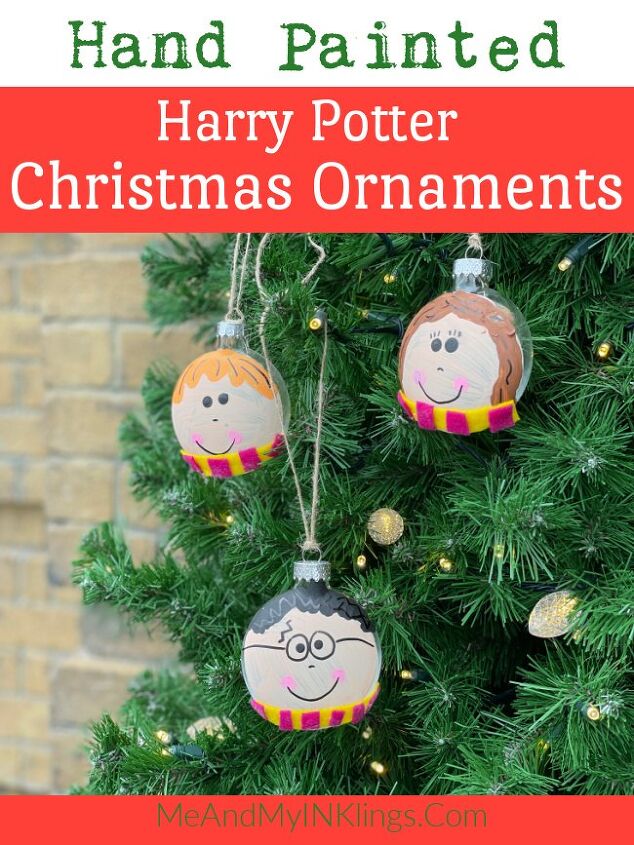
Harry Potter Christmas Ornaments Painted Characters
Spread extra magic during the holiday season by making these Harry Potter Christmas Ornaments Painted Characters. There are so many fabulous characters but I chose the three most popular to paint and share.
You only need a few materials and supplies so let’s jump right in and get started.
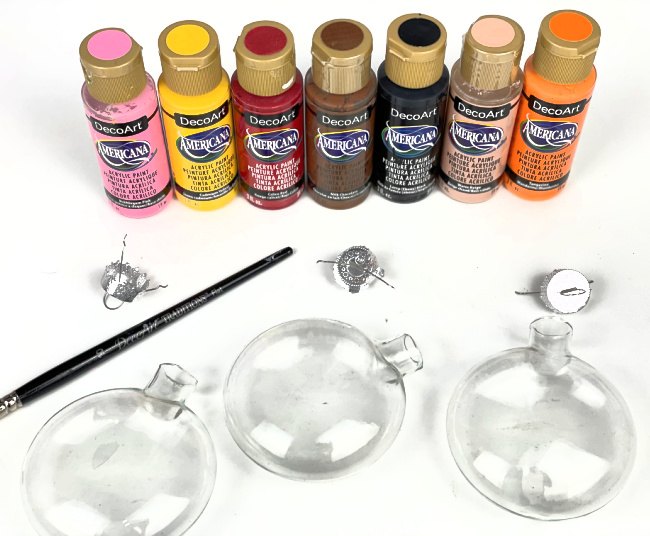
Materials and Supplies Needed for Harry Potter Christmas Ornaments Painted Characters
- Glass Ornaments (Flat fronts work best.)
- Acrylic Paint -DecoArt Americana
- Paint Brush
Directions to Paint Harry Potter Character Ornaments
Step One
Make sure the surface of the ornaments is clean and dry. Remove the metal cap from the ornament.
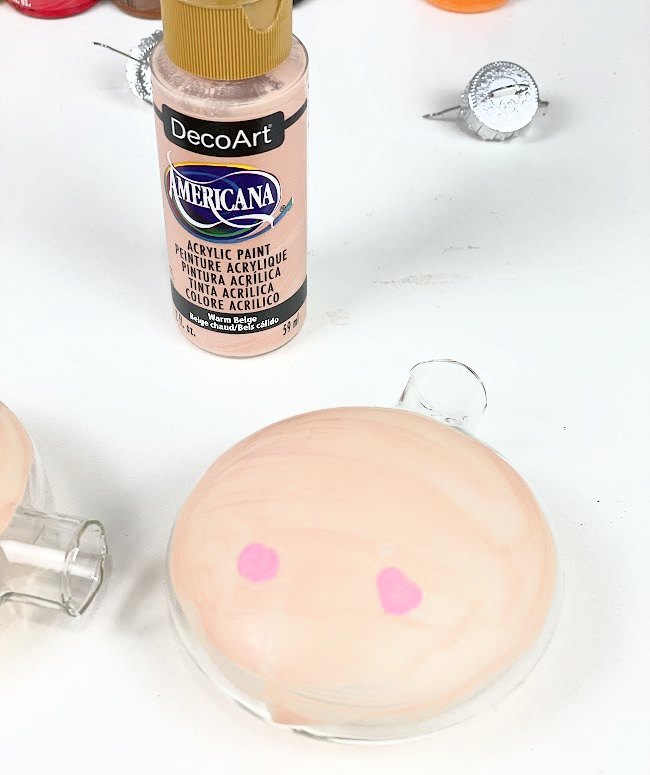
Step Two
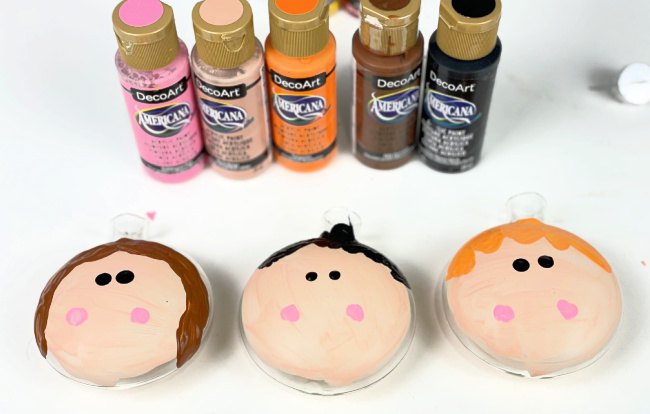
Paint round circles for the base of the character head. Use a peach color and cover most of the front of the ornament. Let dry completely.
Step Three
Paint little pink circles for cheeks.
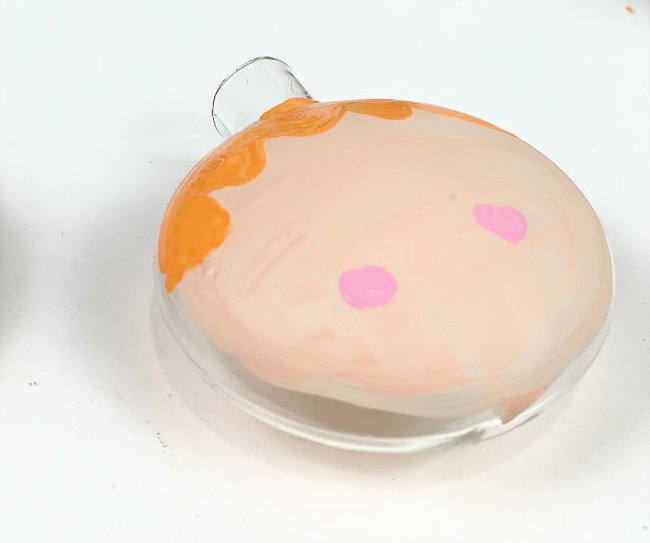
Step Four
Paint hair.
Step Four
Add eyes by dipping the eraser end of pencil into black paint and tapping it on the ornament. Let dry.
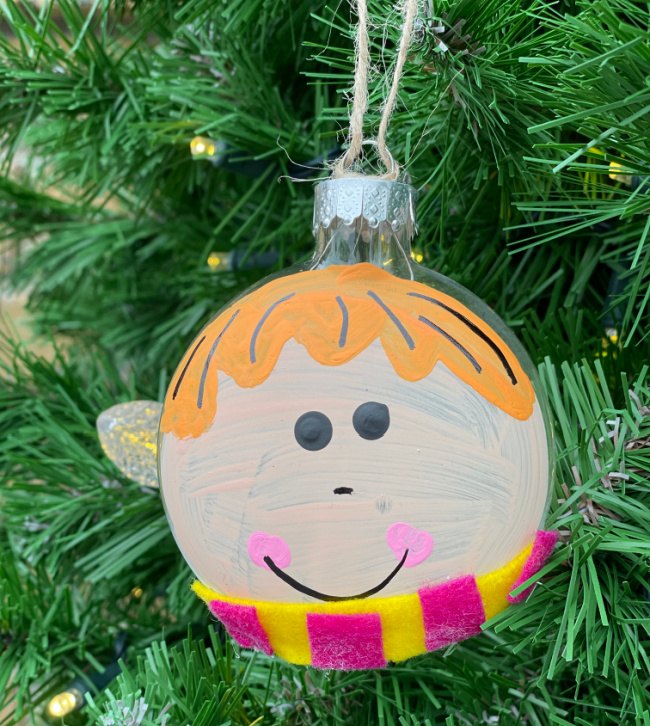
Step Five
Use a paint marker to add mouths and a lightning scar and glasses on Harry. If desired, add felt scarves with fabric glue.
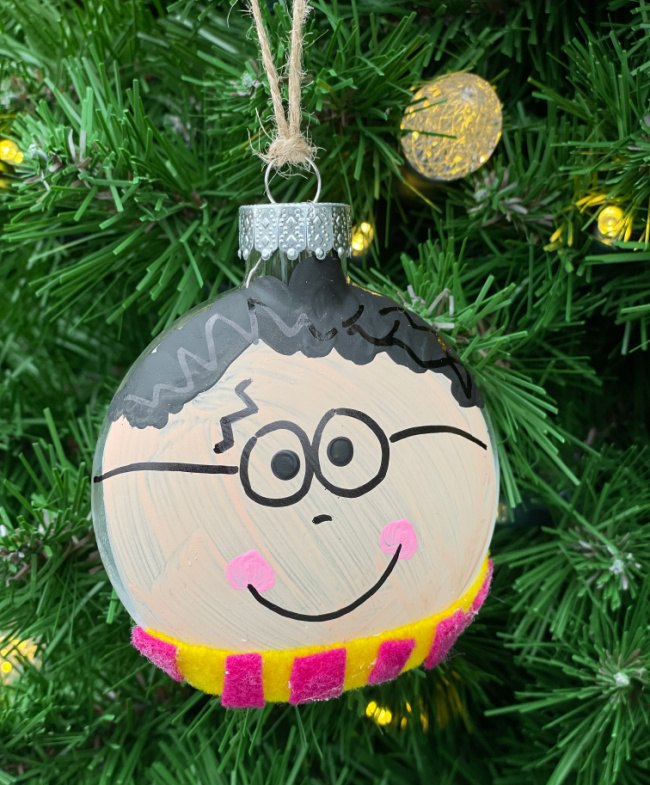
The paint marker is a great way to add details in the hair too. If you want, you can also write a message on the back.
Handmade Ornaments are the best kind. There is just something so special about things that are handmade for the holidays.

Comments
Join the conversation
-
These are darling!
-
Adorable! DecoArt makes a wonderful glass paint which won't chip off over time. Or you can use modge podge or varnish to seal the acrylics.


Frequently asked questions
Have a question about this project?