


How to Make a Burlap Banner in 5 Easy Steps

Learn how to make a burlap banner for your next celebration. Easy to follow instructions to create this one of a kind party decoration.
For more simple and budget-friendly DIY project ideas, be sure to follow us on HomeTalk and visit our blog!
Several years ago when my oldest was graduating from high school we celebrated with a party.
Since I love to entertain we had the party at our house.
I had a lot of fun searching Pinterest for graduation party ideas and decorations.
Of course the food at a party is important but I think the decor is what sets the tone of your celebration!
Don’t you?
It’s the first thing people will notice when they walk in!
Although I made this burlap and ribbon banner for Jake’s graduation party way back in 2016 I was able to use it again in 2020 when Gavin graduated and I plan to use it one more time in 2022 when Emma graduates from the same high school.
Since the banner is made of burlap and ribbon it’s easy to store in a ziploc bag until I need it again.
And honestly, I could use this DIY congratulations banner for any type of party, not just graduation!
You can follow the steps I’ll show you later to make this for any event…just change what your banner says.
It would be fun to make one that says “Happy Birthday” and be able to use it year after year!
Ok enough talking about this burlap banner…do you want to see what it looked like hanging for our parties?
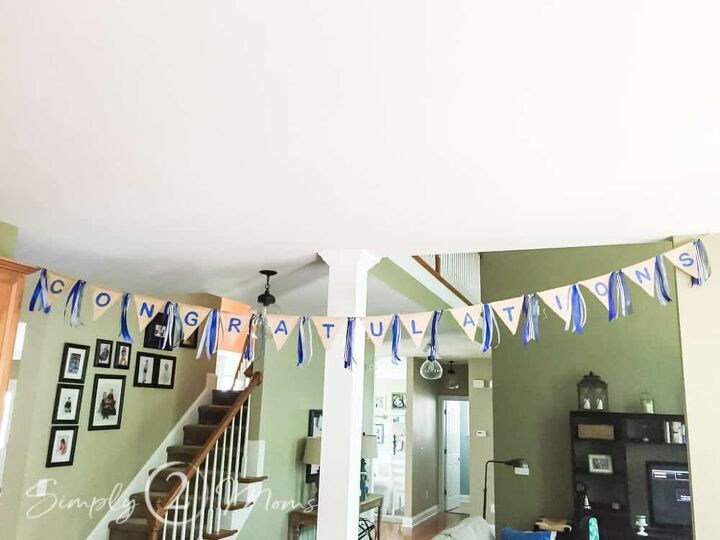
Well as you can see my photography skills have improved a bit from 2016 to 2020 between graduation parties. LOL
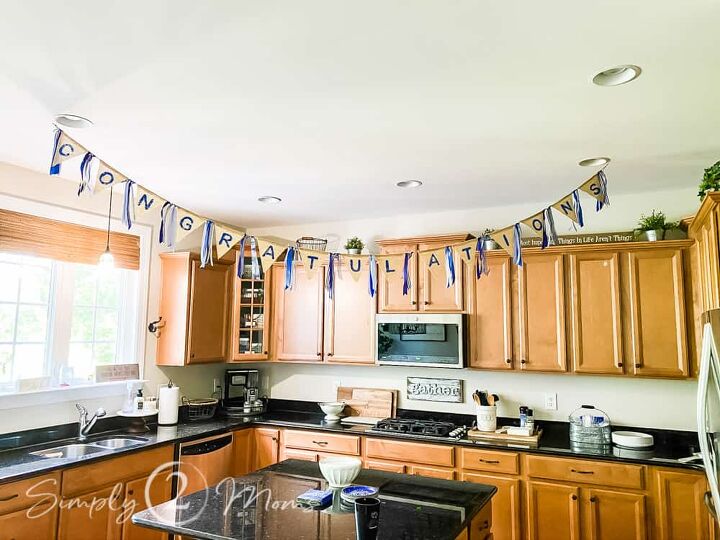
I had hung the banner in the kitchen because that’s where the food was for both of the parties.
And we all know that where the is food is where the guests will be!
But apparently it doesn’t make for very pretty photos strung in the kitchen.
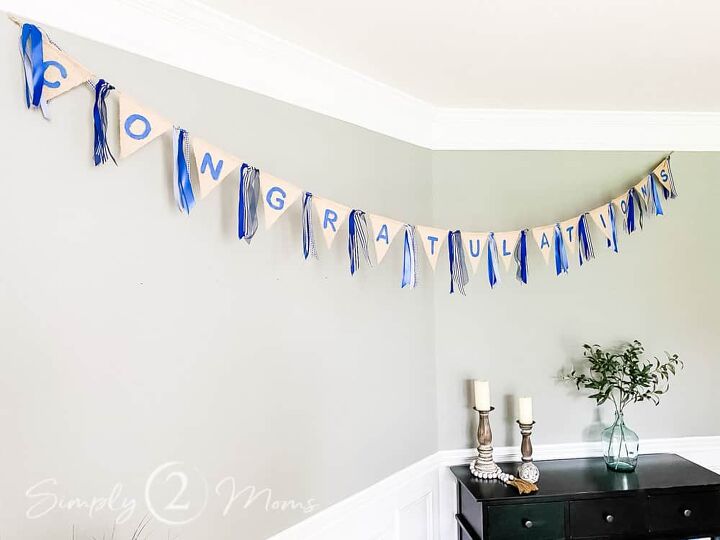
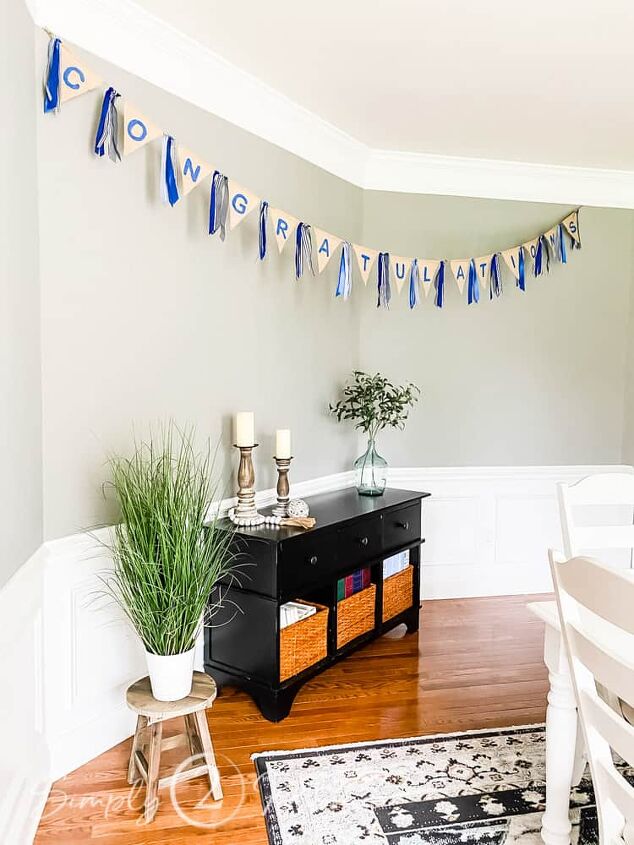
Here is an updated photo of the congratulations burlap and ribbon graduation banner.
How to Make a Burlap Banner
It should only take you about an hour to make this burlap and ribbon banner if you follow these 5 easy steps below.
But first let’s figure out what you’ll need to create your diy graduation party decor.
What Supplies Do I Need to Make a Burlap Banner?
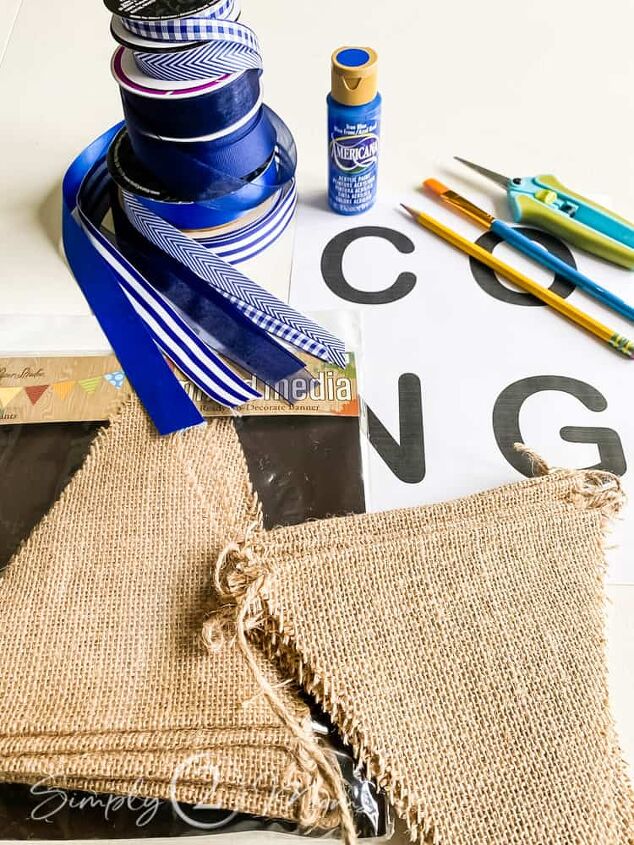
Some of the supplies needed to make your DIY pennant banner you may already have at home.
I had most of the ribbon from my etsy store where I made custom candy buffet tags.
For a graduation party it’s always fun to create the decorations in the graduates school colors.
So it was royal blue and white for us!
Supplies Needed:
- burlap pennant banner
- paint
- paintbrush
- printed letters
- pencil
- ruler
- 6 different ribbon styles
- scissors
Step 1: Create the Letters
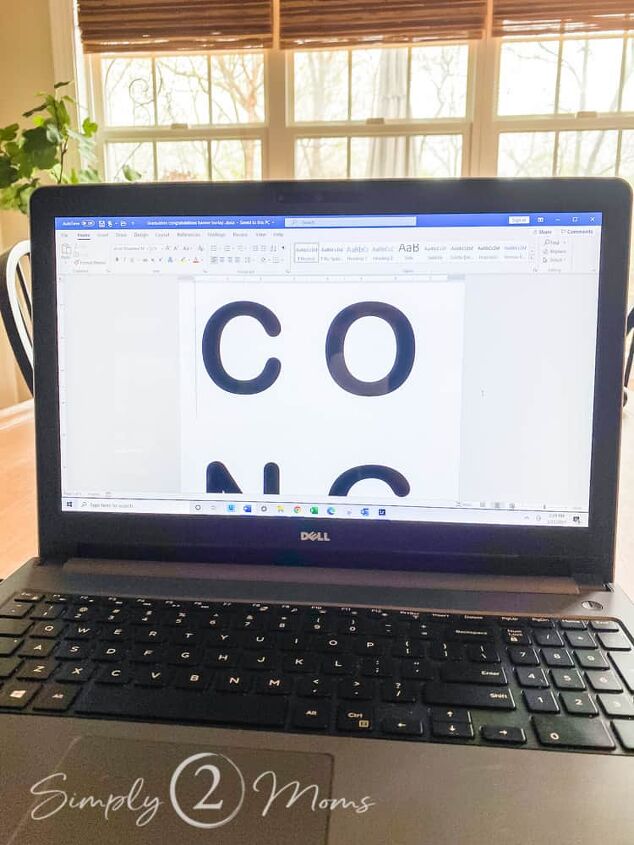
The first step is to print out your letters to create what your banner will say.
Rather than using a stencil that you are limited to the size and font by printing out the letters I was able to use any font and size I wanted.
I created the banner saying in microsoft word on my laptop and was able to fit 4 letters per page by adjusting my margin size to narrow.
If you want use the same font I used it’s Arial Rounded MT Bold and my font size was 275.
Step 2: Trace Letters onto Burlap Banner
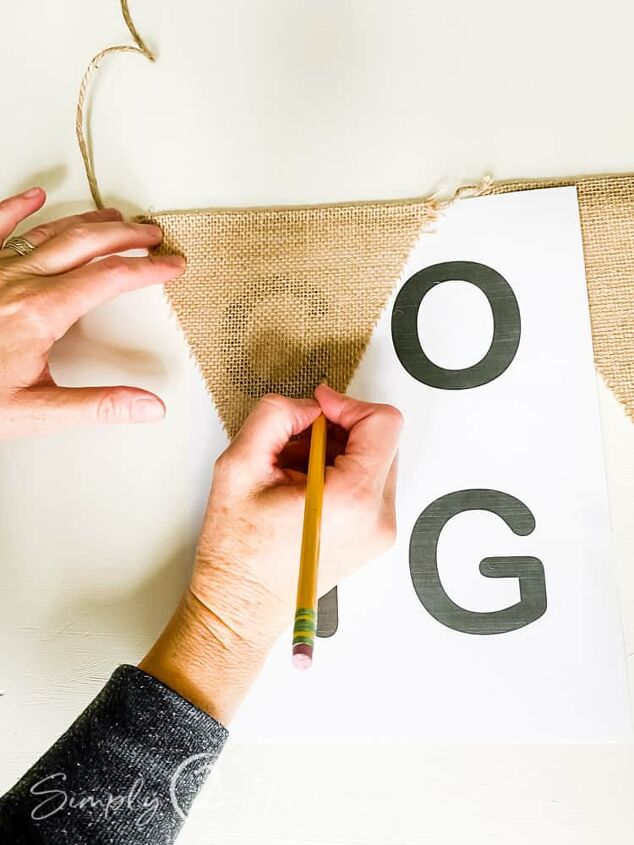
Using a pencil (or something darker if you prefer) you’ll just trace an outline of the letter directly onto the burlap
Do this for each letter of the word you want on your banner…but be sure to do it in order so it’s spelled correctly since each pennant is attached to the next with twine.
Step 3: Paint Letters on each Pennant
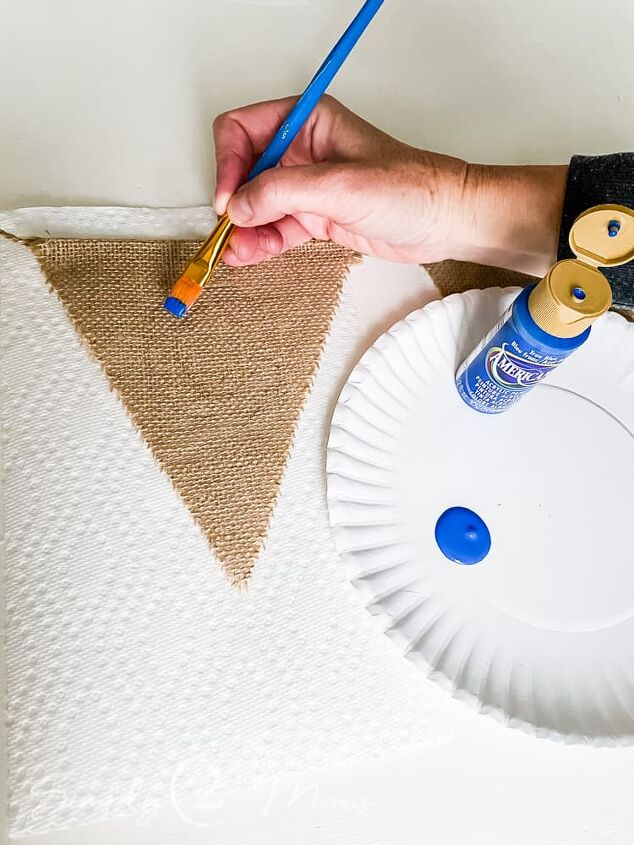
Fill in each penciled letter outline with budget-friendly craft paint.
Be sure to use a paper towel or something underneath since the paint will definitely go through the burlap.
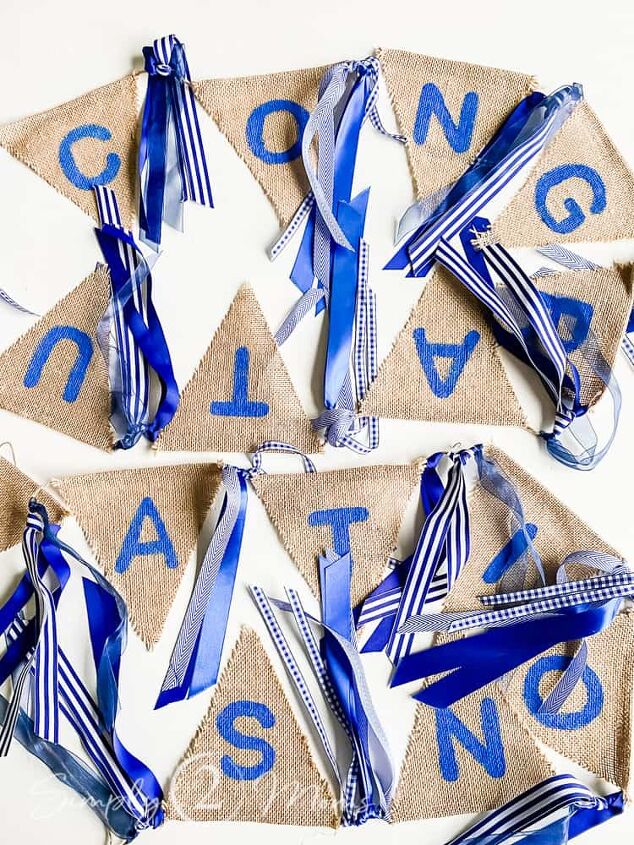
Step 4: Choose & Cut Ribbon
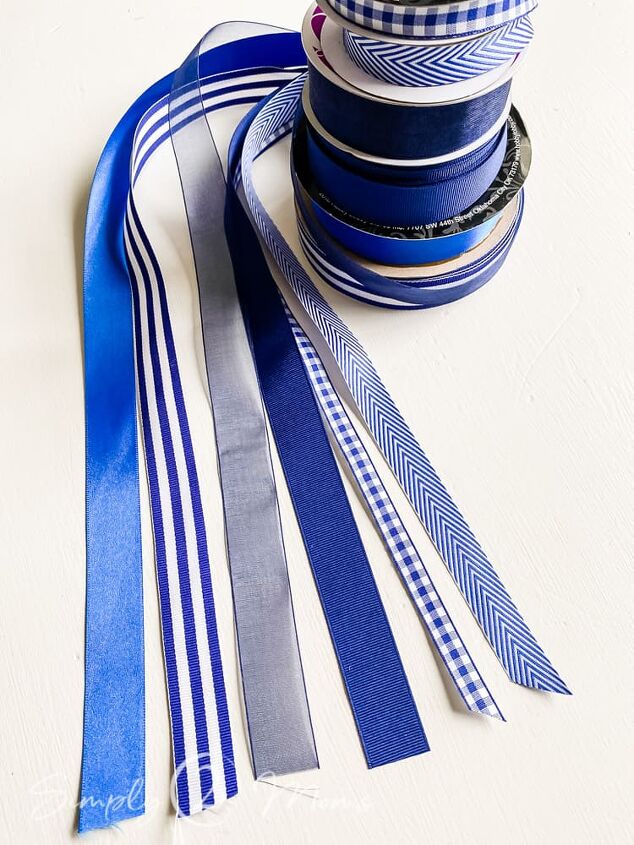
When choosing ribbons for your burlap banner you want to pick different patterns and textures to give more visual interest.
I choose a satin, sheer, and grosgrain ribbon in blue. And a striped, gingham, and chevron patterned ribbon in blue and white.
Get creative and have fun mixing up your ribbon!
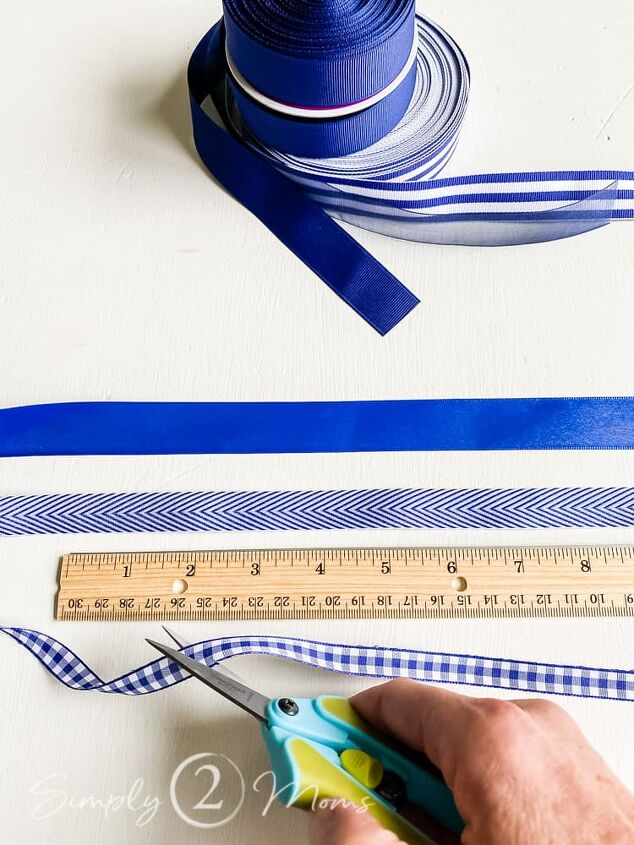
I love these fabric scissors that I bought years ago for scrapbooking since they give me great precision when cutting.
They are so sharp that they are perfect for cutting ribbon.
Each of my pieces of ribbon were cut to 22″ in length.
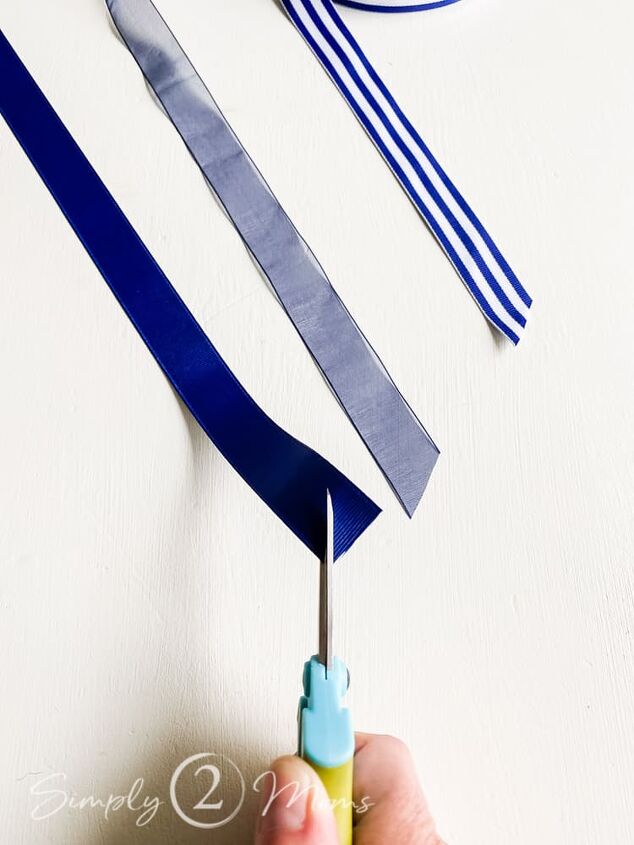
I trimmed the end of each piece of ribbon on an angle to give it a finished edge before attaching it to the graduation banner.
Step 5: Tie Ribbon onto Burlap Banner
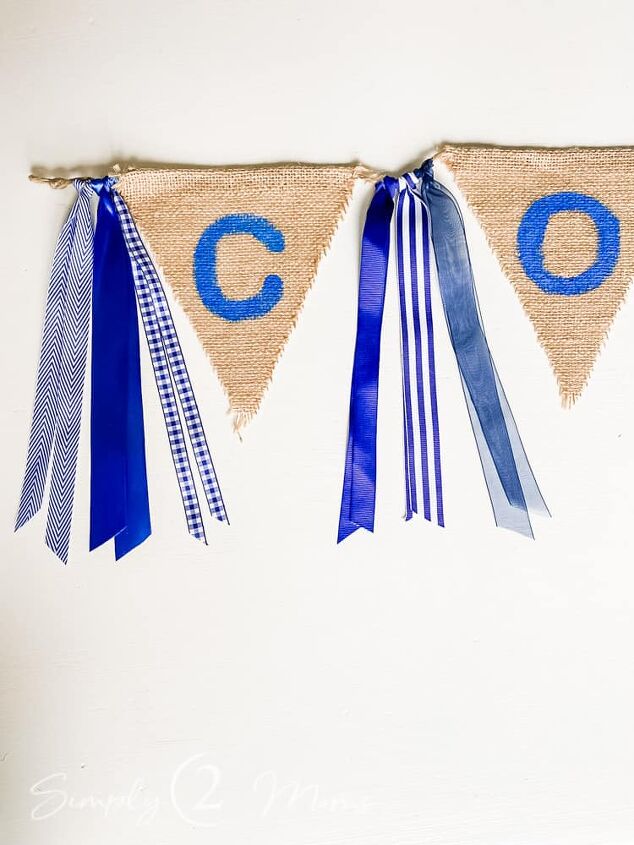
The last step is to simply tie the ribbon in between each burlap pennant using a simple knot so that the ribbons lay straight when the banner is hung.
I used three pieces of ribbon including the cheveron, solid satin, and gingham and tied them before the first letter “C” on the banner.
Then used the other 3 ribbon styles: grosgrain, striped and sheer tied together after the “C”.
Repeating each set of 3 ribbon styles in between each letter until the end of the banner.
The burlap and ribbon banner is perfect for your next party!


Comments
Join the conversation
-
Great banner! I love the ribbons.
-
Materials make so much more special than purchased paper banners. Thanks for sharing


Frequently asked questions
Have a question about this project?