


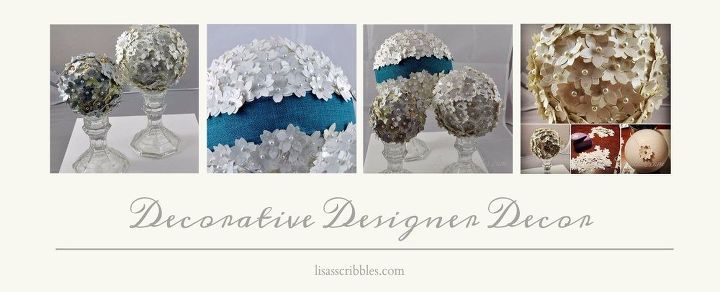
Decorative Designer Decor
4 Materials
Designer Christmas decor? Yes! Rustic Vintage wedding? Yes!
I'm going to admit I have a couple addictions, shoes, and DIY. So whenI get creative things like Decorative Designer Decor coming into being...
I'm going to admit I have a couple addictions, shoes, and DIY. So whenI get creative things like Decorative Designer Decor coming into being...
Some of you may have noticed, but if you haven’t, I’m going to admit that I have a couple of addictions…shoes and DIY. I shouldn’t go into places like Hobby Lobby, DSW or Kohls with a wallet. The temptation is too great–at least that’s what my hubby says, but who listens to your hubby anyway? Okay, sometimes I do, but when falls rolls around and I get the even bigger itch to start creating, it’s a lost cause–or I am. lol

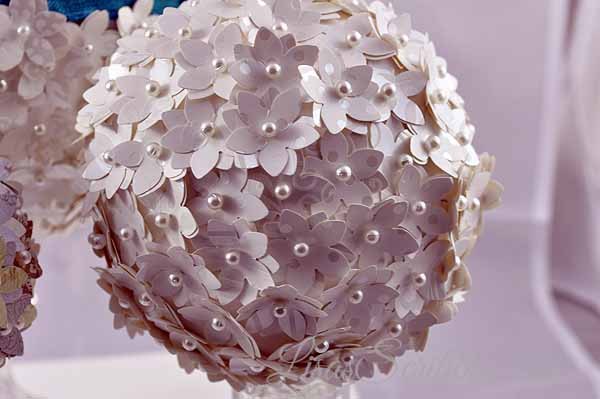
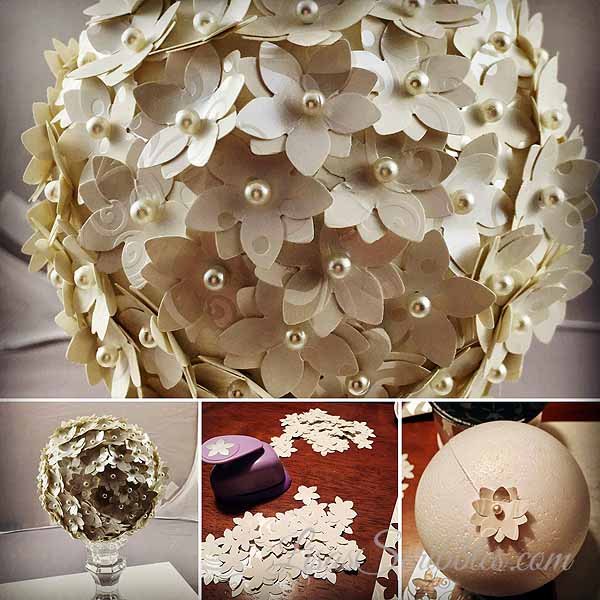
I started with your basic styrofoam balls in various sizes, because who doesn’t like to mix things up a little? I prefer to use the rule of three, or anything odd because it just seems to work together better.
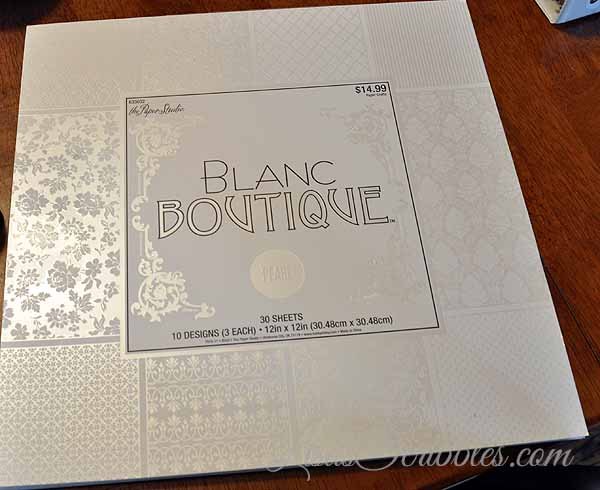
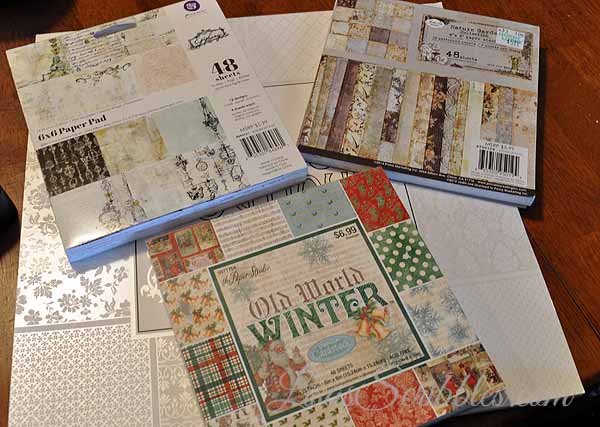
Next up was 12×12 sized paper that came together in a large pad with various designs, along with some decorate 6×6 pads that I chose because I wanted to mix it up a little.
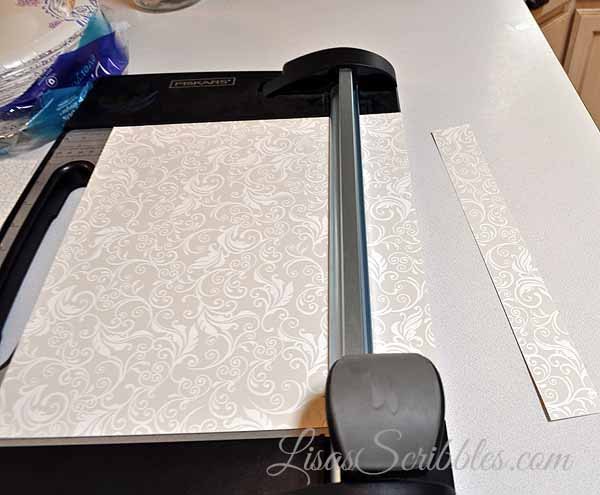
I already had my handy dandy flower paper punch and found that cutting the 12×12 paper down to strips of 1.5 inches worked well with my punch to get the most flowers out of it without too much trouble or waste. But yes, there will be waste on the paper, you can’t get around it or at least I didn’t because my time is more valuable than paper.
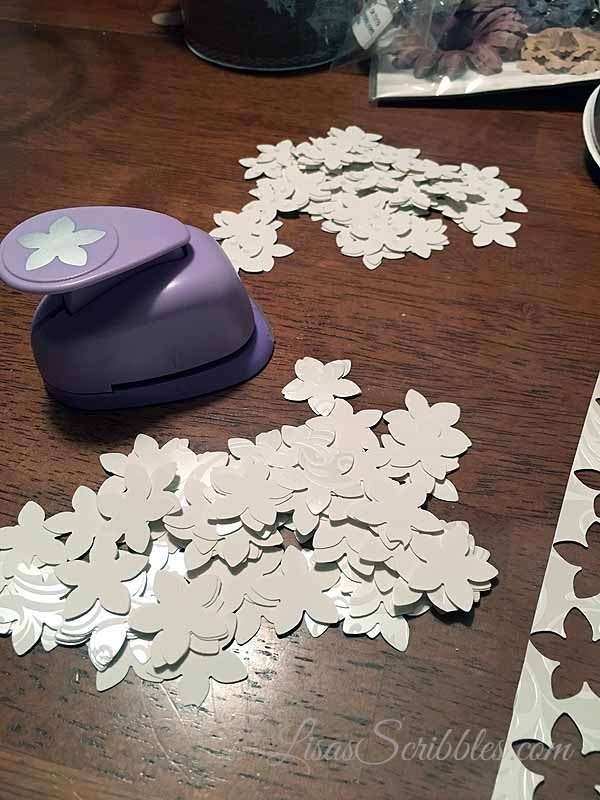
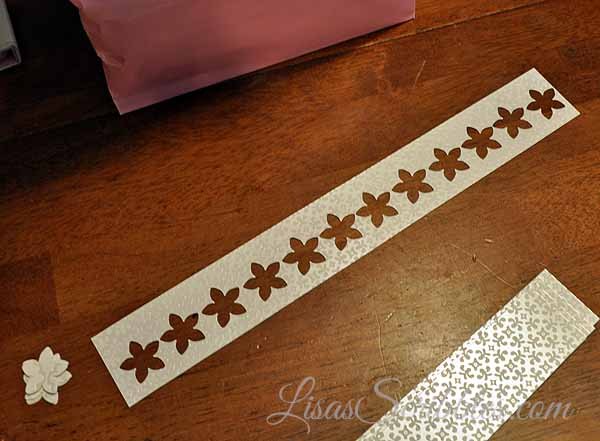
It also lined up perfectly with my punch so I could move through the stacks quickly.
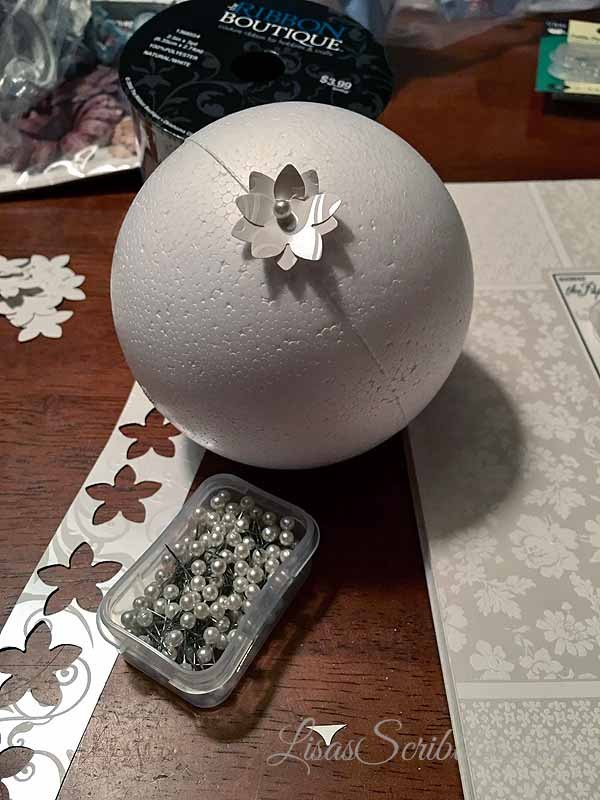
I gathered up petite pearl topped pins, which I purchased from Hobby Lobby as well, and placed two cut flower pieces together to form a 3D flower. I poked the pin through the center and bent the flower forms forward to give them a more realistic appearance along with turning the flowers slightly, so it appeared full.
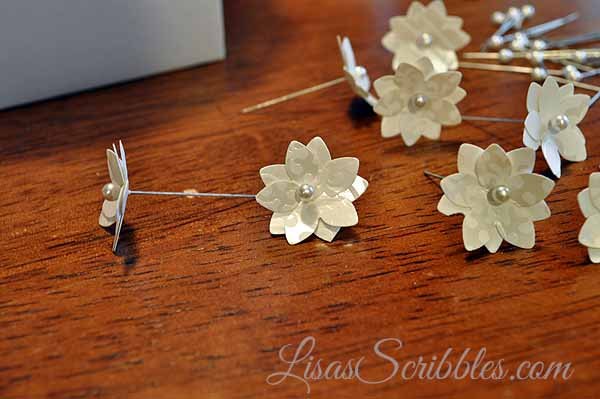
And yes I poked myself a few times while doing this, but in my defense, I was watching TV at the time and wasn’t looking down. I’m calling it multitasking; the hubby calls it something else, but we won’t go there because no one wants a hubby’s head to get too big because they were right.
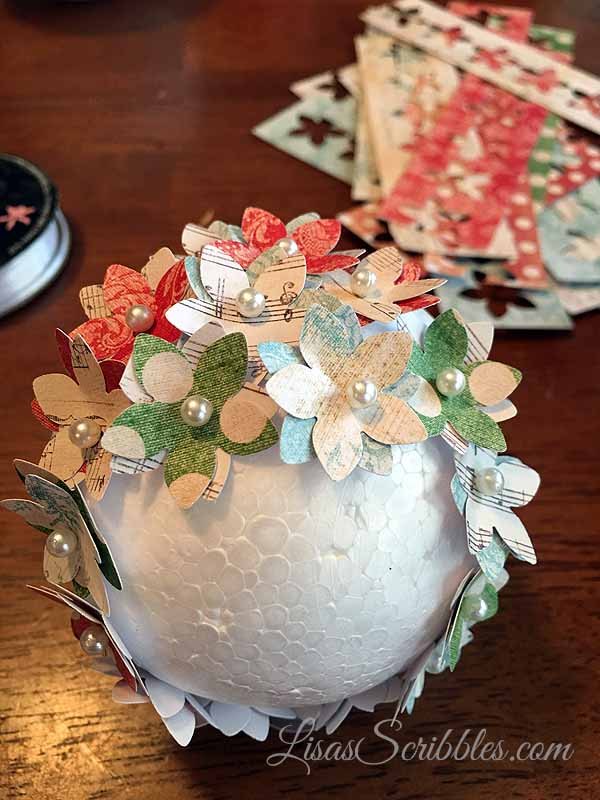
I also found that it worked best to keep it more uninformed, so I didn’t waste too many overlapping flowers by creating a circle around the ball first. I then created a second circle breaking it up into fourths.
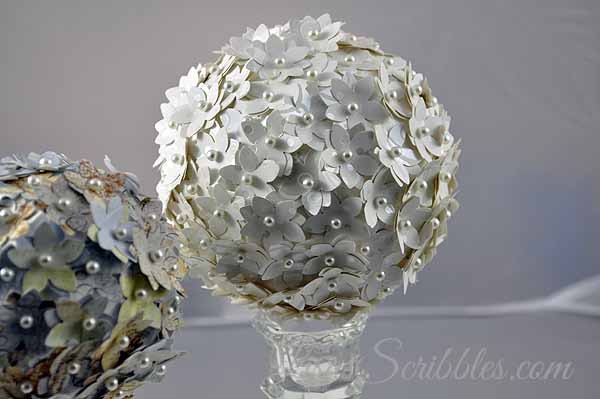
Adding in the pinned flowers from there went pretty quick as I just visually spaced them with some overlapping pieces. I purposely purchased white styrofoams balls so it’d be less noticeable if there were any gaps.

And the end result? Well, you tell me what you think, but we all know I wouldn’t be sharing this post if it didn’t turn out beautifully. Now I’ve got some Christmas decor as well as Rustic Vintage Wedding Centerpieces.
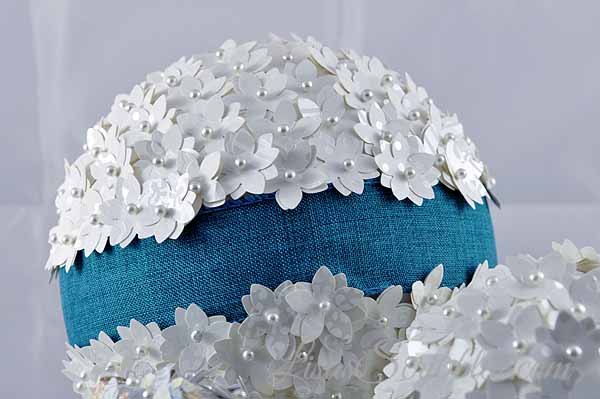
I'm likimg the strip of blue ribbon, what about you?
Yup, from nothing to something. Enjoy this little piece of heaven like I did. And watch for my Christmas DIY posts and I’ll show you how you can turn them into ornaments as well. Check out my blog post for more pics.

Want more details about this and other DIY projects? Check out my blog post!
Comments
Join the conversation
2 of 89 comments
-
What a lovely idea. It's one of those "why didn't I think of that?!" times. Am thinking that these on ribbons perhaps made with photocopied carols would sell at our church's next Christmas bazaar. Thank you so much for the inspiration.😊👍
-
Hi Lisa, What a BEAUTIFUL and different looking styrofoam ball craft. Thank you so much for sharing❣️


Frequently asked questions
Have a question about this project?