


How to Make a DIY Bath Tray Out of a 1x12 Pine Board

I'm going to guide you through the process of creating your very own DIY bath tray from a humble 1x12 pine board. Get ready to elevate your bathtime experience with this simple and stylish addition. Let's dive in!
Tools and materials
- 1x12 pine board (purchased from Lowe's)
- Wood glue
- Clamps
- Miter saw
- Table saw
- Sandpaper
- Stain of your choice
How to make a bath tray
Step 1: Gather Your Materials
First things first, make sure you have all your materials ready. Head over to Lowe's and grab a 1x12 pine board. This will be the foundation of your beautiful bath tray.
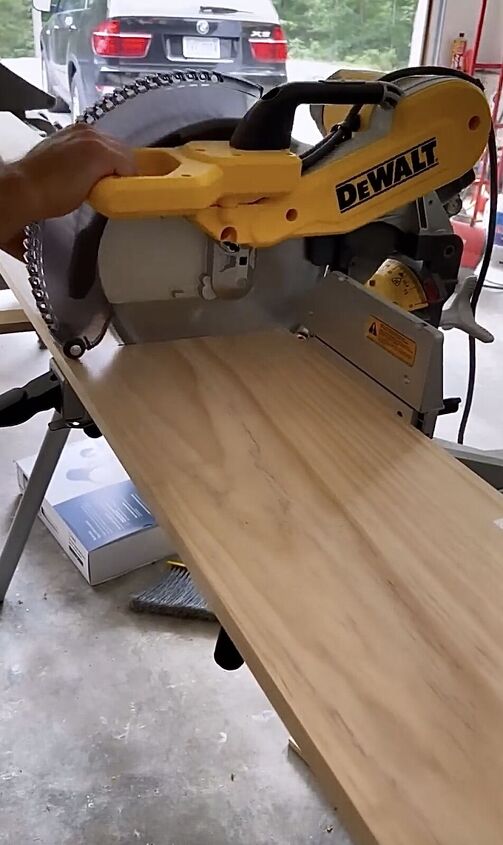
Step 2: Measure and Cut
Measure the dimensions of your tub and cut two boards from the pine to match that size. This will give your tray a bit more thickness for added sturdiness. Precision is key here!
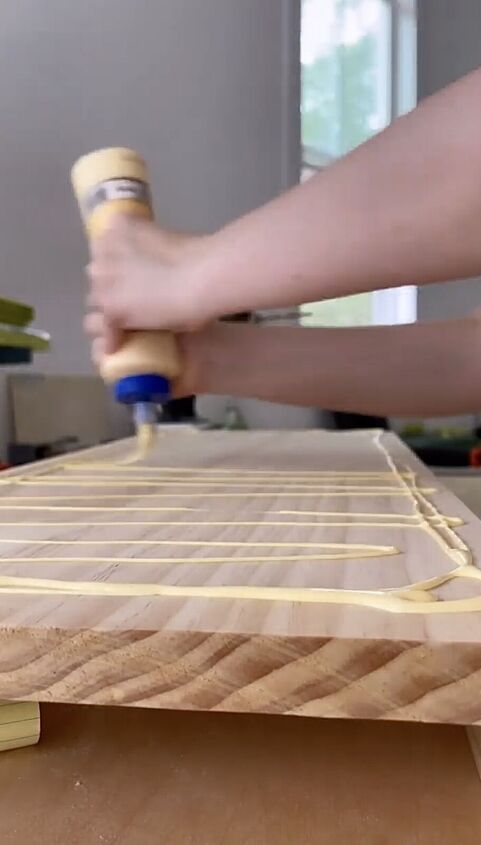
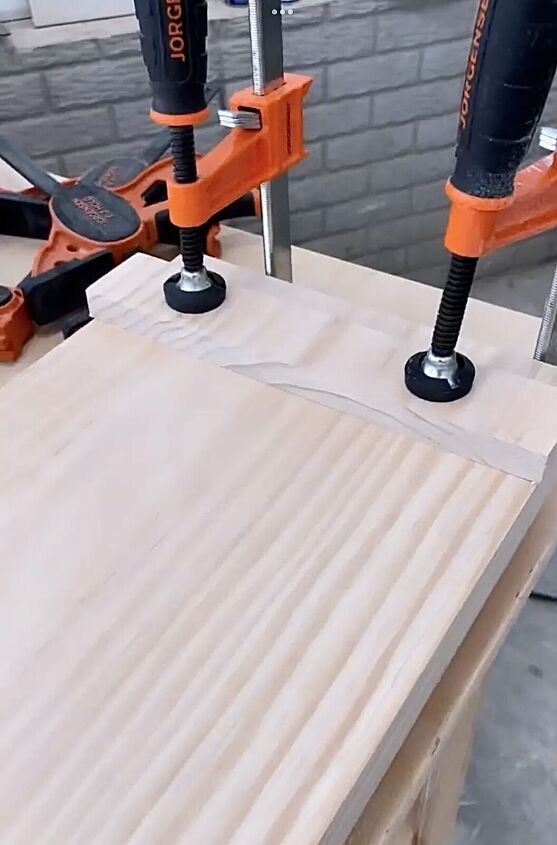
Step 3: Glue and Clamp
Apply a generous amount of wood glue between the two boards, sandwiching them together.

Use clamps to hold them in place securely. Let the glue set for a solid 24 hours to ensure a strong bond.
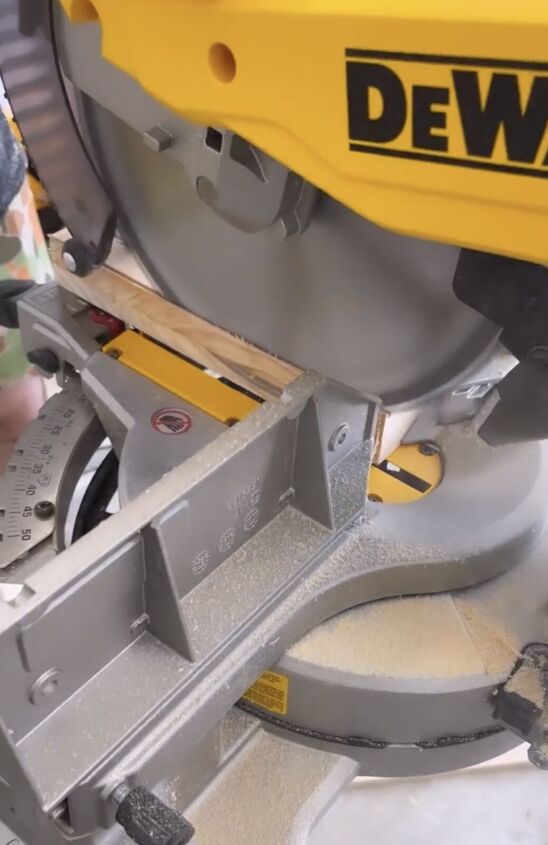
Step 4: Trim with Miter Saw
Once the glue has fully dried, it's time to clean up the edges. Grab your miter saw and carefully trim any excess wood to achieve a smooth and polished look.
Use a table saw to perfect the ends of your tray. This step ensures clean lines and a professional finish. Take your time and let the tools do the work.
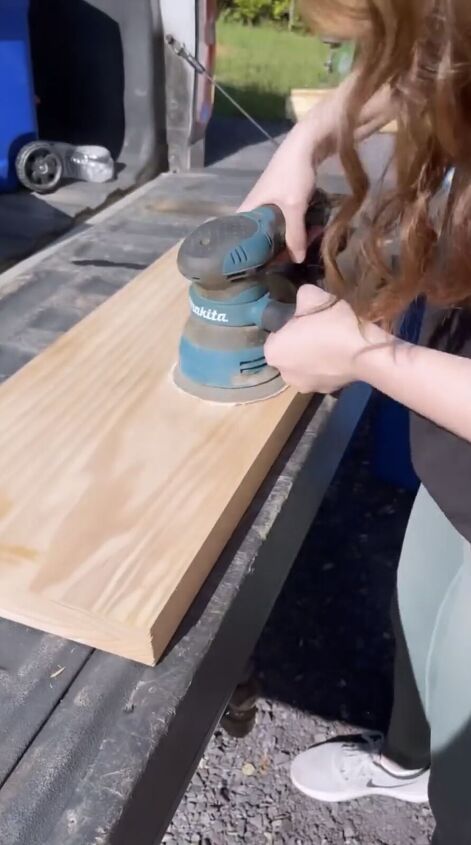
Step 5: Sand It Smooth
Give your tray a good sanding to create a silky smooth surface. Focus on eliminating any rough edges or imperfections. This will not only enhance the aesthetics but also prevent any splinters during use.
Step 6: Add Legs
Cut two smaller pieces from the pine board to serve as legs for your tray. Apply wood glue and affix them to the bottom of the tray. This will raise your bath tray slightly, providing a stylish and functional touch.
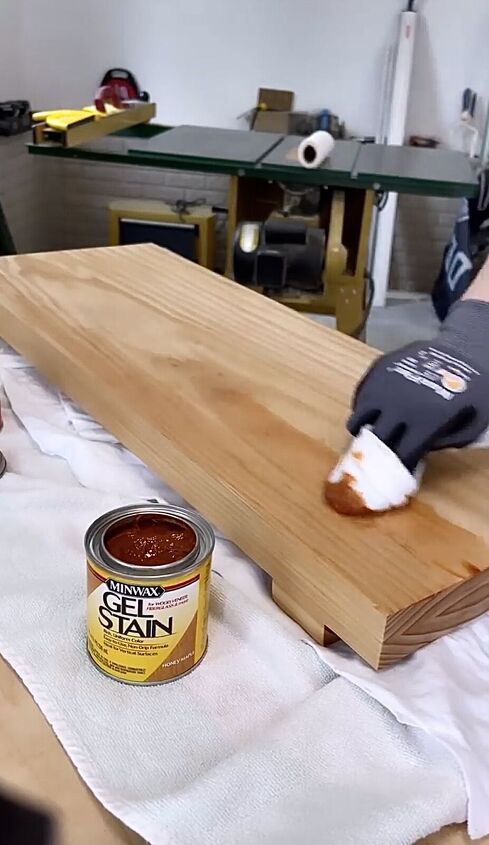
Step 7: Stain the Tray
Choose a stain that complements your bathroom decor and apply it evenly to the entire tray. Follow the instructions on the stain for the best results. Allow it to dry completely before moving on to the next step.
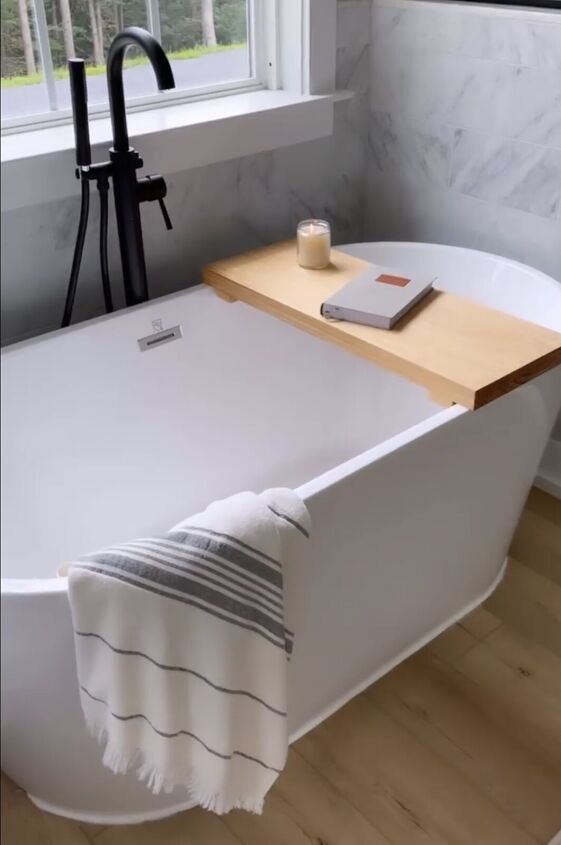
Place your tray over the tub, load it up with your favorite book, a glass of wine, or some scented candles, and indulge in some well-deserved self-care.
DIY bath tray
You've just crafted a stunning DIY bath tray that's sure to turn your bath time into a luxurious experience. What DIY project are you working on? Share your ideas and plans in the comments below.
Follow @kristina.roy on Instagram for more DIY ideas.


Frequently asked questions
Have a question about this project?