


Old Mirror Makeover: How to Upgrade a DIY Mirror Frame

Today, I'm excited to share my makeover DIY mirror frame project in a step-by-step tutorial. I know, it might seem tempting to just buy a new mirror, but there's something incredibly satisfying about giving a neglected item a fresh lease on life.
I recently tackled an old mirror that had been languishing under our bed for years, gathering dust. It was time for a change, and I'm thrilled to guide you through the process of stripping, sanding, white-washing, and staining to create a beautiful new look.
Trust me, the transformation is well worth the effort!
Tools and materials
- Old mirror
- Sandpaper (medium and fine grit)
- Paint stripper
- Plastic scraper
- Safety goggles and gloves
- Clean rags or paper towels
- White-wash paint or primer
- Wood stain of your choice
- Paintbrushes (one for white-washing, one for staining)
- Drop cloth or old newspapers
- Optional: protective finish (polyurethane or clear sealant)
Steps
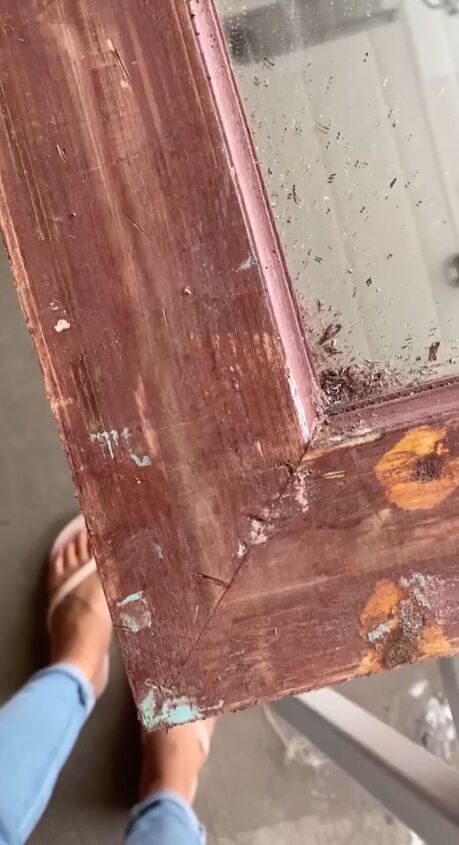
Step 1: Strip the Old Finish
Begin by protecting your workspace with a drop cloth or old newspapers. Put on your safety goggles and gloves to ensure your safety. Apply a generous layer of paint stripper to the mirror frame, following the product instructions.
Let it sit for the recommended time, which usually ranges from 15 to 30 minutes. The old finish should start to bubble and loosen.
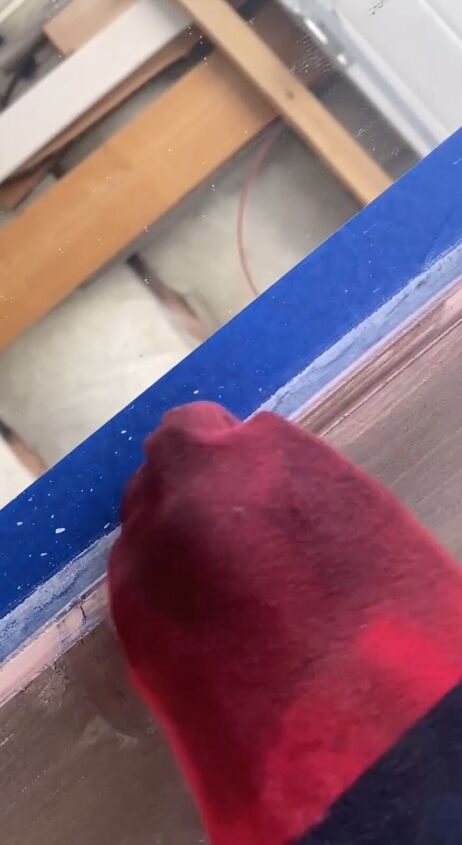
Step 2: Remove the Old Finish
Using a plastic scraper, gently scrape away the loosened old finish. Be careful not to damage the wood underneath. Wipe off any residual paint stripper with clean rags or paper towels. Repeat this process until you've removed all traces of the old finish.
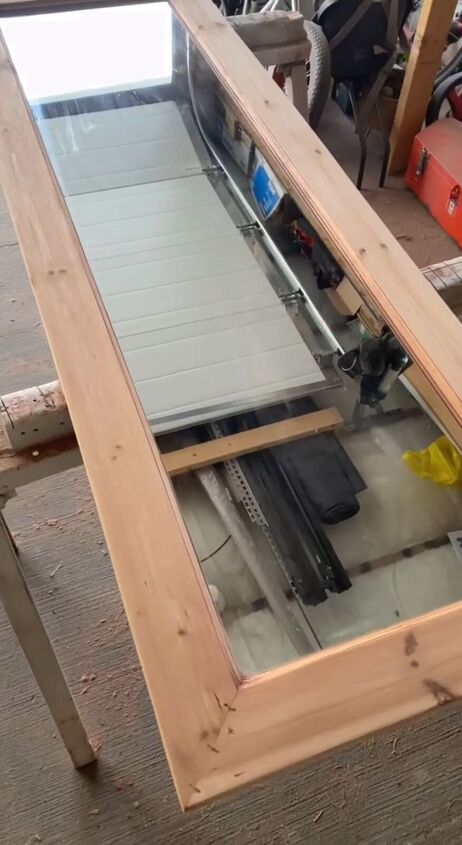
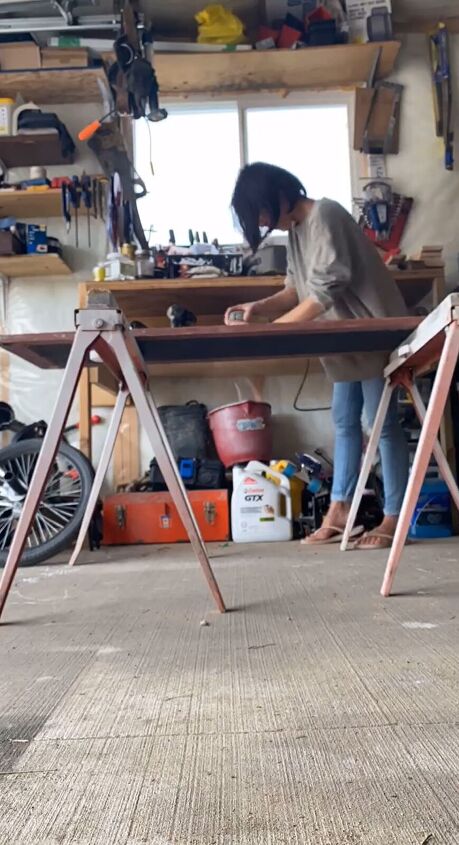
Step 3: Sand the Surface
Grab your medium-grit sandpaper and start sanding the entire frame. This step helps to smooth out any rough patches and prepares the surface for the new finish. Once you're satisfied with the smoothness, switch to the fine-grit sandpaper and sand again for a silky finish. Remember to wipe away any dust with a clean rag.
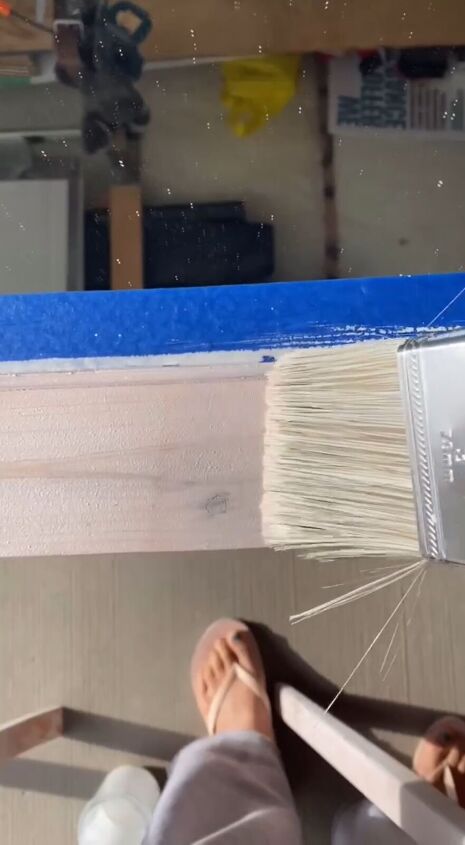
Step 4: White-wash the Frame
Time to add that rustic touch! Dip your paintbrush into the white-wash paint or primer and then wipe off excess on a rag. Lightly brush the frame in the direction of the wood grain, allowing some of the natural wood to show through. This creates a charming, weathered effect. Let the whitewash dry completely according to the product's instructions.
Step 5: Stain for Depth and Richness
Now comes the fun part – staining! Choose a wood stain that complements your space. Dip your staining brush into the stain and apply a thin, even coat to the frame.
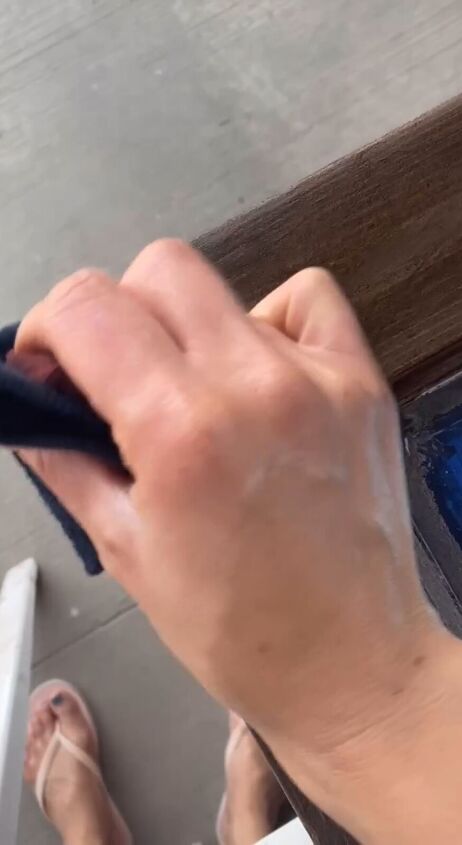
You can always add more coats for a deeper color, so start conservatively. Remember to follow the stain manufacturer's instructions for drying time between coats.
How to makeover a DIY mirror frame
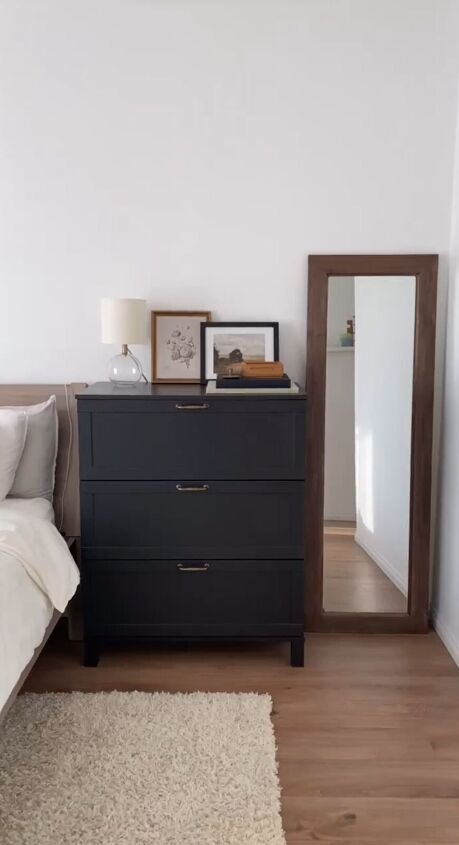
There you have it – a stunning upcycled mirror that went from forgotten to fabulous! This mirror makeover might take a little time and effort, but the end result is undeniably worth it.
Each step, from stripping away the old finish to applying the final coat of stain, contributes to the mirror's unique character. So next time you come across a neglected item, consider giving it a new life through upcycling.
I hope you enjoyed following along with my journey as much as I enjoyed sharing it. Happy DIY-ing!
Follow @home_ironandmaple on Instagram for more DIY ideas.


Frequently asked questions
Have a question about this project?