


How to Make a Textured DIY Pedestal Bowl With Baking Soda
Hey there, DIY enthusiasts! In this step-by-step tutorial, I'll guide you through the process of creating a charming DIY pedestal bowl using a few inexpensive materials. Whether you're a seasoned crafter or just starting out, this project is a fantastic way to repurpose old household items into a stylish centerpiece.
So, gather up a cheap bowl and cup or find some forgotten pieces lying around your house, and let's get started on this fun and creative DIY adventure!
Tools and materials
- Cheap bowl and cup (or old ones you have lying around)
- Strong adhesive glue
- White acrylic paint
- Baking soda
- Paintbrush
- Mixing container
- Protective covering for your workspace

Steps
1. Prepare your materials
Before diving into the project, make sure you have all the necessary materials at hand. Find a bowl and cup that you'd like to use for this project. These could be old ones you no longer need or affordable options from a thrift store.
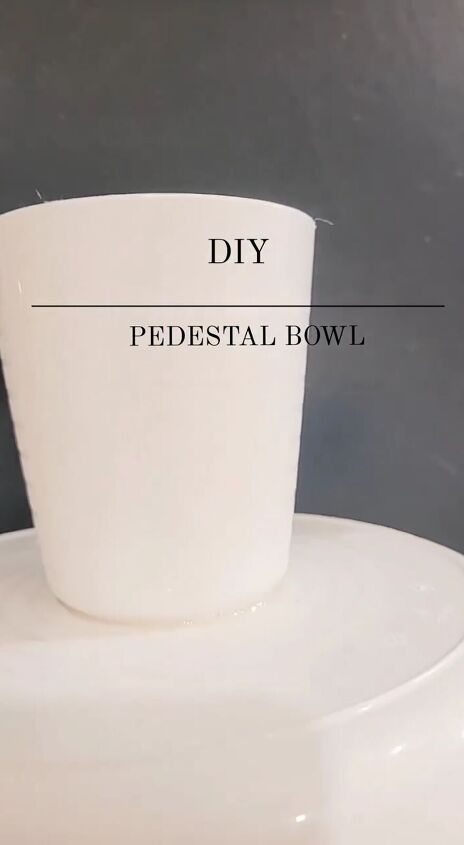
2. Create the pedestal base
Take the cup and apply a generous amount of strong adhesive glue to the bottom of it. Carefully press the glued bottom of the cup onto the center of the base of the plate. Hold it firmly in place for a minute or two to ensure a secure bond. Allow the adhesive to dry completely, following the manufacturer's instructions.
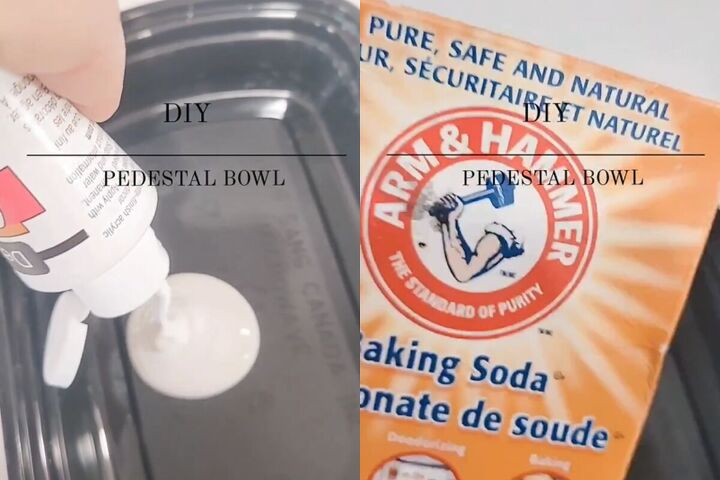
3. Mix the paint and baking soda
In a mixing container, combine white acrylic paint with baking soda. The baking soda not only adds texture but also helps create a matte finish on the surface of the pedestal plate. Start with a small amount of baking soda and gradually add more until you achieve a consistency that's easy to work with and provides the desired texture.
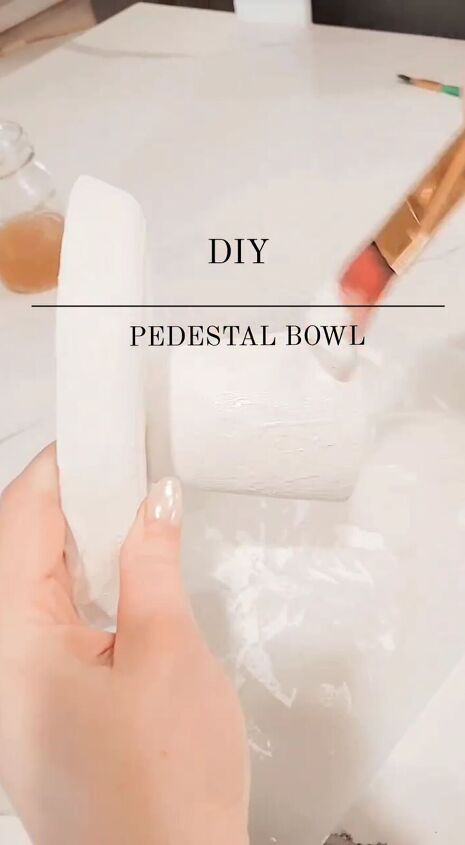
4. Apply the paint mixture
Using a paintbrush, generously apply the paint and baking soda mixture to the entire surface of the bowl and cup. Make sure to cover them evenly, paying attention to any intricate details or patterns. This step might require a few coats to achieve the desired texture and coverage. Allow each coat to dry before applying the next one.
5. Let it dry
Once you're satisfied with the texture and appearance of your pedestal plate, place it in a well-ventilated area to dry completely. This may take a few hours, so exercise patience to ensure a flawless finish.

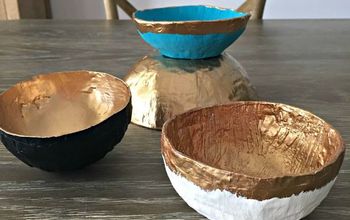
6. Display your creation
Once the paint has dried and your pedestal plate is ready, find the perfect spot to showcase your masterpiece! Whether you use it as a decorative centerpiece, a display for small trinkets, or even a unique serving dish, your DIY pedestal plate is sure to grab everyone's attention and spark conversations.
DIY pedestal bowl
There you have it—an elegant and budget-friendly pedestal plate that adds a touch of sophistication to your home decor. By upcycling old items and using a little creativity, you've transformed ordinary pieces into a stunning centerpiece. So, go ahead and proudly display your creation, and don't be surprised when your friends and family ask where you found such a charming addition to your home!
Remember, crafting is all about expressing your unique style, so feel free to experiment with different paint colors, textures, and designs to make this DIY project truly your own. Have fun and happy crafting!
Follow @createdbyfarran on Instagram for more DIY ideas.


Frequently asked questions
Have a question about this project?