


Framed Canvas Art

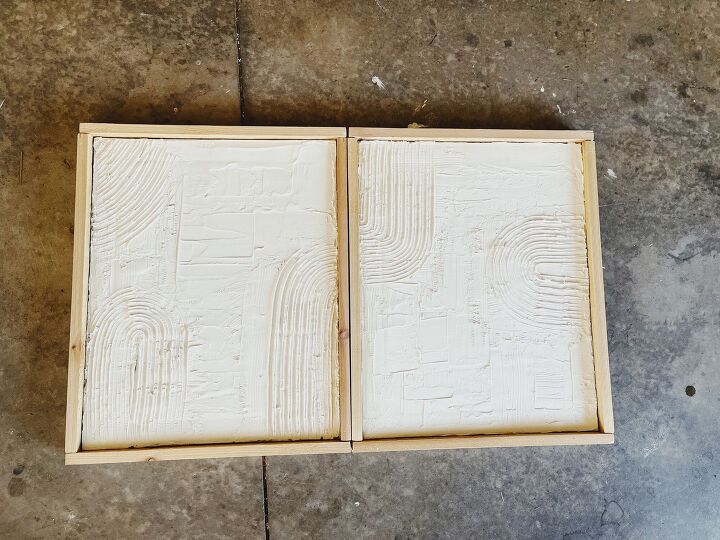
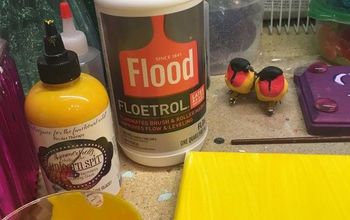
I DIYed some canvas art and loved the way it turned out! I wanted to take it another step and add frame around it to make it look more complete! I grabbed some cheap wood from Home Depot and some nails and got to work!
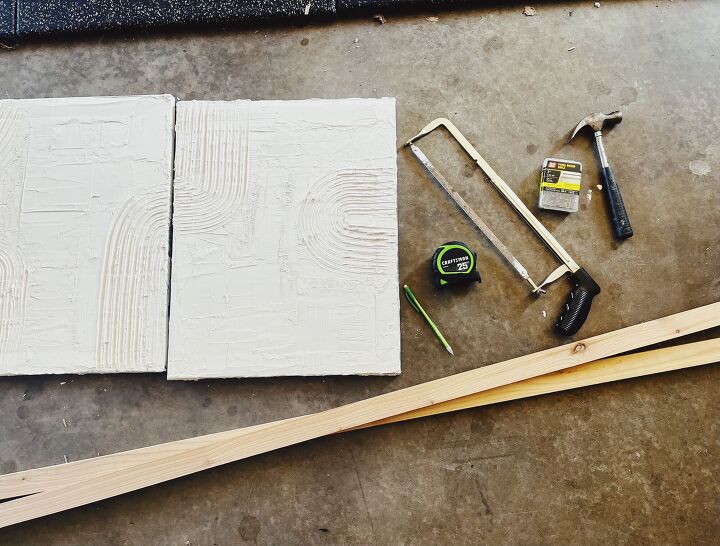
Materials Needed -
Canvas Art
Wood
Finishing Nails
Hand Saw
Hammer
Tape Measure
Pencil
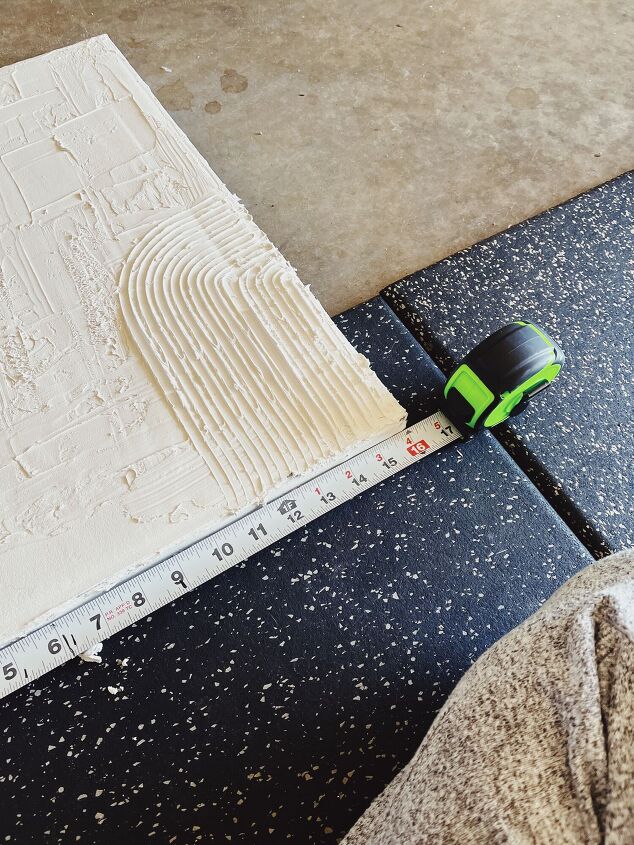
Step One - Measure Art
My canvas was 16" by 20" and I had 2. I needed at least 144" of length. I added an inch to each end for some wiggle room and went to the hardware store needing at least 152 inches of wood. My canvas was roughly 1 inch thick, so I also kept that in mind.
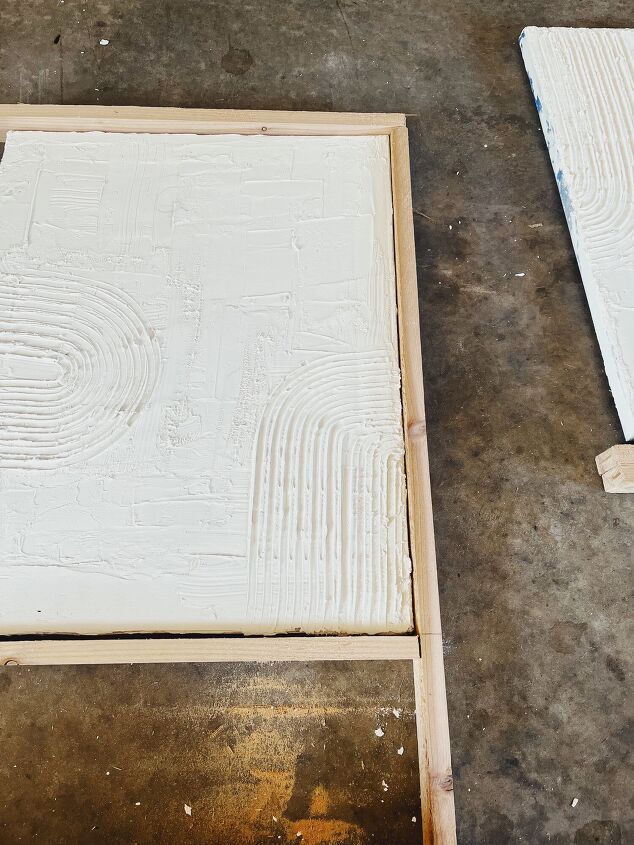
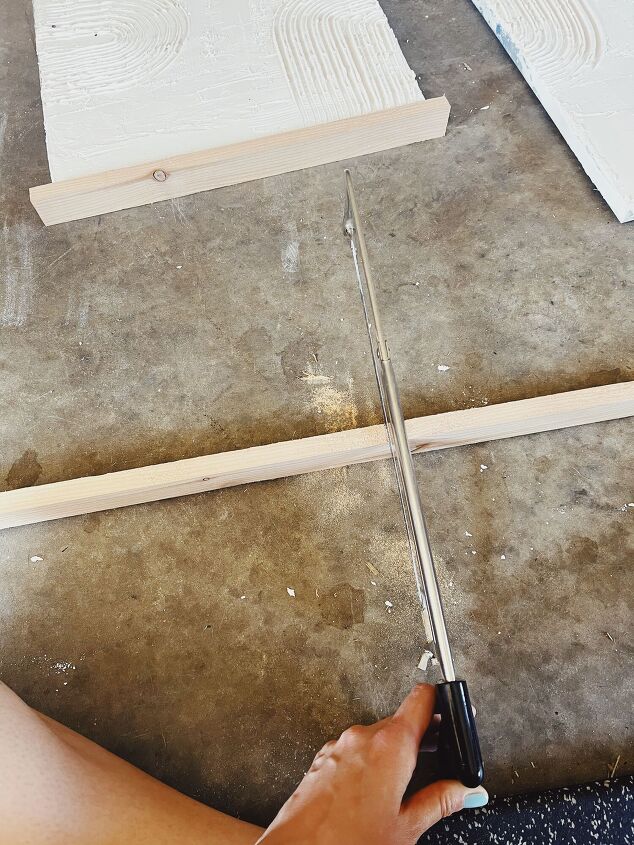
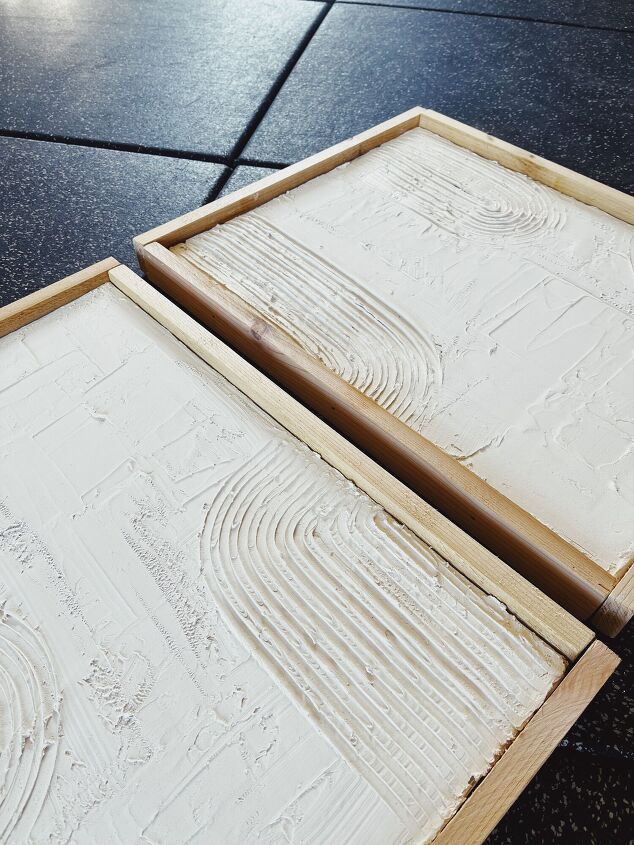
Step Two - Measure with Wood
I decided to cut the top and bottom pieces the same and side pieces to be the same. I first cut the top and then got the measurement for the side pieces. I did this by simply placing the board next to the art with the top and bottom pieces sitting there.
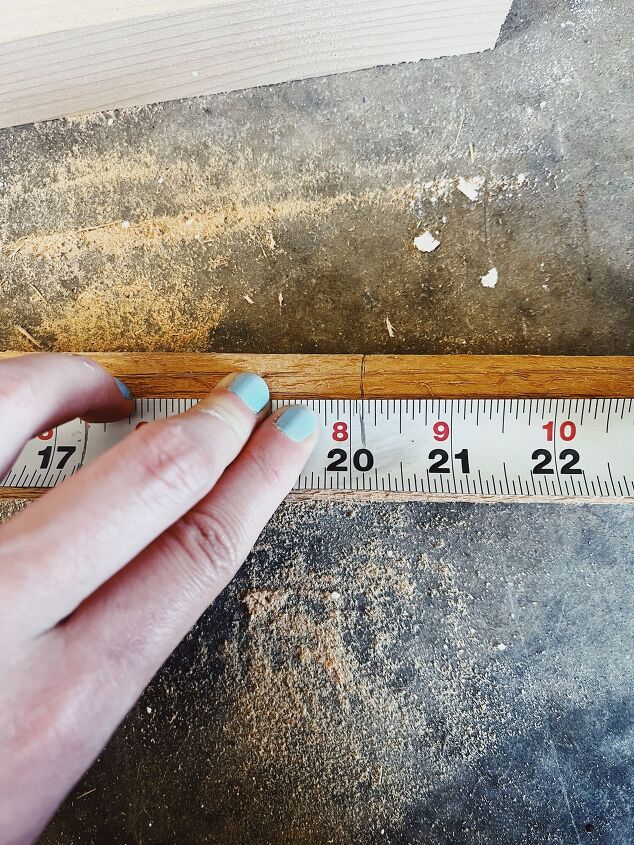
Tip for measuring -
whenever I measure something I get the exact measurement I need and make a little mark with a pencil. Doing this is just a fool proof way of not forgetting the exact measurement.
Step Three - Cut Wood
Once I got the wood in the dimensions I needed, I got to cutting!
The size and type of wood are completely up to you! I went with the cheapest wood I could find, it cost around $7 a piece, I needed two. I went with 1"x2"x8' piece of cedar board.
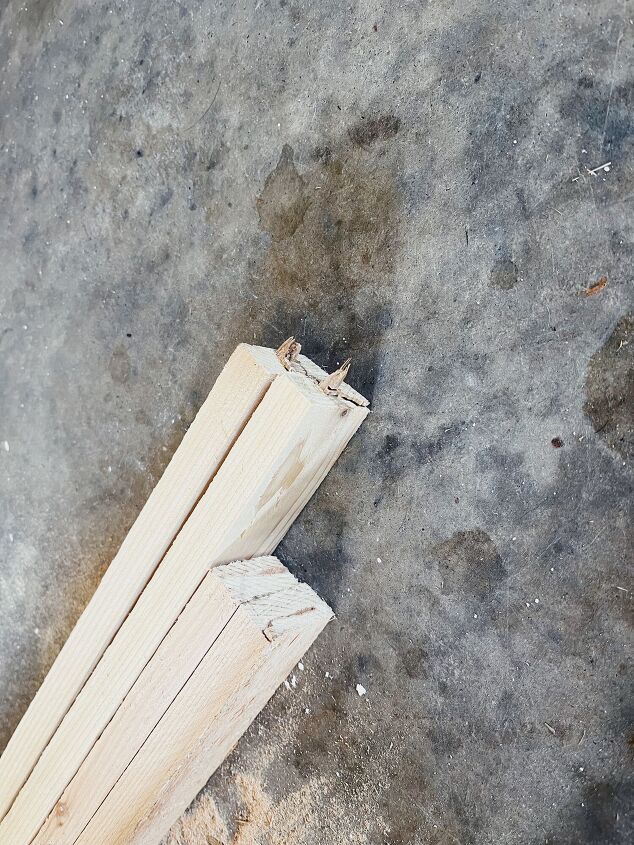
This is what the board looked like after cutting. Wasn't the best cut, but hey I had a baby in the baby carrier taking a nap while I was doing this. I think I did a good job, and it's nothing I can't fix!
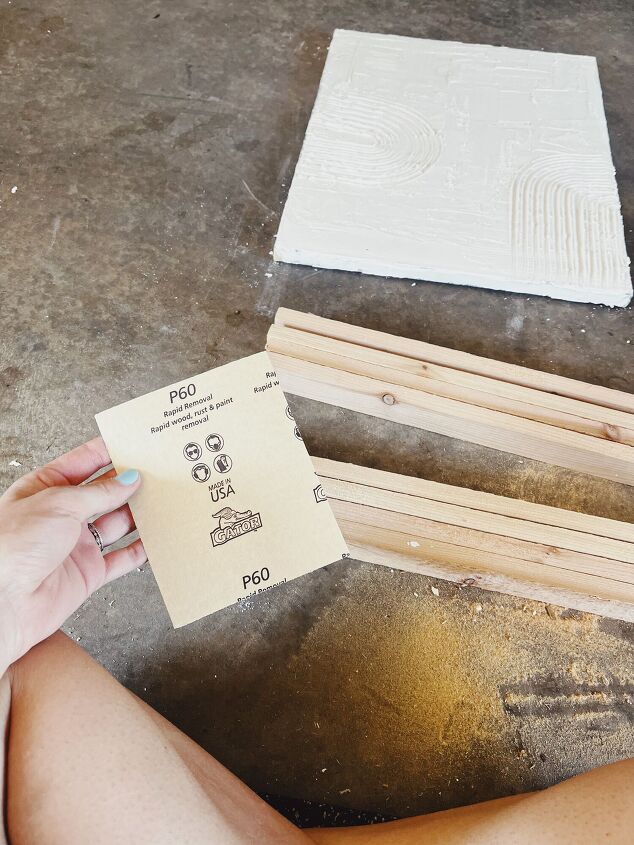
Step Four - Sand
This step is going to be optional - Depending on how well you cut your wood, you may or may not need to sand. I didn't cut my wood perfectly straight or anywhere near perfect so I grabbed some 60 grit sand paper and sanded it down to be more straight.
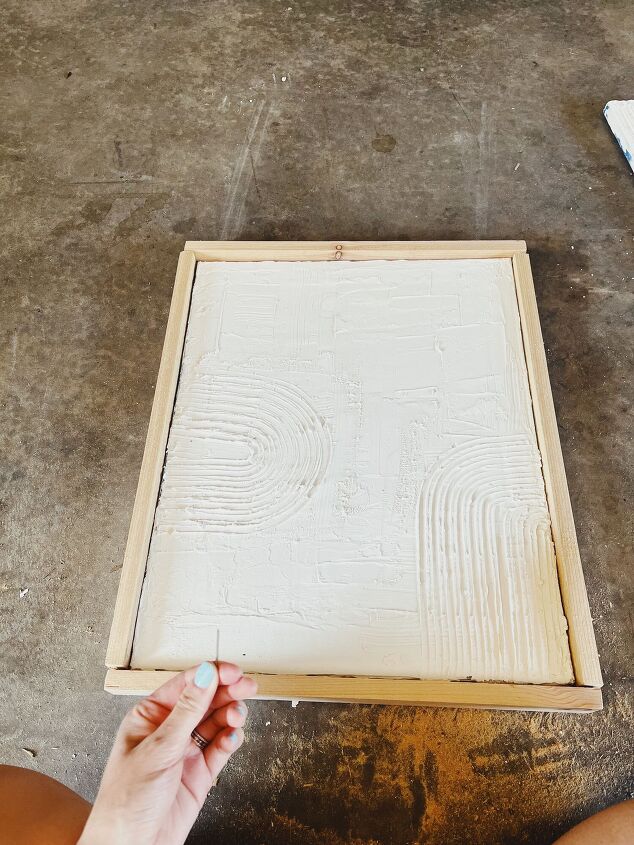
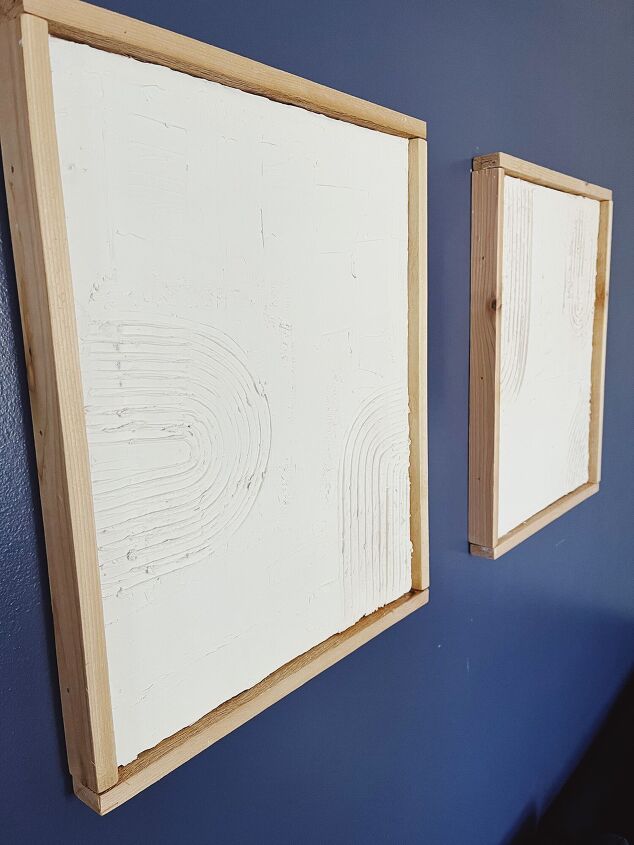
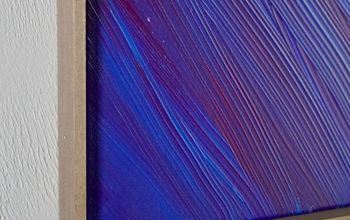
Step Five - Nail Wood to Canvas
I grabbed some 1inch panel board nails from the hardware store in the lightest color I could find. I nailed the wood to the canvas and that's it! I did three nails per side of wood.
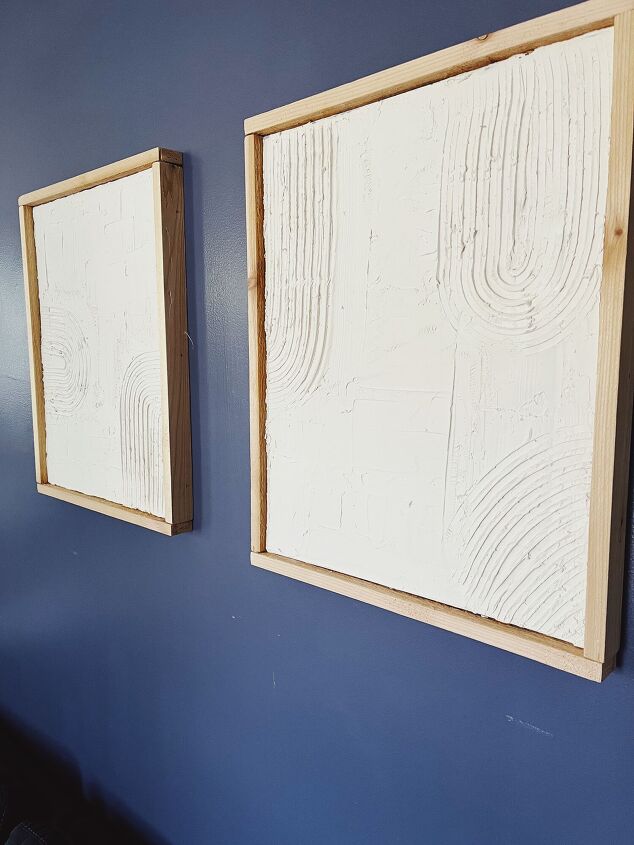
And that's it! Framed canvas art for cheap! I know this frame is not perfect by any means, but the overall goal for my art was to be organic and I think the imperfection of the frame fits with the piece.
I love how this turned out! If you want a step by step on how to create the canvas art, check out my other post on how to make it!
https://www.hometalk.com/posts/diy-spackle-art-44489708
Resources for this project:
See all materials


Comments
Join the conversation
-
So far this is the easiest and cheapest framing solution I have found. Way to go! Thanks for the lesson.
-
Hey , I’m impressed. As if Navigating Home Depot and then sawing and sanding with the baby asleep in the carrier , weren’t enough to be impressed with, the fact that you didn’t strive for absolute perfection ? AWESOME!👏🏼👏🏼👏🏼Love all of it. The art , the organic approach AND the attitude😆great job.


Frequently asked questions
Have a question about this project?