


Here's How to Reverse Decoupage Glass Bowls Into Decorative Showpieces
This post was transcribed by a member of the Hometalk editorial team from the original HometalkTV episode.
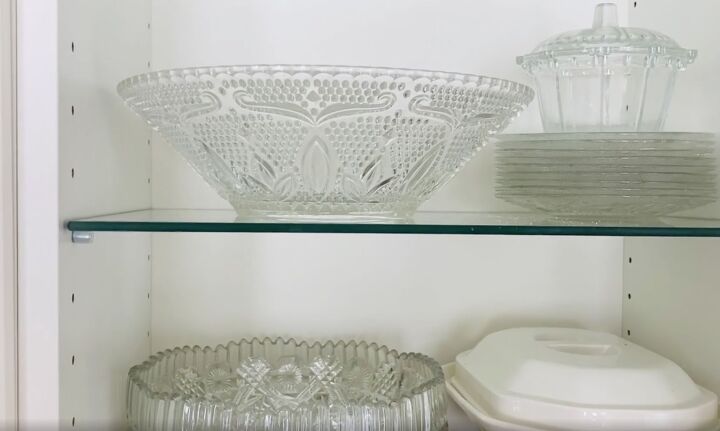
Head to the thrift store and grab some glass bowls for this gorgeous reverse decoupage makeover.
1. Choose a glass bowl to reverse decoupage
I have a collection of pressed glassware, and I'm going to give some of them a facelift.
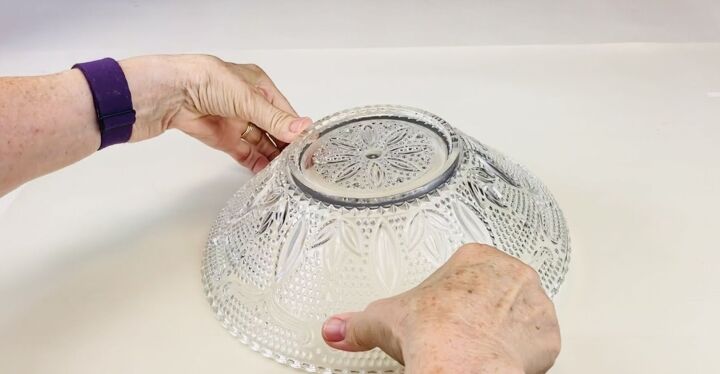
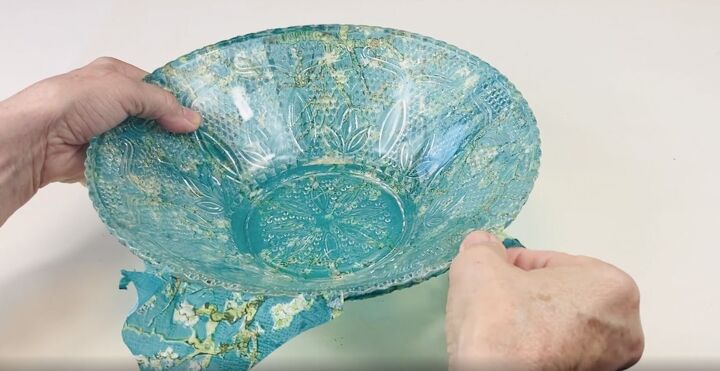
2. Place the glass bowl upside down on a table
Here is my bowl, nice and clean. It is just pressed glass. It is not cut glass. You can pick these pieces up in the thrift store.
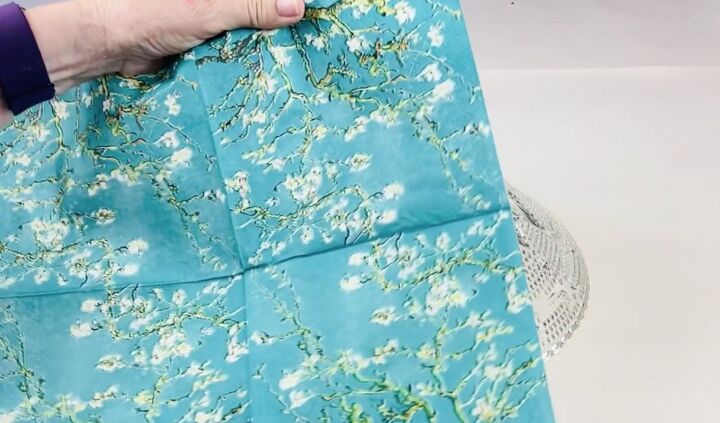
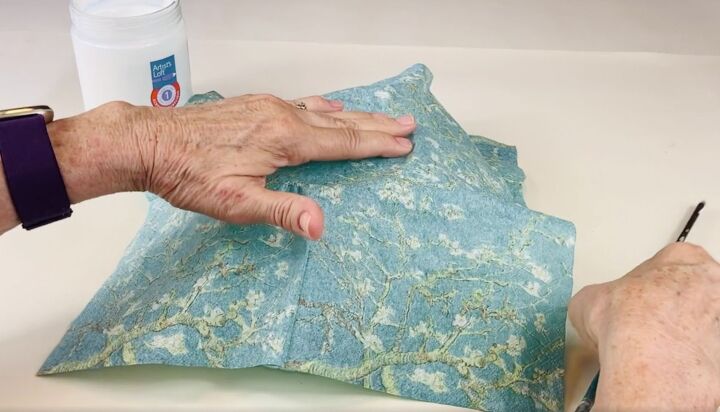
3. Choose a decorative napkin
I have chosen to use this napkin for my reverse decoupage bowl.
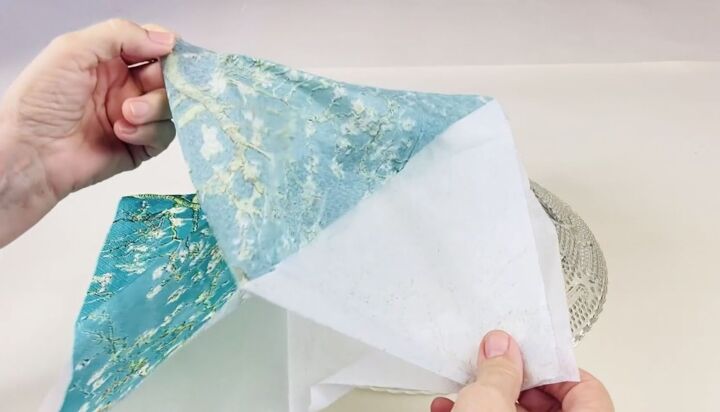
4. Separate the napkin into layers
I just need the top layer, so I carefully removed the printed layer from the other two.
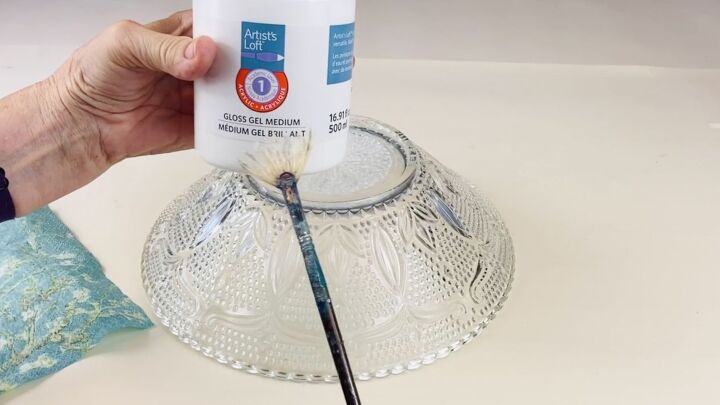
5. Add glue to the base of the bowl
Next, I’m going to use some Artist’s Loft gloss gel medium. It doesn't matter what glue you use, Mod Podge works too. I just really like to use this.
You could even use school glue. It goes on white, but it does dry clear.

I've got a very soft paintbrush and I'm going to apply it all over the base of this dish.
6. Stick the decorative napkin to the base of the bowl
I placed my napkin pattern side down over the top of the bowl and carefully patted it down. I used the paintbrush as well because there are obviously all sorts of little nooks and crannies on these pressed glass bowls.
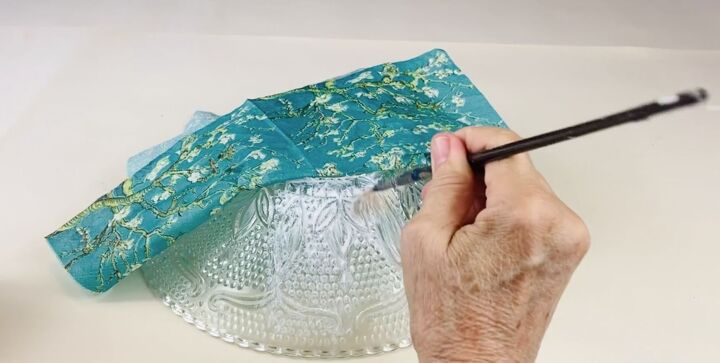
7. Add gel medium to the sides of the glass bowl
My next step was to lift the napkin's sides and paint the gel medium around the bowl's edges.
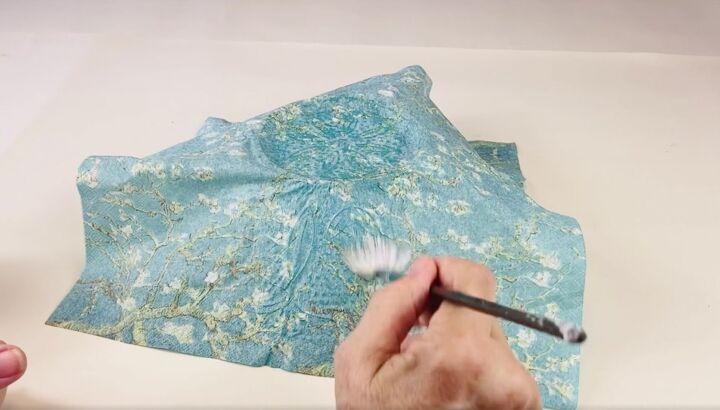
8. Adhere the decorative napkin to the sides of the bowl
Obviously, I’ve put a square napkin on a round surface, so we are going to get a few folds, but that's fine because when it's on, you won't be able to see those.
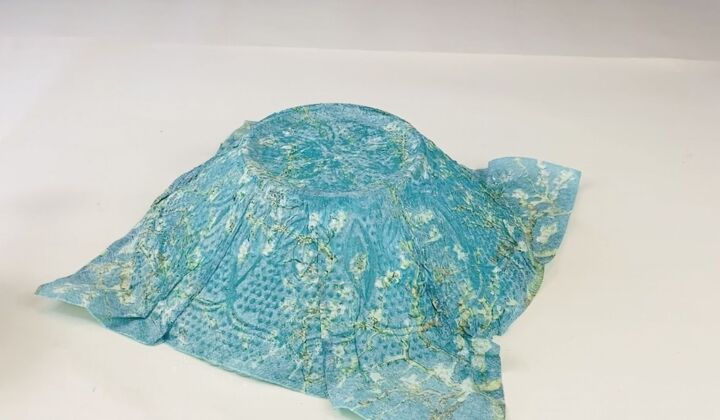
9. Allow the napkin to dry
Once it was all on, I left it to dry.
10. Remove excess bits of napkin
After it was completely dry, I ripped off any little excess bits. If you've got any missing areas where the tissue broke or made holes, you can fill those in as well.
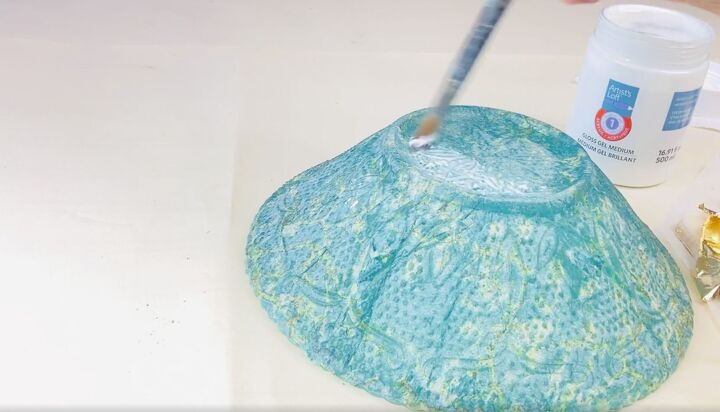
11. Paint the bowl with gel medium
Now it was time to decorate the outside of the bowl. I will be using gold leaf sheets for this. The gold leaf was glued down with the same gel medium that I used on the napkin.
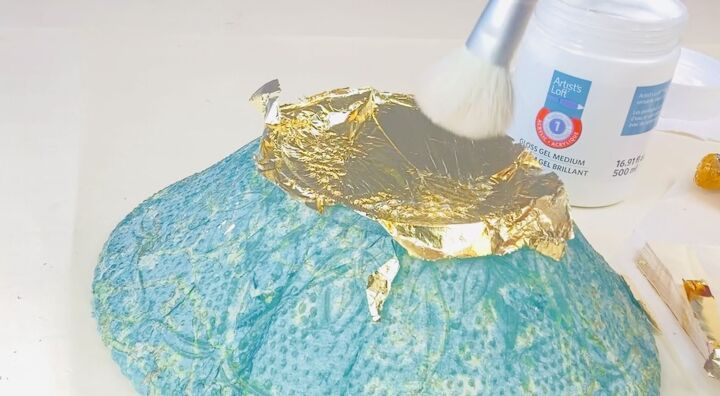
12. Add gold leaf to the outside of the bowl
Then I laid the gold leaf on the base of the bowl and used a soft brush to pat it down.
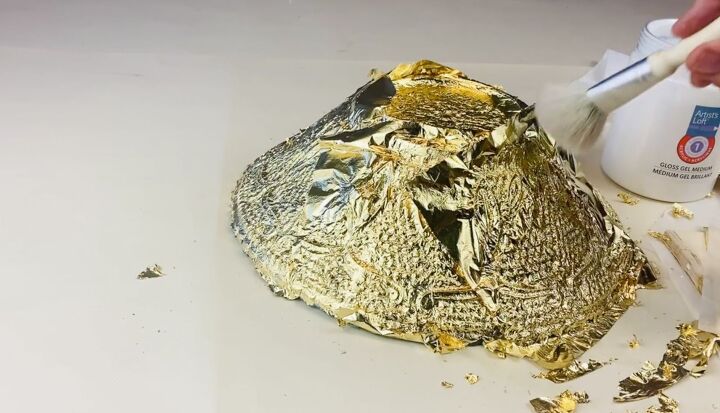
I covered the entire outside of the bowl.
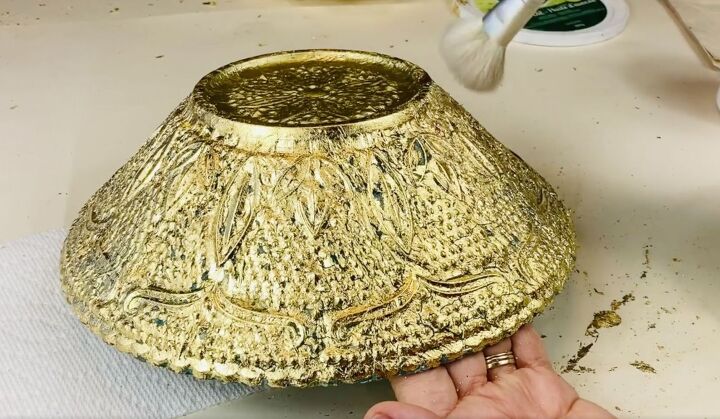
Once it was covered, I left it to dry and then brushed away all of the loose bits.
I do not throw away the bits I remove, I like to keep them in a box for future projects.
I also put gold around the rim of the dish as well.
I simply added some gel to the rim and then used the bits I took off to stick around any areas I missed.
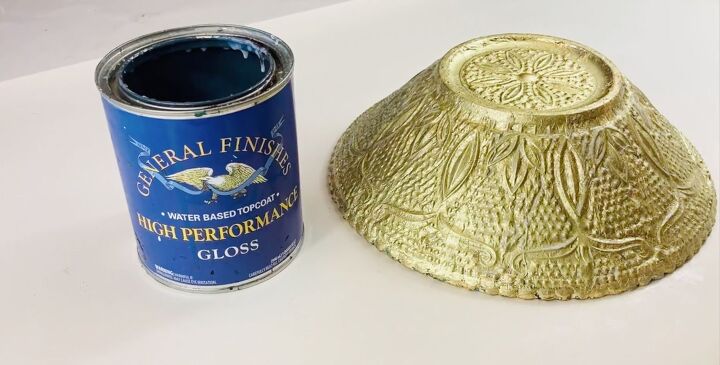
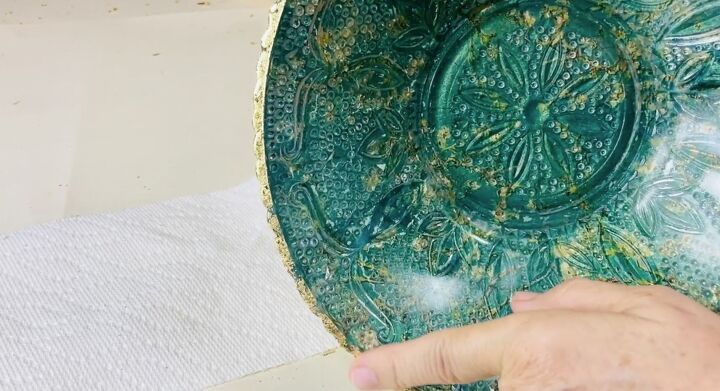
13. Finish with a water-based top coat
Now that my reverse decoupage bowl was finished, I gave it a couple of coats of a water-based top coat in gloss. This is going to give it some protection in case it comes into contact with any water, which obviously it will if you want to give it a quick wash.
Remember the top coat makes it water resistant not waterproof.
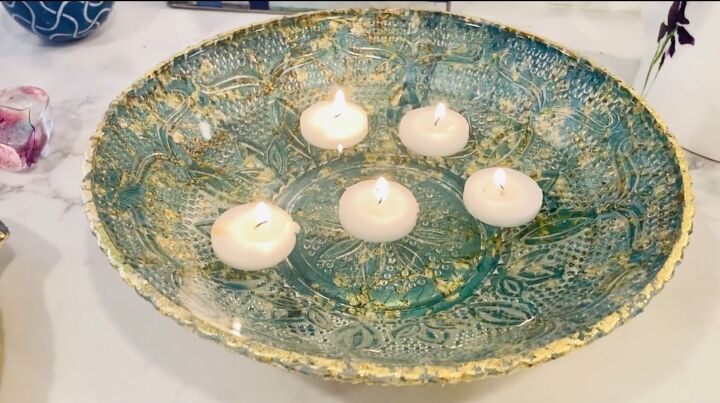
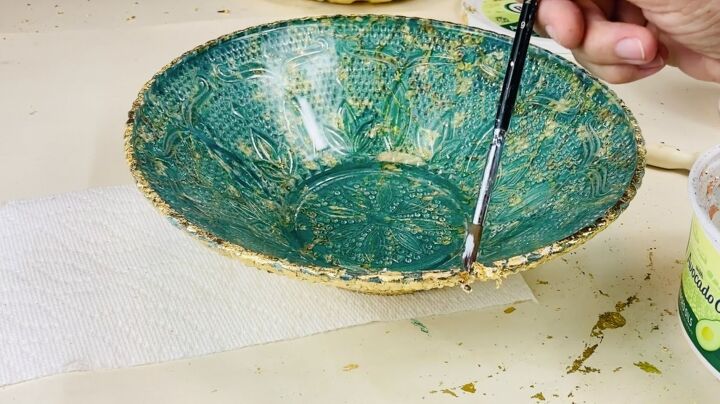
Here is my finished bowl.
I'm using the large one for floating candles. I've added some water to the bowl and tea lights that I took the metal casings off, they work really well as floating candles.
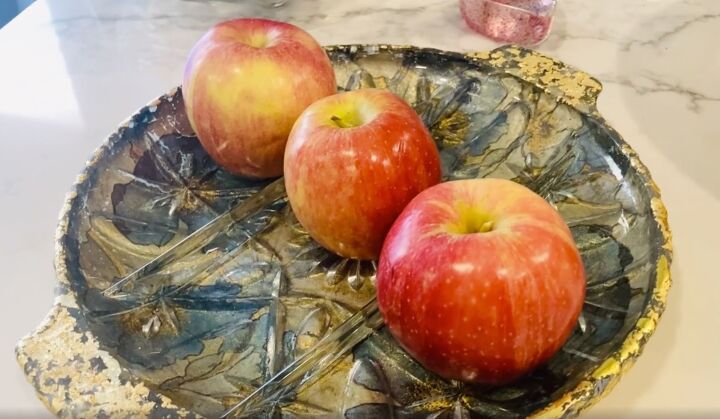
This is a reverse decoupage tray I made.
I love this napkin, and I will use this all the time.
I'm no longer going to hide my pressed glassware in a cabinet. By adding decorative napkins and gold leaf, I have made pieces that should be showcased.
I really hope you enjoyed this reverse decoupage tutorial and are inspired to make your own. Please share what you create in the comments so we can all enjoy your artwork.
Resources for this project:
See all materials


Comments
Join the conversation
-
Just discovered Julie, omg I’m obsessed!!!
-
LOL, Thank you Paintmama J xo


Frequently asked questions
Have a question about this project?
Is the top coat, fingernail polish?
You stated it’s not waterproof yet you have water with candles floating. Did you do something more to make it waterproof?
Does it have to be a glass bowl or can I use a plastic bowl?