


Stone Mosaic Pot

This post was transcribed by a member of the Hometalk editorial team from the original HometalkTV episode.
Make your own stone mosaic pot for only a couple of dollars with this cool project.
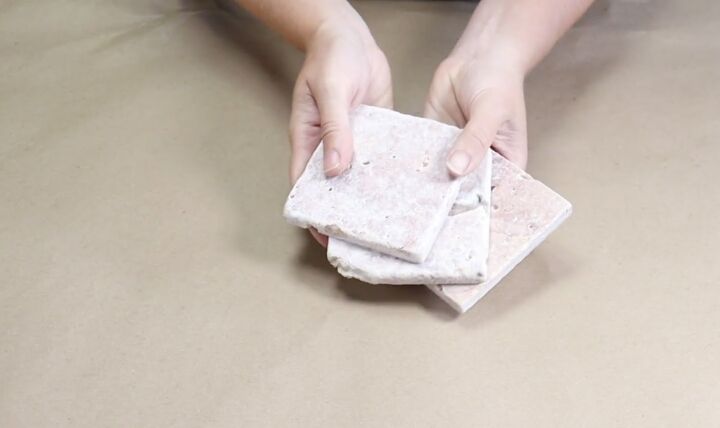
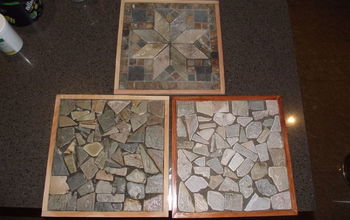
I picked up a ton of these old tiles from my local Habitat free Mandy Restore in a giant box for $2.
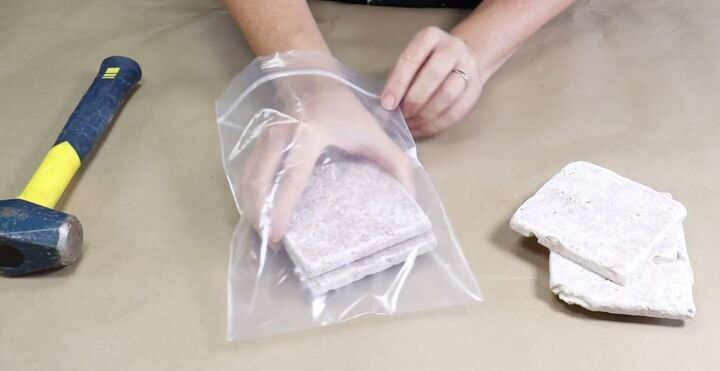
To start this project, I began by taking a Ziplock bag and then I placed a couple of tiles inside the bag.
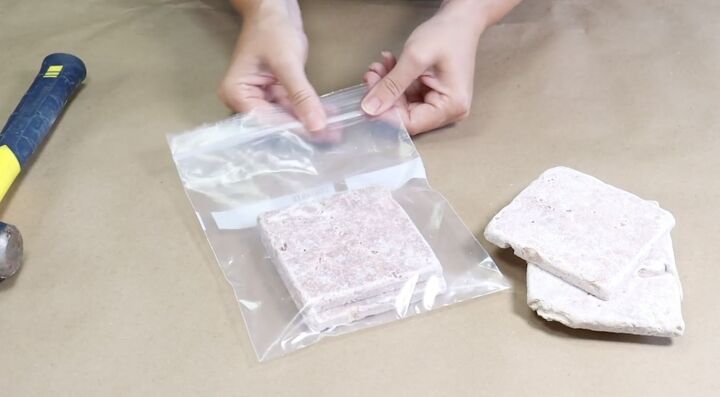
I made sure that I sealed up the seal nice and tight, making sure that it was closed.
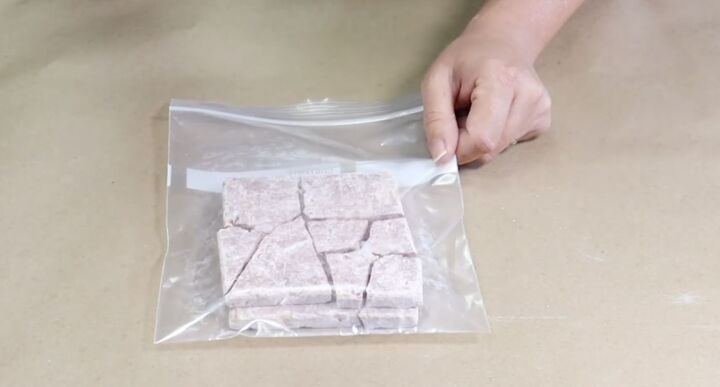
Then I took a hammer and I pounded the tiles. You do want to make sure that if you do this project, you wear safety glasses for this part because even though the bag is sealed, some pieces can shoot out and it may open.
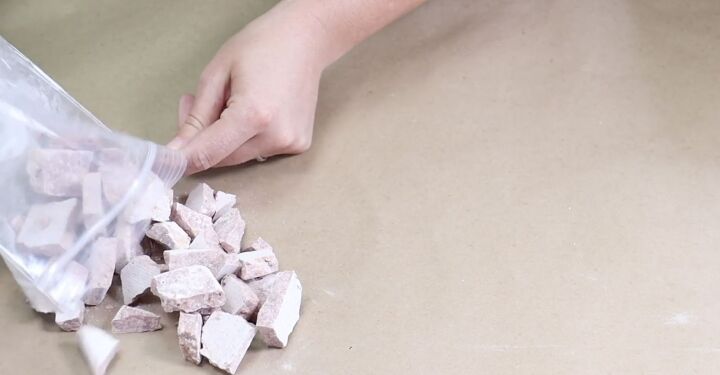
I continued with this process until I smashed up about ten or eleven tiles.
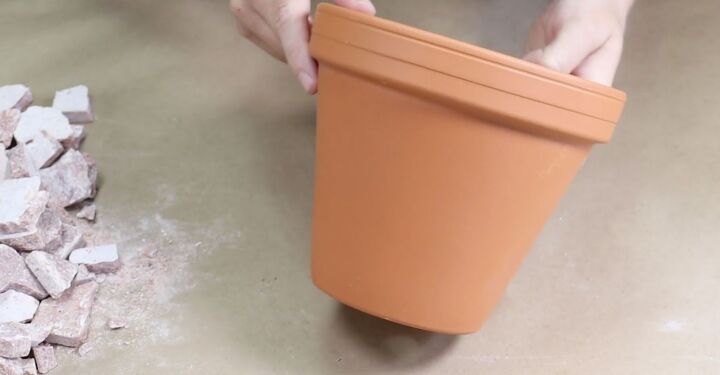
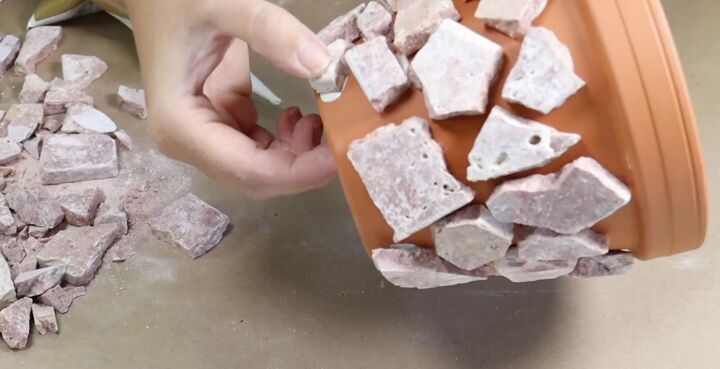
Once I had all my pieces, I took a terracotta pot and I began to glue them onto the pot. You do want to make sure that you use a terracotta pot and not a plastic pot because they will not stick to plastic. It gets very heavy. It's too heavy for the plastic.
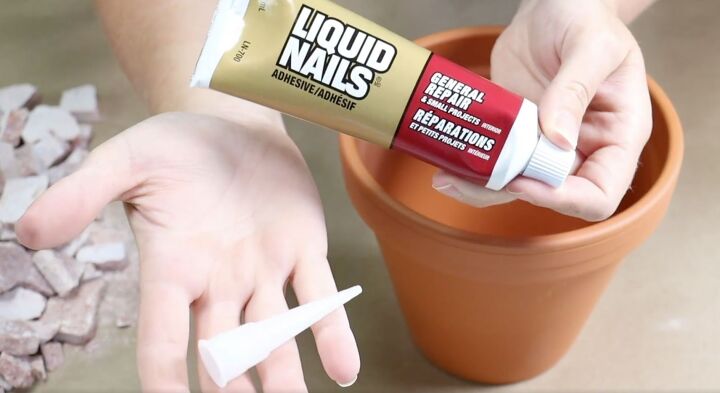
I used liquid nails to apply my tile pieces but you could use another glue like E 6000. I just really like liquid nails because it comes with this applicator that uses the glue out nice and clean.
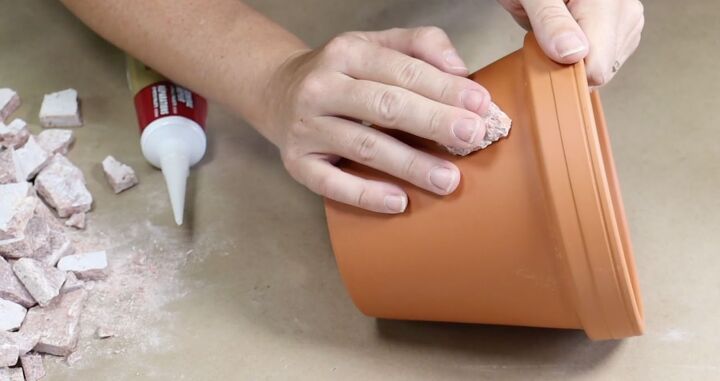
You want to apply a fair amount of the liquid nails to the tile pieces. If some of the glue oozes out underneath the tile, it's not a big deal because we're going to be putting grout on next. Don't worry about if the glue looks messy. You just want to make sure that the tile is really stuck onto the pot.
Once I did around the circumference of the pot and the base, I used my little pieces of tile to do the top edge rim.
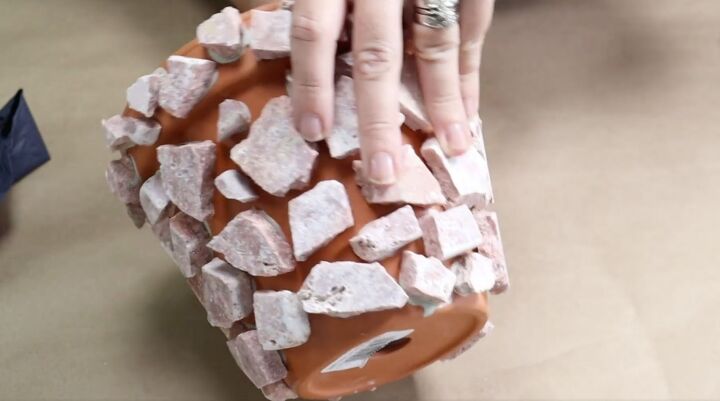
Then after I was done, I went around and filled any little holes with smaller tile pieces. I let my pot set completely overnight so at least set for 24 hours.
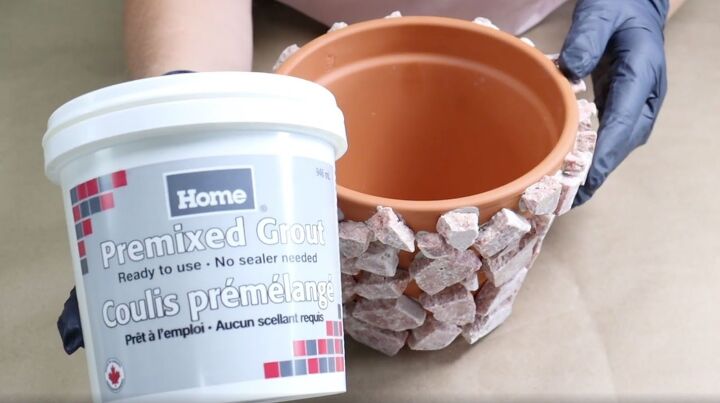
Next, I took pre mixed grout and using a putty knife, I scraped it onto the entire circumference of my pot.
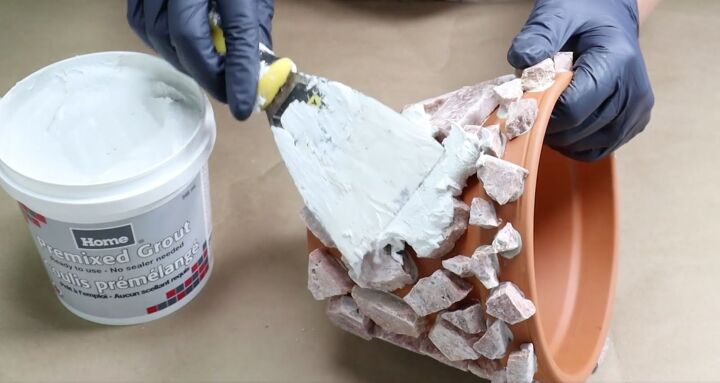
I went really heavy with the grout because it was hard to get in between the tile pieces.
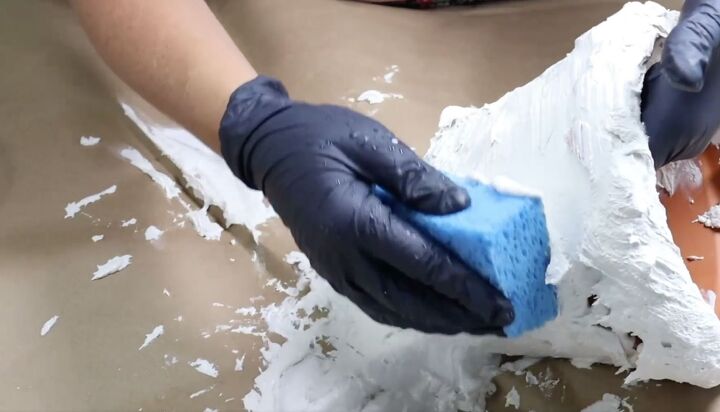
To finish the pot off, I took a wet sponge and wiped off the grout until I could see my tile pieces again. Like I said, I went really heavy with the grout but I wanted to make sure that I got in between every single little piece of tile.
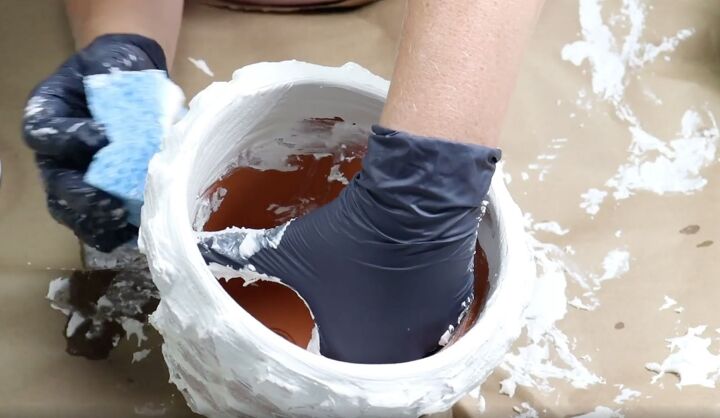
I also made sure to go down inside the rim of the pot just in case that shows at all when my plant is in there. I let the grout set overnight.
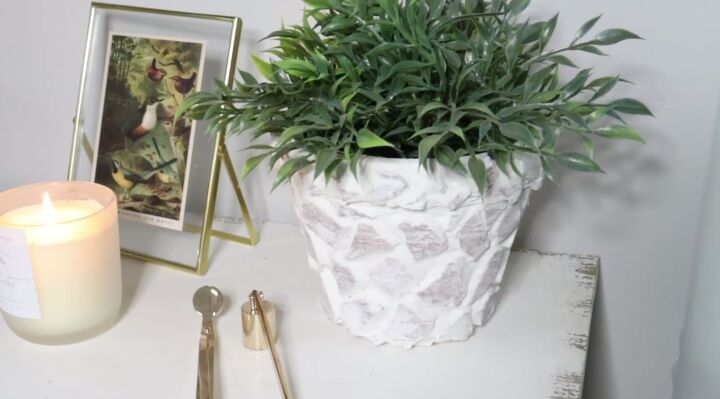
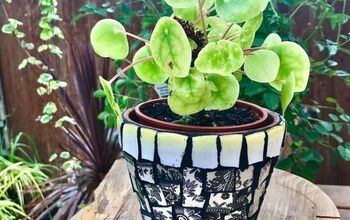
Here is my finished pot. This is just one way to use old leftover tile in a creative andunique way. I really hope that you enjoyed this project.


Comments
Join the conversation
-
So cute!! Great idea!!
-
Looks great!


Frequently asked questions
Have a question about this project?