


How to Create a Stylish DIY Feature Wall in Your Bedroom

Hey everyone! Today, I'm super excited to show you how I transformed my bland room with a fantastic DIY feature wall. If you're unsure about what to do with your room, don't worry—I've got your back! Let's get started with this step-by-step tutorial:
Tools and materials
- One by fours (enough to cover your accent wall)
- A scrap piece of wood (for ensuring even spacing)
- Measuring tape
- Saw (to cut the wood to the desired length)
- Wood glue or nails (for attaching the boards to the wall)
- Caulk and caulk gun
- Baby wipes (for the wiping trick)
- Paint (choose your favorite color for the accent wall)
Steps
1. Measure and cut the wood
Measure the height of your accent wall and cut the one by fours to the appropriate length. Remember, it's always better to measure twice and cut once to avoid any mistakes.
2. Use a scrap piece of wood for even spacing
Grab that scrap piece of wood and cut it to the width of your accent wall. This will be your guide to ensure the spacing between the boards stays perfect even as you work your way across the wall. No need to keep remeasuring every time you add a board!
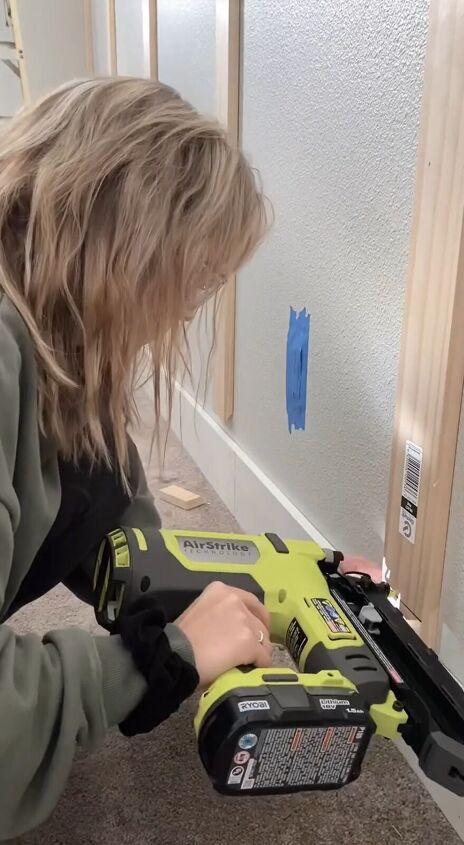
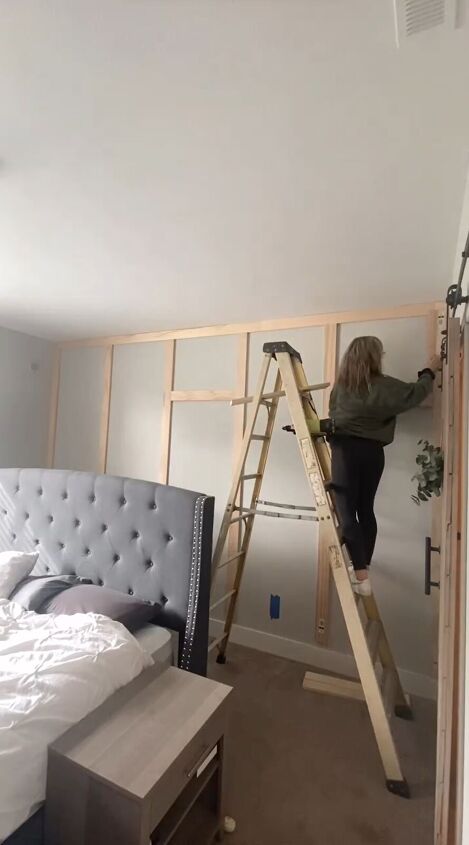
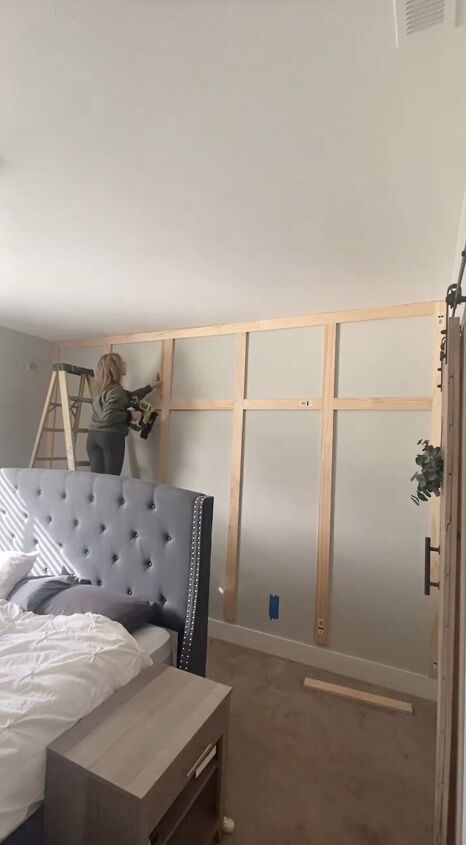
3. Attach the boards to the wall using wood glue or nails
Start attaching the one-by-fours to the wall, following the spacing guide you created with the scrap wood. Work your way from one end of the wall to the other until the entire accent wall is covered.
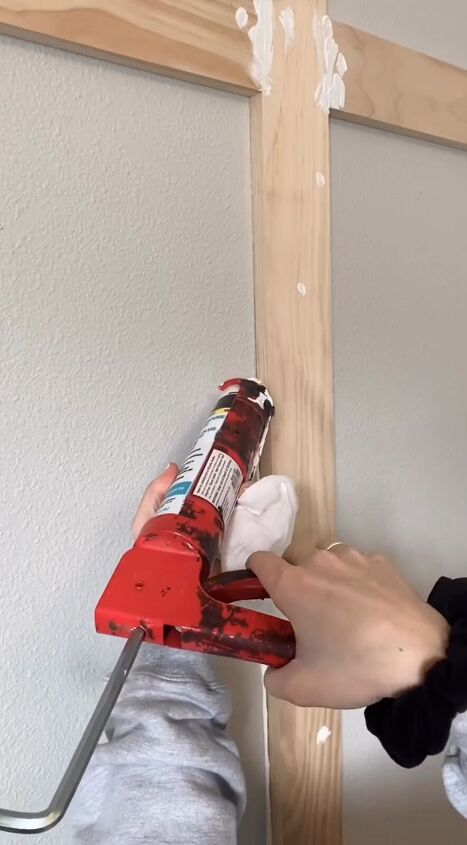
4. Caulk the gaps
Now that all the boards are in place, it's time to make everything look seamless. Apply caulk along the edges and between the boards to fill any gaps and create a smooth, uniform look.

5. The baby-wiping trick
If you know the baby wiping trick, give me a "hay"! Grab a baby wipe and use it to wipe off any excess caulk and clean up the edges. This little trick works wonders in achieving a neat and tidy finish.
6. Fresh coat of paint
It's time to bring your accent wall to life with a fresh coat of paint! Choose a color that complements your room's decor and personality. Apply the paint evenly over the boards, making sure to cover all the surfaces.
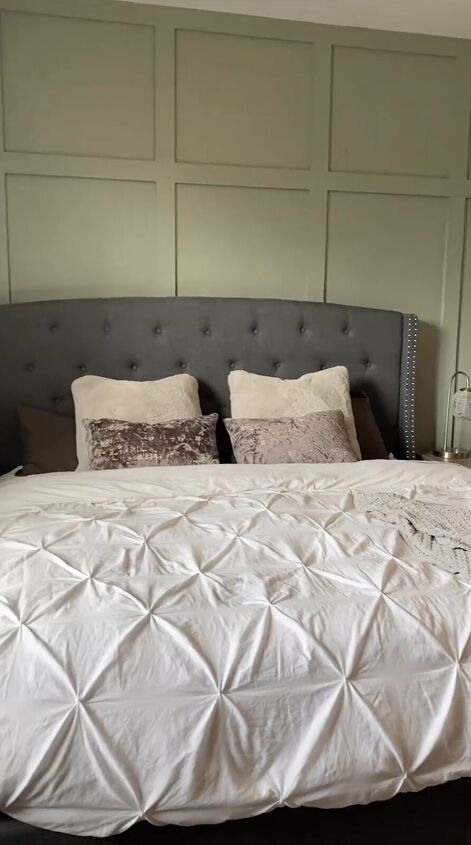
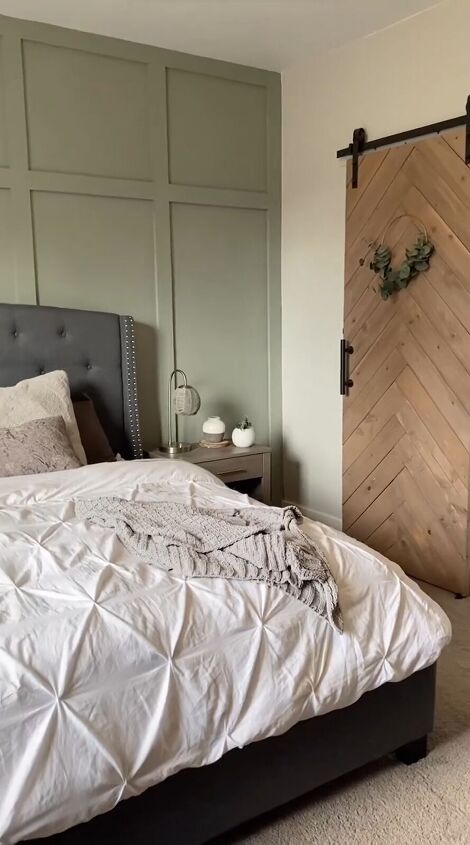
7. Admire the transformation
Step back and admire the incredible difference this accent wall has made in your room! The once-bland space now has a stunning focal point that adds style and personality to the entire room.
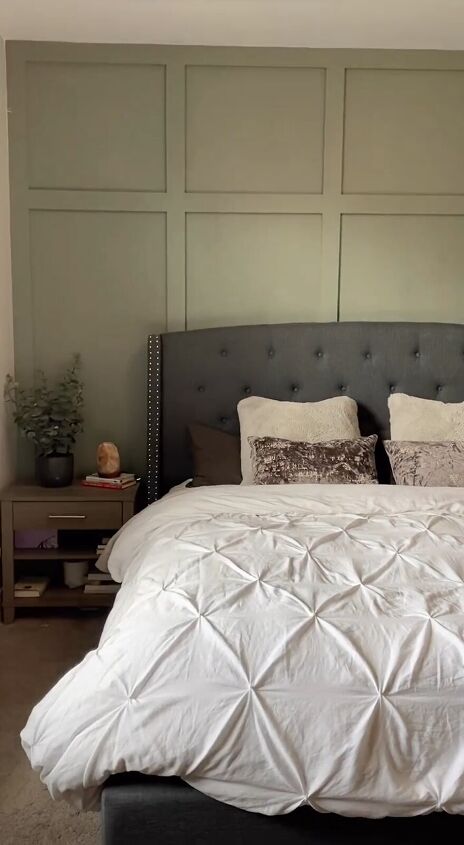
Accent wall
There you have it—a step-by-step guide to creating a fabulous accent wall. Even if your boards ended up a little shorter than mine did, remember, we work with what we've got, and the end result is what truly matters. Now go ahead and enjoy your newly transformed room!
For more ideas, follow @gatheratthebooths on Instagram


Frequently asked questions
Have a question about this project?