


How to Easily Upgrade Your Walls With DIY Picture Frame Moulding

DIY wall moulding is a fantastic way to add character and sophistication to any room. In this comprehensive tutorial, I will guide you through the process of creating your own beautiful wall moulding design.
By following these steps, you'll be able to achieve a polished and professional look that enhances the aesthetic appeal of your space. Let's begin this exciting DIY project!
Tools and materials
- Painter's tape
- Lumber (appropriate size and quantity for your project)
- Miter saw
- Level
- Measuring tape
- Pencil
- Wood glue
- Nails or brad nails
- Hammer or nail gun
- Sandpaper
- Paint and painting supplies (optional)
How to do DIY wall moulding
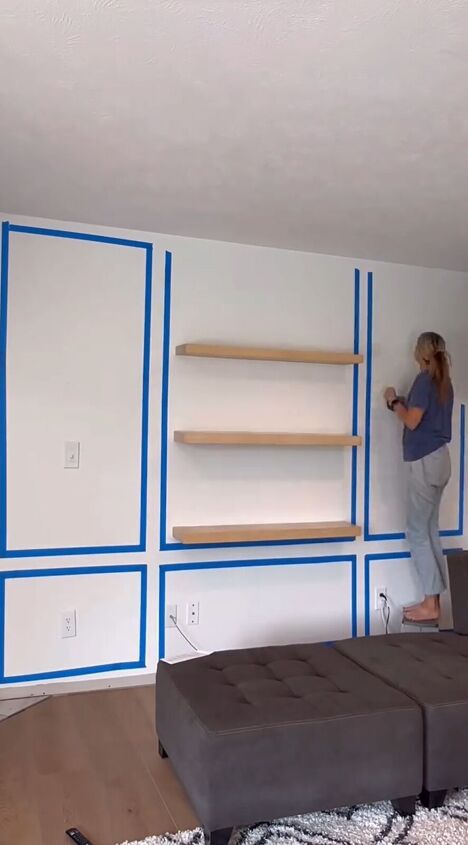
1. Plan and Lay Out the Design
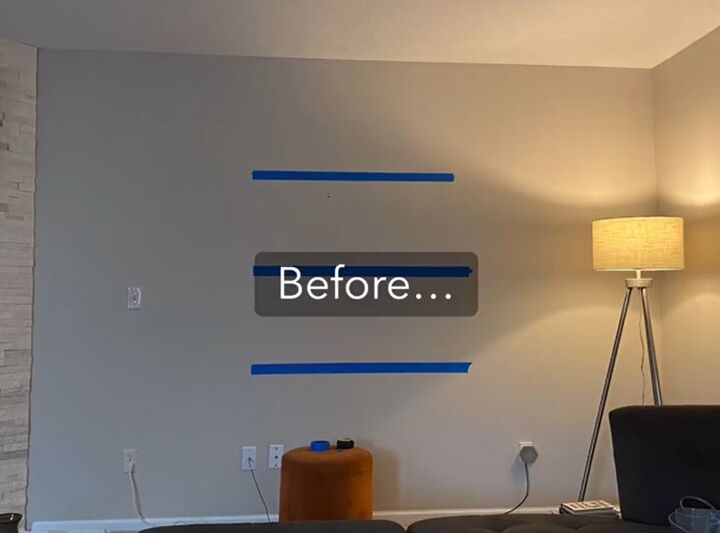
Start by visualizing your desired moulding design and use painter's tape to lay out the pattern on the wall. This step allows you to experiment with different arrangements and ensures you have a clear idea of how the finished product will look.
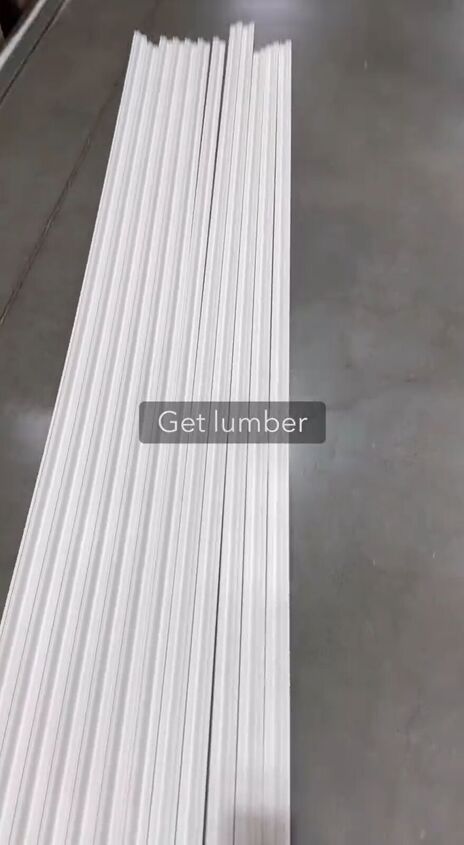
2. Gather Your Lumber
Acquire the appropriate lumber for your moulding project. Choose a type and size of lumber that suits your design and fits well with the room's aesthetics. Make sure you have enough material to create all the required pieces for your moulding boxes.
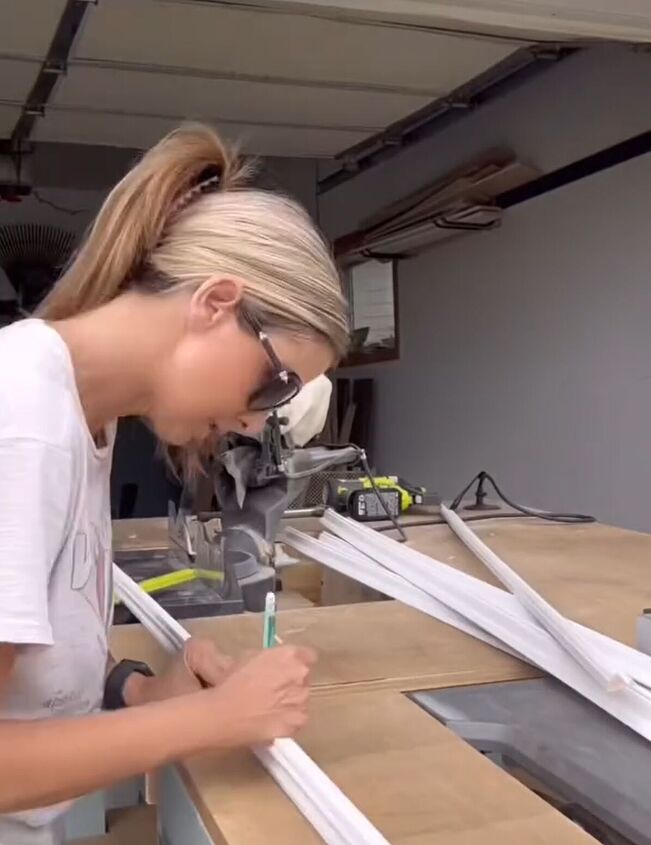
3. Make 45-Degree Miter Cuts
Using a miter saw, carefully make 45-degree miter cuts on the ends of the lumber pieces that will form the corners of your moulding boxes. Pay attention to the angle settings and double-check your measurements before making the cuts to ensure accuracy.
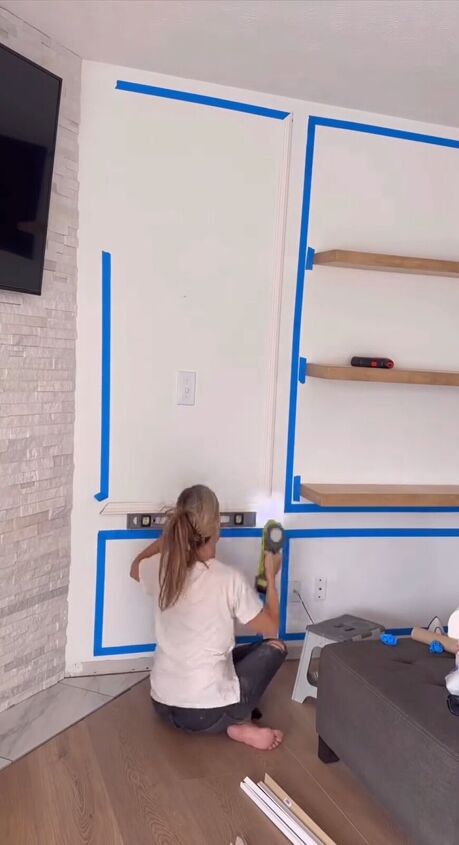
4. Use a Level as a Spacer
To achieve even spacing between the moulding boxes, utilize a level as a spacer. Place the level vertically between each piece of lumber as you position them on the wall. This technique guarantees consistent and symmetrical spacing throughout your design.
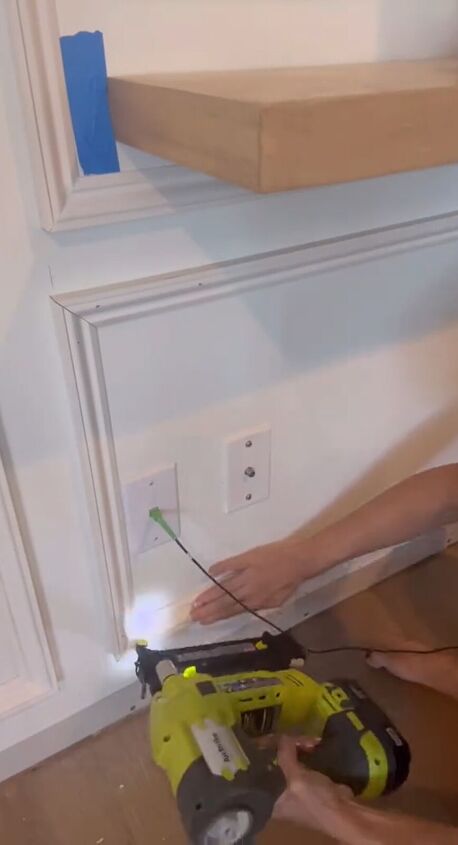
5. Assemble the Moulding Boxes
Apply a thin layer of wood glue to the mitered edges and join the lumber pieces to form the moulding boxes. Secure the corners with nails or brad nails using a hammer or nail gun. Wipe off any excess glue and ensure the boxes are securely attached to the wall.
6. Sand and Finish
Once the moulding boxes are in place, use sandpaper to smooth any rough edges or surfaces. This step ensures a flawless finish and prepares the moulding for painting or staining. If desired, paint the moulding boxes to match your room's color scheme.

DIY wall moulding
This step-by-step guide has led you through the process of planning, cutting, assembling, and finishing your moulding design. By incorporating your creativity and following these instructions, you've achieved a professional look that enhances the beauty of your home.
Remember, the possibilities for moulding designs are endless, so feel free to explore and experiment with different patterns to suit your unique style and preferences.
What do you think of this DIY wall moulding technique? Let us know in the comments below.
Follow @a_bit_unexpected on TikTok for more DIY ideas.
Comments
Join the conversation
-
That is such a beautiful job! It adds so much to the space. Great work!!


Frequently asked questions
Have a question about this project?