


Want to Change Your Orange Peel Walls?

3 Materials
$100
4 Days
Advanced
The Wall Texture that seems to be on trend for new construction is called "Orange Peel". If you've ever wanted to change that, chances are you are only left with one alternative - Sand it down! Then patch and repaint or else put up with "A Bad Case of the Bumpies" showing through. Today there are SO many LOVELY wallpapers that have a texture all their own, that decorators are using them for accent walls. You needn't do an entire room with them, just one wall is enough, but who wants to spend all that time, money and effort just to have your lovely job look poorly done...
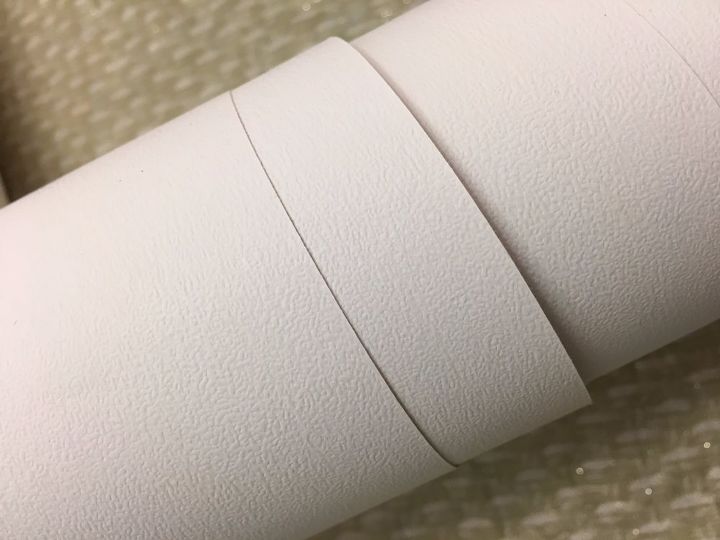
Because I didn't have quite enough of the first batch of liner that I bought, I pieced it together to get the wall covered in the usual fashion (vertically). But, upon doing and internet search, I found more of a difference in consistency (notice the difference between the two kinds of liners) with another company's liner. This one was purchased through Wayfair for double the sales price. The pro hanger also recommended hanging the second layer of liner in a "railroad track- horizontal" pattern (similar to a border over the entire wall). This step must also be hung with the use of the wallpaper border adhesive. The reason you want to hang this layer in the juxtaposed position to first layer is to build a stronger bond for the real wall paper to cling to. You wouldn't want all of your three layers of seams to line up perfectly on your wall. You are trying to build a net for the wallpaper to rest on and cling to without adhering to the bumpiness of the "orange peel" textured wall. I know it sounds like a lot of work to do it three times (including the final layer of wallpaper), BUT! it surely does beat covering everything in your house so it doesn't get the sanded grit on it and then having to sand said wall for days to get it perfect enough for the wallpaper. And, THEN, cleaning up and finding the sanded particles EVERYWHERE!!!!
One last thing. ***It is very important to let each layer of paper dry thoroughly before advancing onto the next step. Let each layer take a couple of days between layers to cure and settle in to your wall. You would hate to do all this work and have it then fall off the very wall you were trying to beautify....
This has been part of a very big project. I'll be sharing that in some upcoming posts.
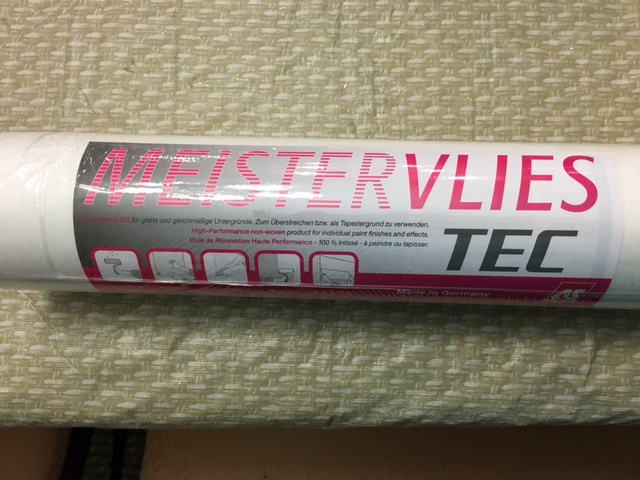
Enter the Wallpaper liner. Since Wallpaper has almost all but gone the way of the dodo bird, the Wallpaper liner is going to be hard to find. But it is possible. I snatched up the last few rolls that were at our local DIY store. They were on clearance! SCORE! and I grabbed every last one that I could get my hands on.
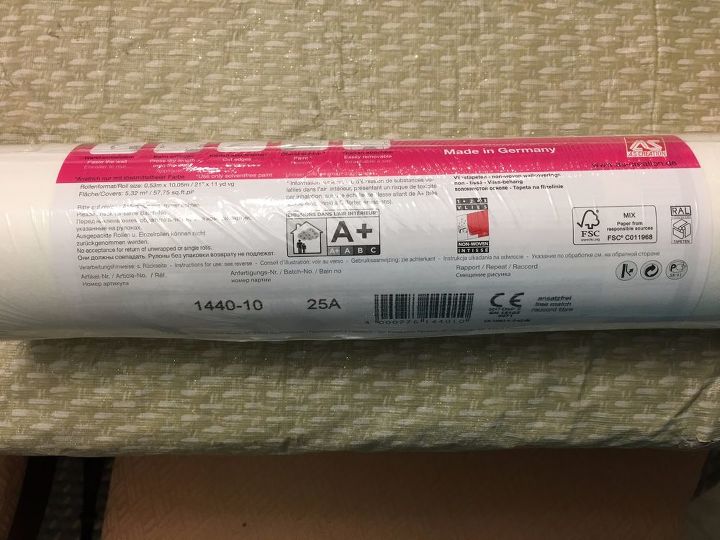
Details of what was on the package of wallpaper liner.
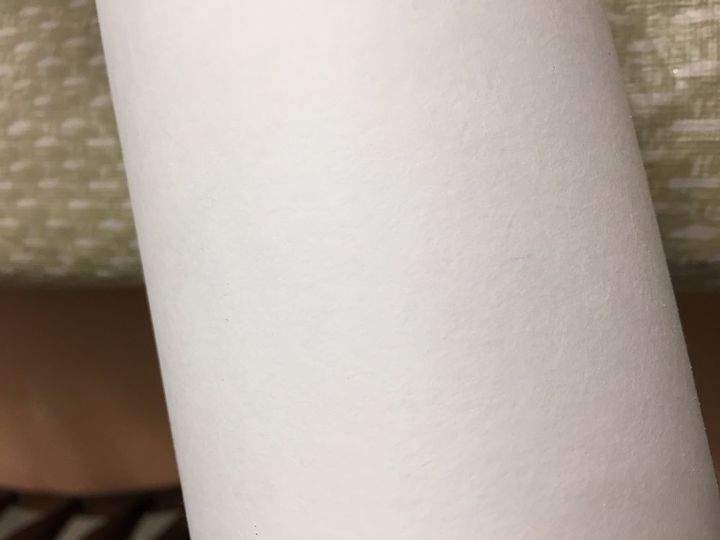
This is the texture of the first wallpaper liner that I got from the DIY store. Notice the grainy texture. You can tell that this paper is substantial!
This is a picture of the Wallpaper liner that I got from Wayfair. This liner is also substantial, with a smoother finish, but a more paper-pulpy feel to it.
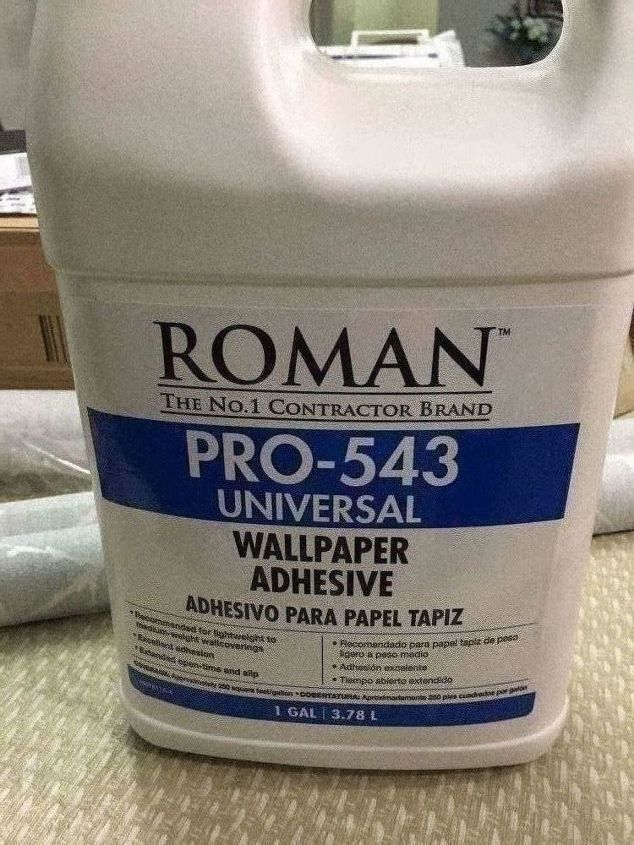
This is a picture of the gallon of Wallpaper Border Adhesive that I used to hang the wallpaper liner and actually the wallpaper itself. For a job like this I recommend having more glue on hand than you think you'll need. The papers just suck it right up....
I also grabbed a gallon of Wallpaper Border Adhesive because the liner did NOT come prepasted. This glue was strong enough to hold the heaviness of the liner to the wall. One hint that I did get from a professional paper hanger was to not put the liner completely up to the top and to the bottom of the wall, so that the real wallpaper, when you got that far, would have some real part of the wall to grab hold of. ***AND I did sand off about 4" off the top and bottom of the wall where the real wallpaper would have connected and held onto the wall.
Comments
Join the conversation
5 comments
-
Great advice from a great DIYer! Thank you for sharing!
- See 1 previous
-
Really great tips. Thanks!!


Frequently asked questions
Have a question about this project?