


Water Closet Makeover: Rub N' Buff, Stencils, Decor & More

Welcome to my step-by-step tutorial on doing a water closet makeover. I’ll share some water closet ideas so you can transform your bathroom into a stylish and elegant space on a budget!
While it may take some time and effort, the end result will be well worth it. Let's dive in!
Tools and materials
- Antique gold rub and buff paint
- Modern stencil
- Board and batten materials (wood boards, saw, nails, hammer)
- Crown molding trim
- Paintbrushes and rollers
- Painter's tape
- Sandpaper
- Primer
- Paint in desired color
- Caulk
Water closet makeover steps

Step 1: Prepare the Space
Before starting any makeover project, it's essential to prepare the space. Remove any existing wallpaper or paint that may be peeling or chipping off the walls.
Clean the walls thoroughly to ensure a smooth surface for painting and stenciling.
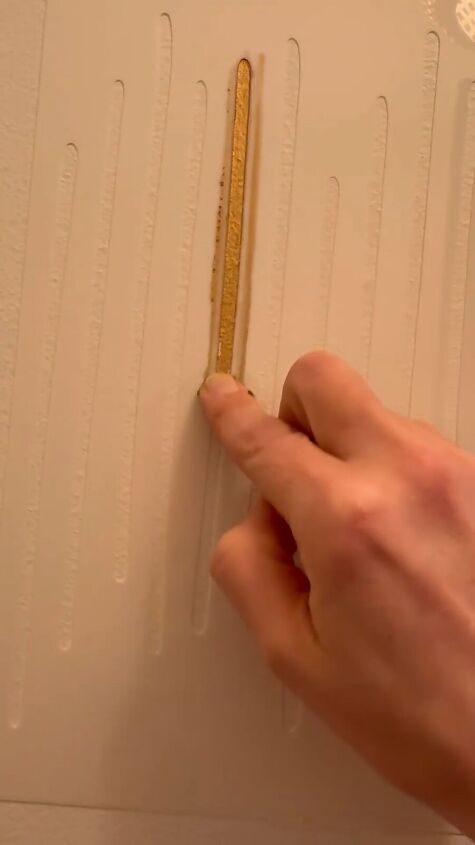
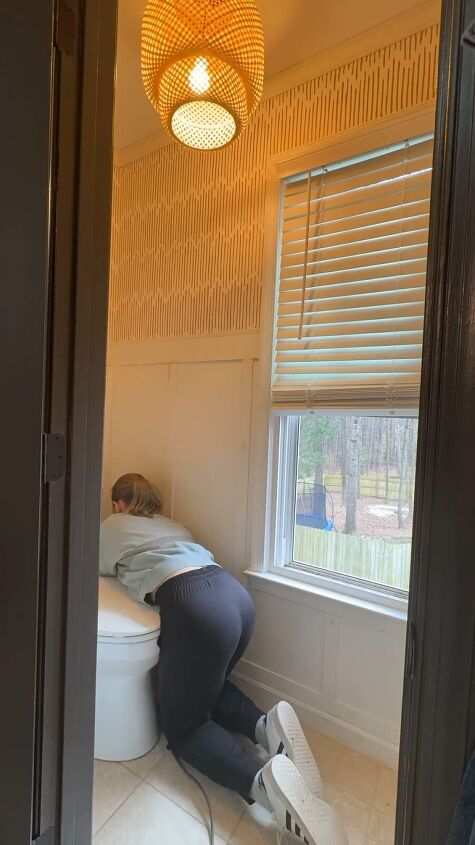
Step 2: Apply Antique Gold Rub n' Buff
Position the stencil on the wall according to your desired design and secure it in place with painter's tape. Using a paintbrush or your fingers, apply the antique gold rub and buff to the walls evenly.
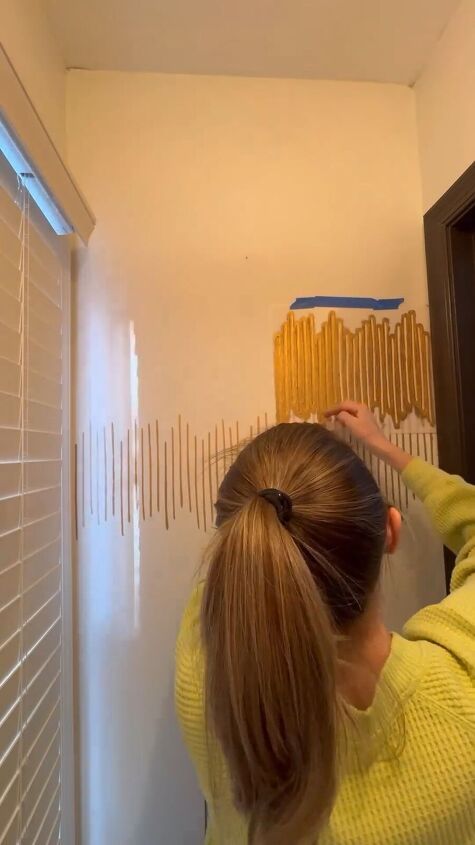
This process may take some time, especially if you're covering the entire room. Take breaks as needed and ensure that the application is consistent for a seamless finish.
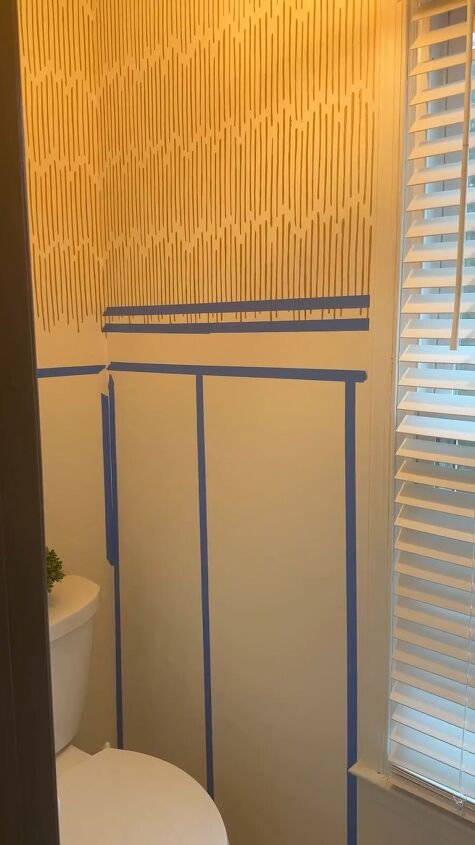
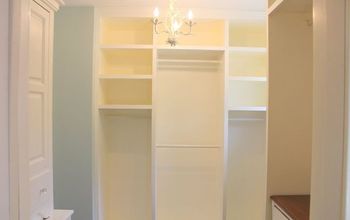
Step 3: Install Board and Batten
Measure and cut the wood boards to fit the height of your water closet walls. Secure them to the walls using nails and a hammer, creating the board and batten effect.
This will add depth and dimension to the space. Sand any rough edges and apply primer before painting.
Step 4: Add Crown Molding Trim
For a polished look, create trim for the crown molding using additional wood or molding material.
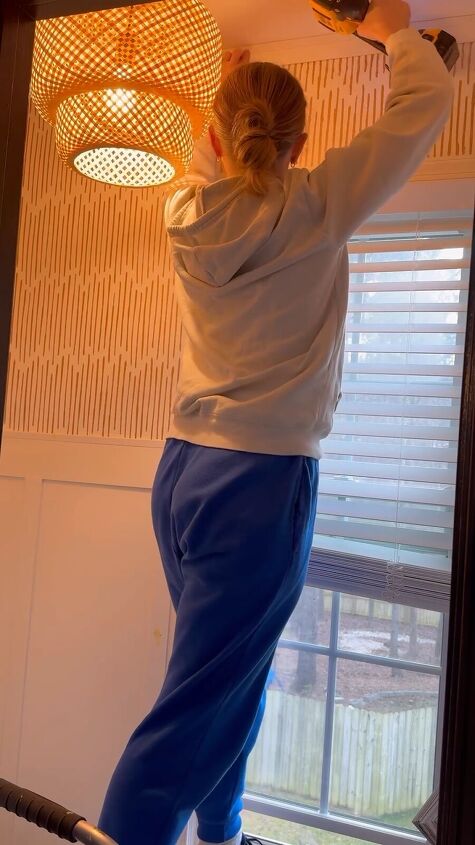
Measure, cut, and install the trim around the top of the walls, seamlessly blending it with the existing crown molding. Caulk any gaps for a seamless finish.
Step 5: Paint and Touch-Ups
Once all the elements are in place, apply paint to the board and batten, trim, and any other areas that require touch-ups. Allow the paint to dry completely before removing any painter's tape and making any final adjustments.
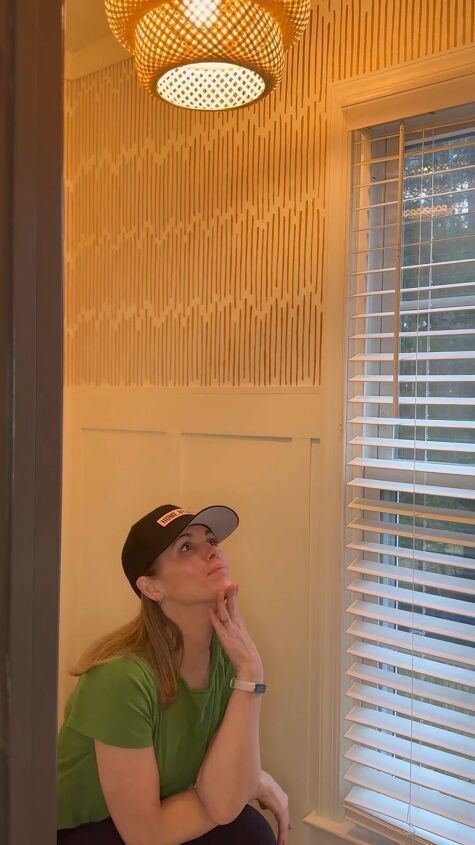
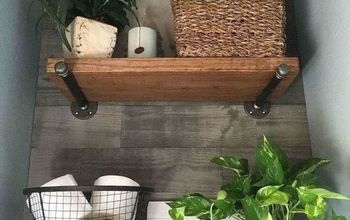
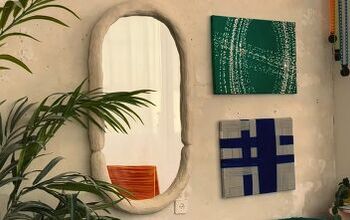
Step 6: Water Closet Decor
Finally, it's time to add your personal touch to the space with decorative accessories such as mirrors, shelves, or artwork. Arrange them to your liking, and step back to admire your beautifully transformed water closet!


Water closet makeover
Congratulations on completing your water closet makeover! Despite the time and effort it took, you've managed to turn an ordinary space into a stunning oasis without breaking the bank.
I hope this step-by-step tutorial has been helpful, and that you enjoy your newly revamped water closet for years to come. Leave me a comment to let me know what you think.
Follow @home.by.hand on Instagram for more DIY ideas.


Frequently asked questions
Have a question about this project?